photography blog

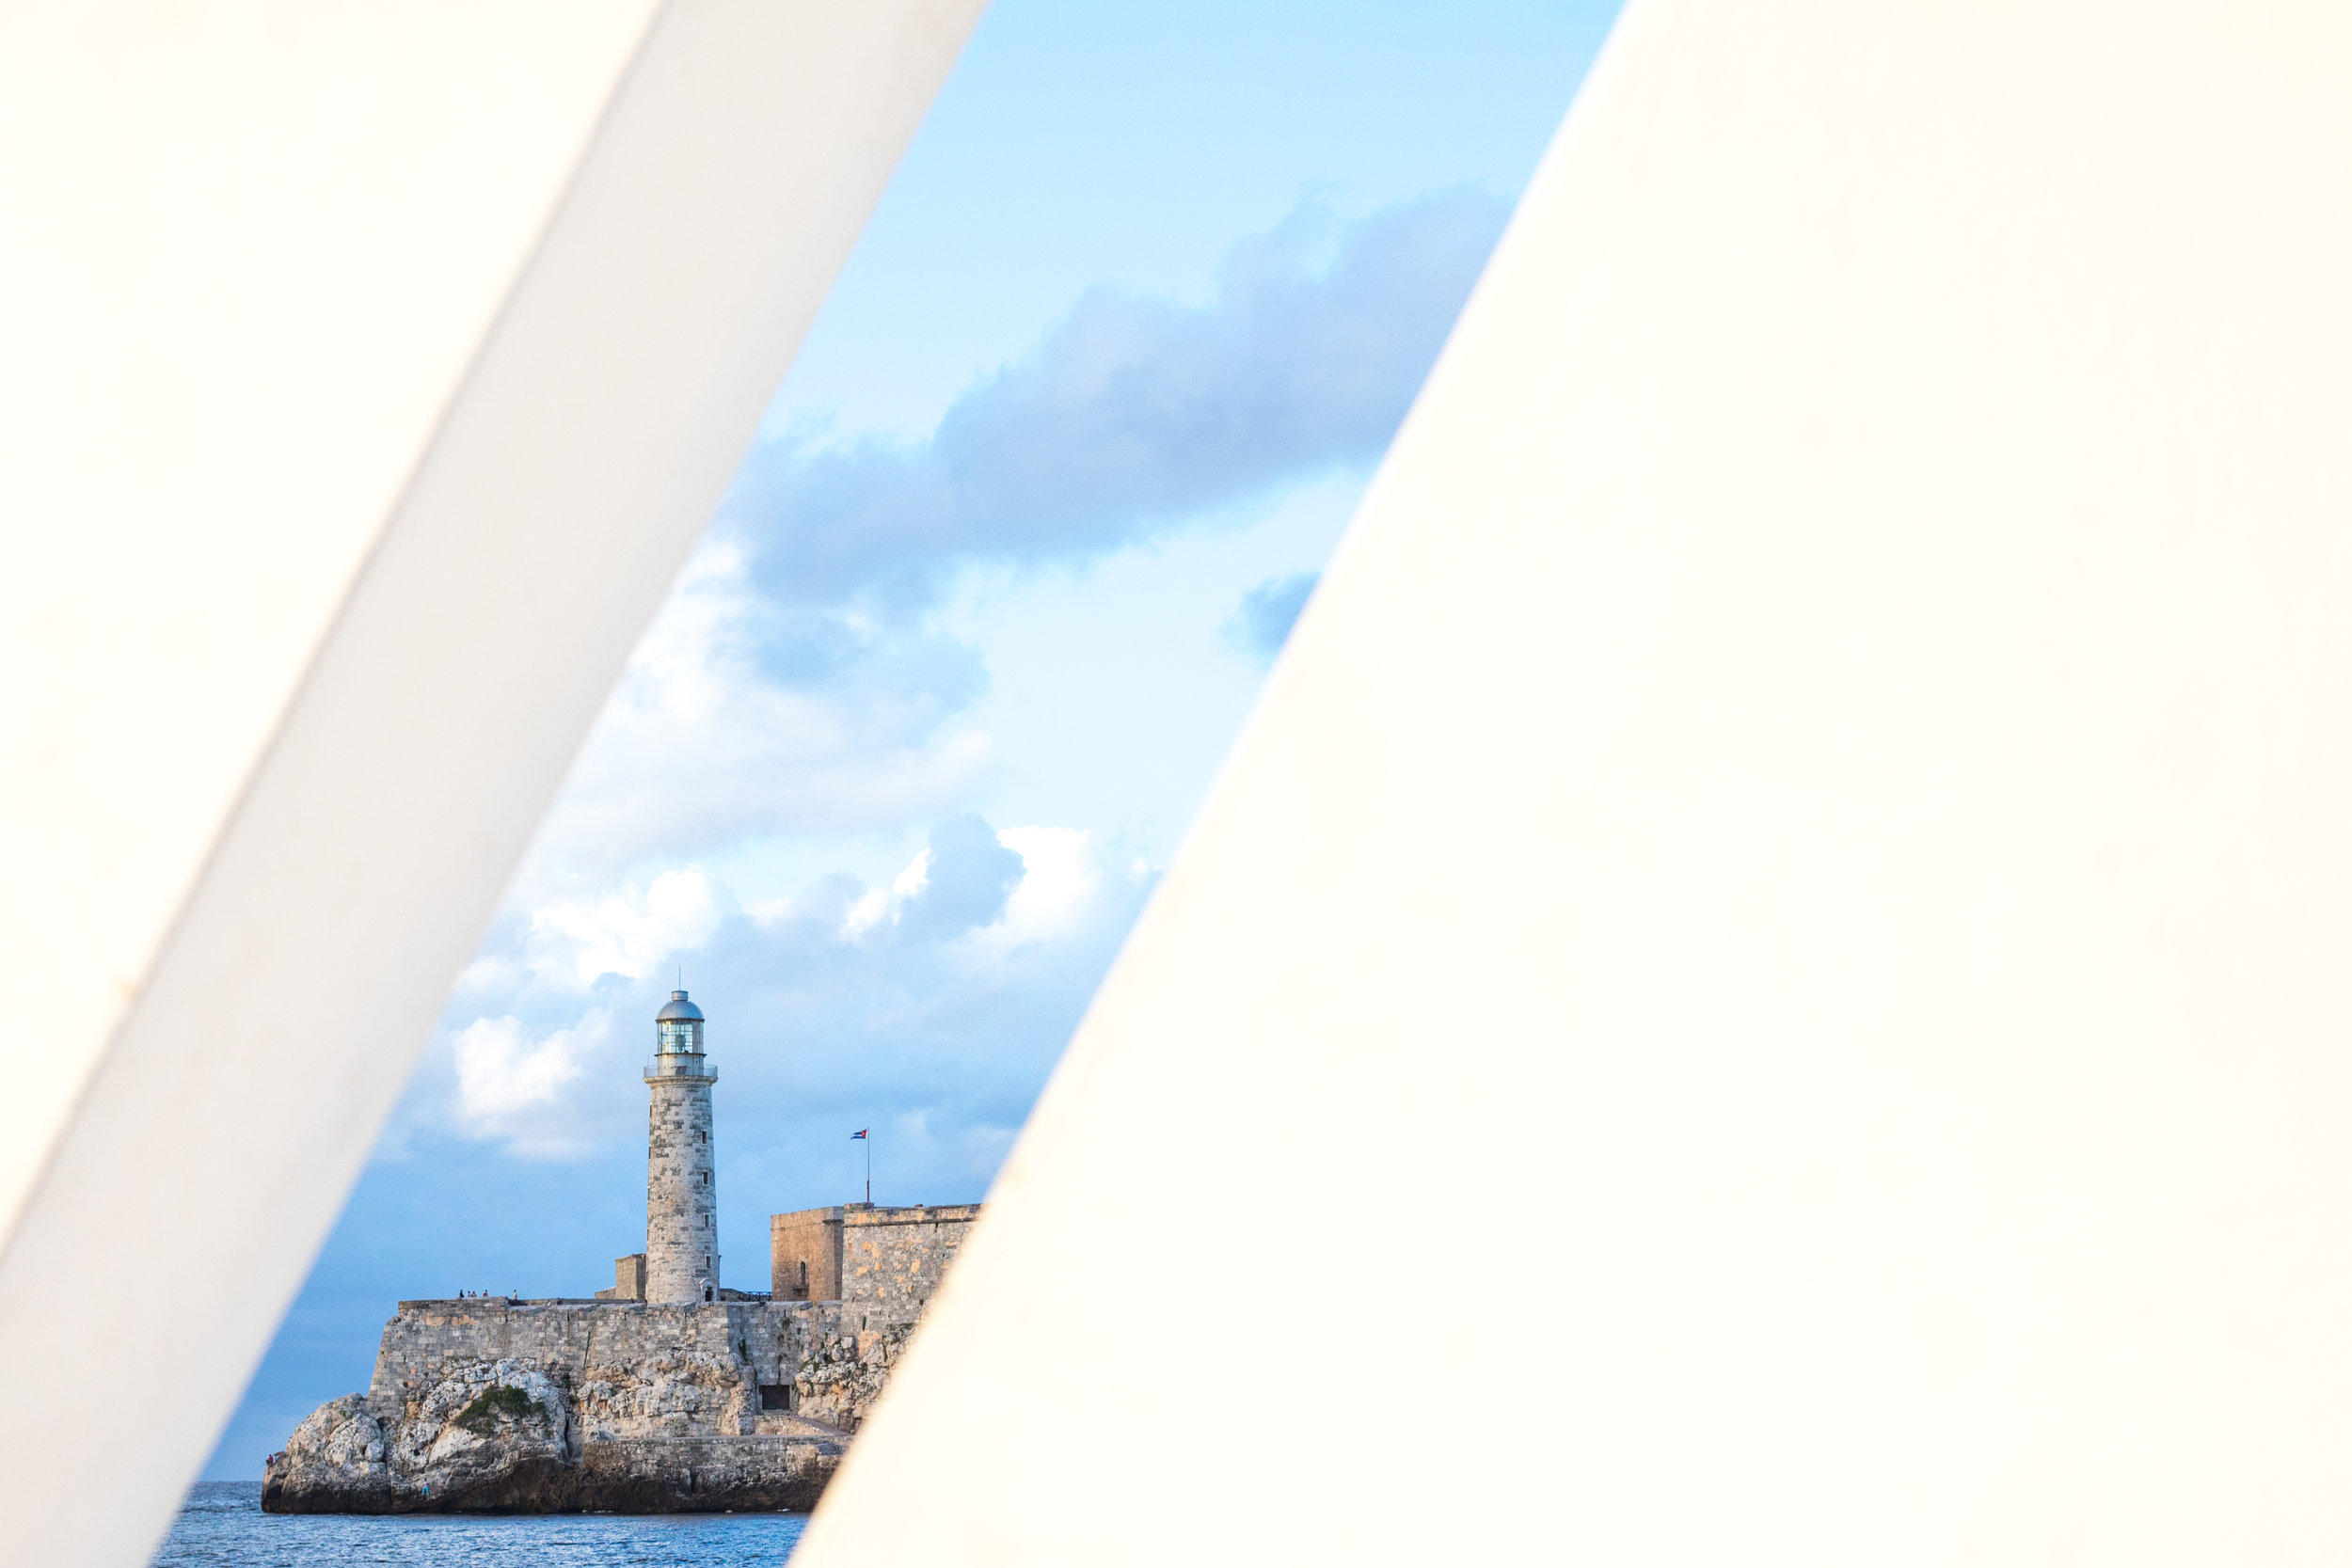
A Frame within a Frame: A useful composition technique in photography.

What is a 'Frame within a Frame'?

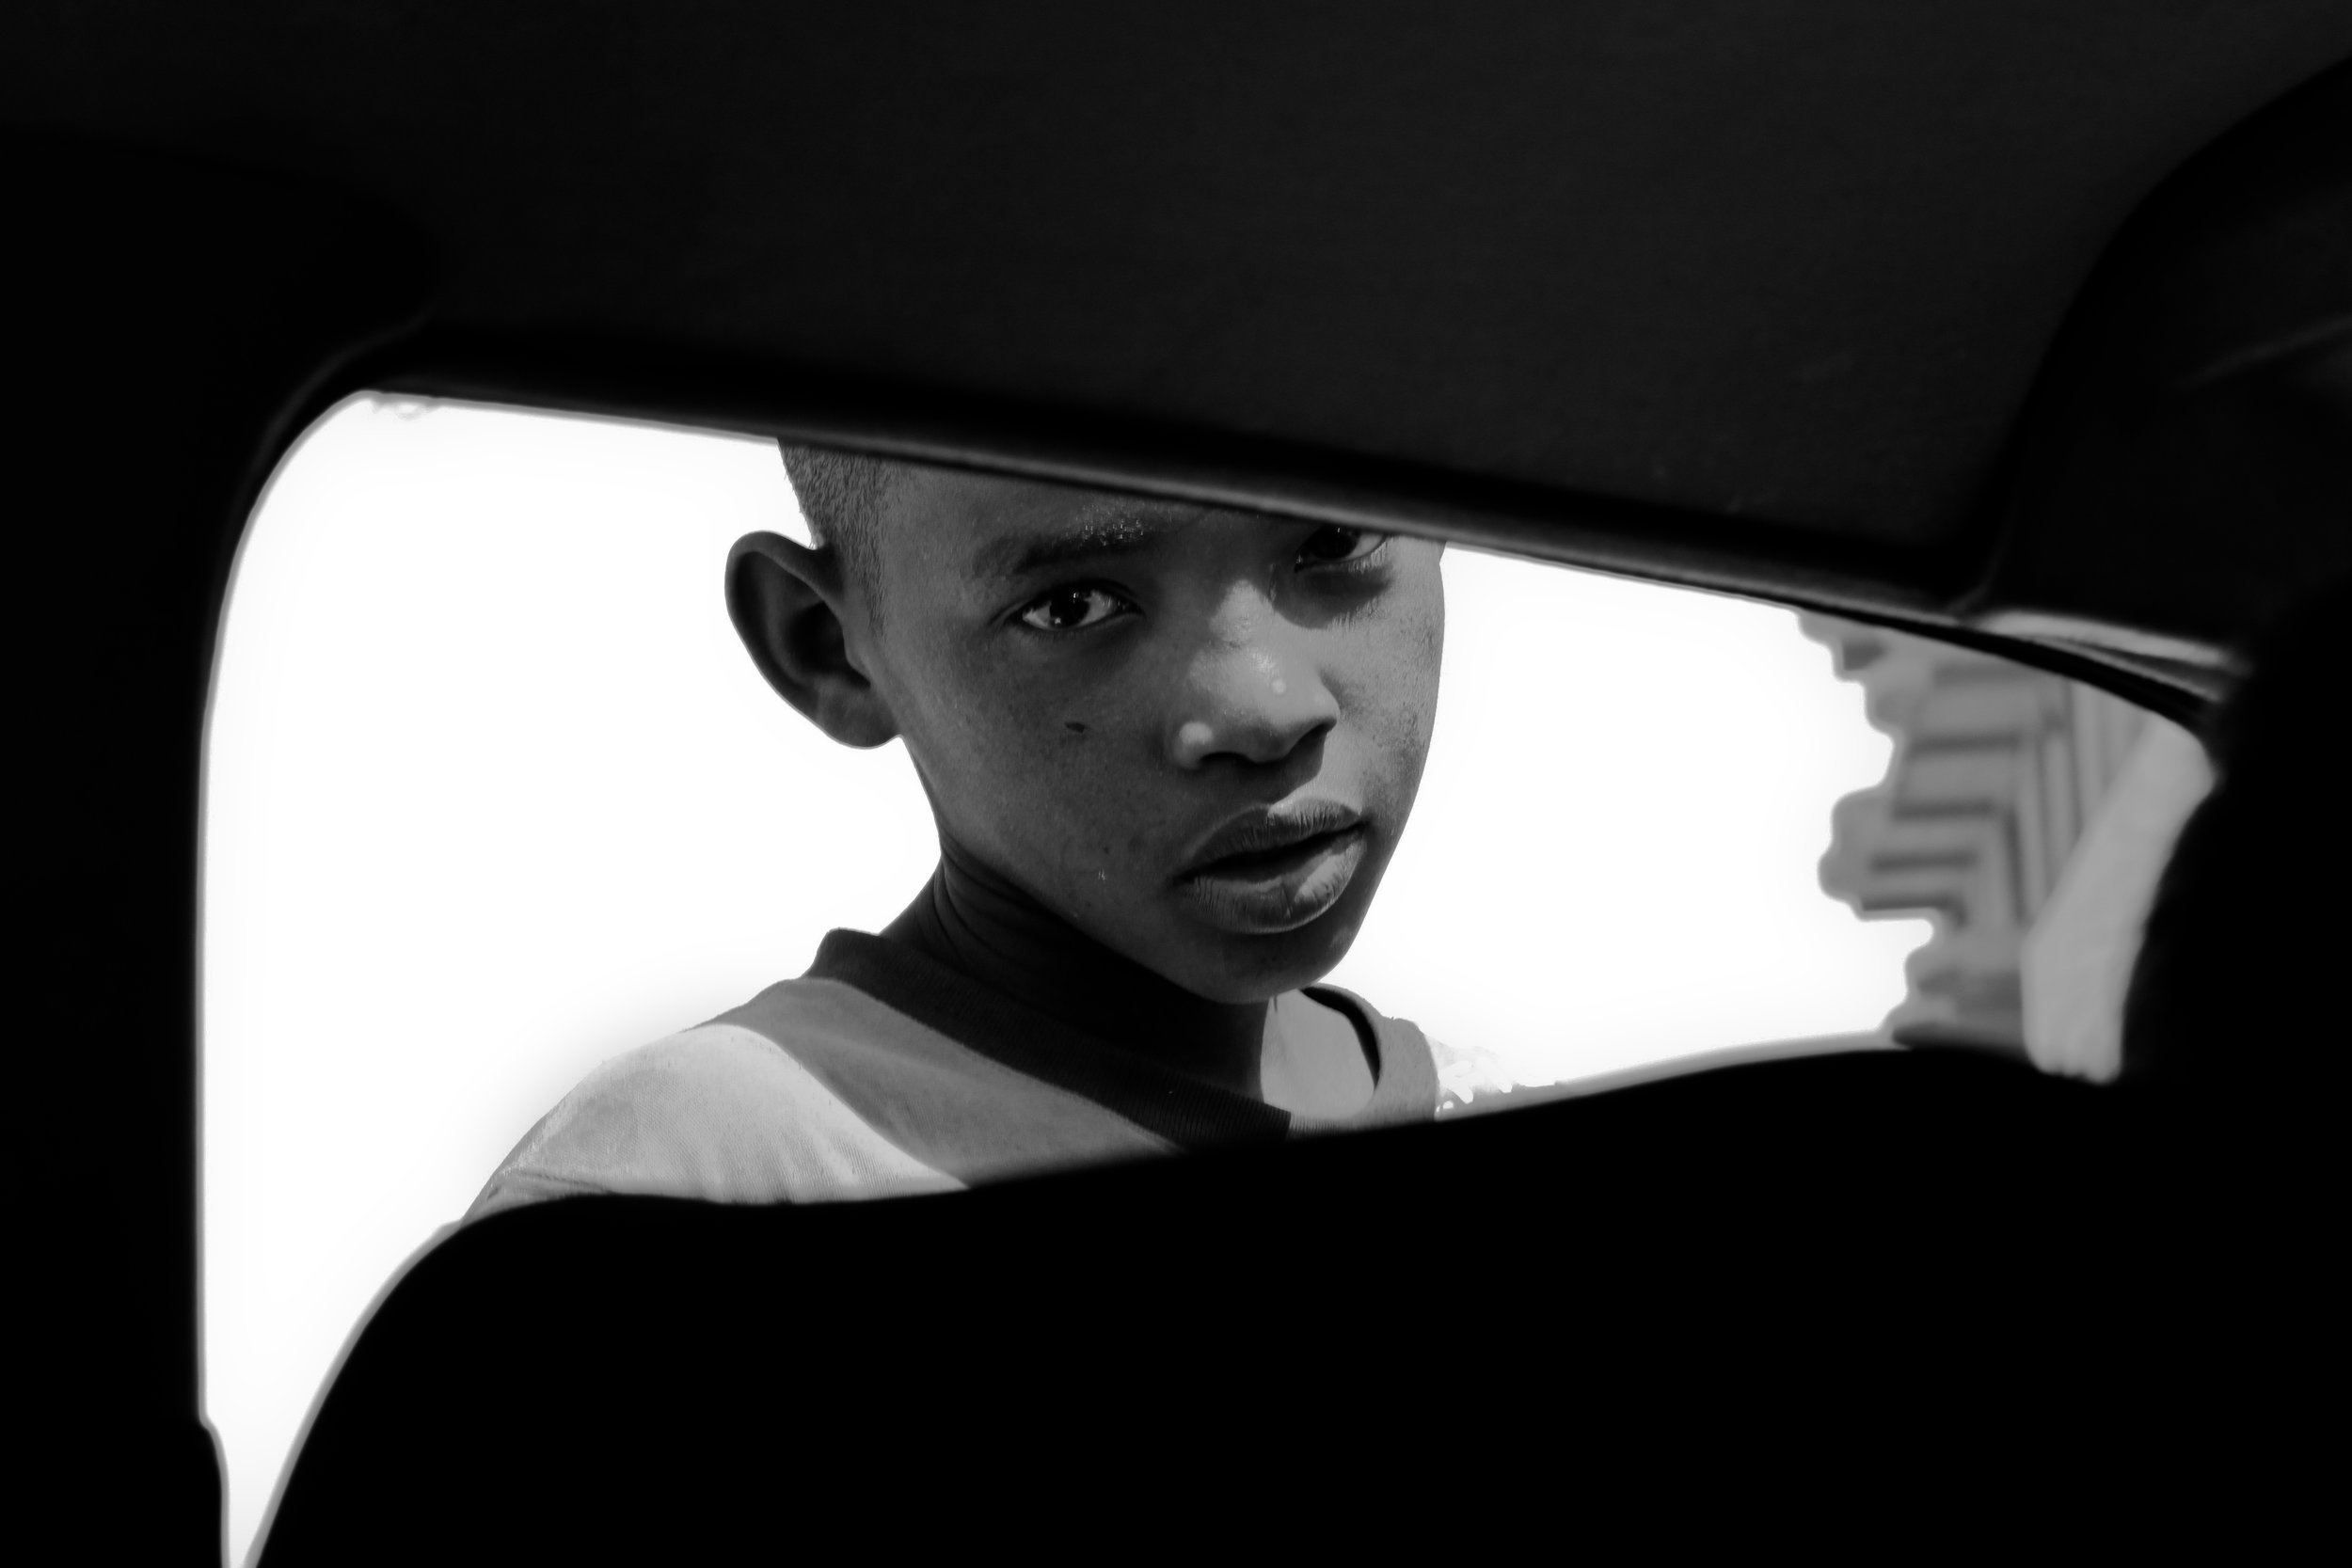
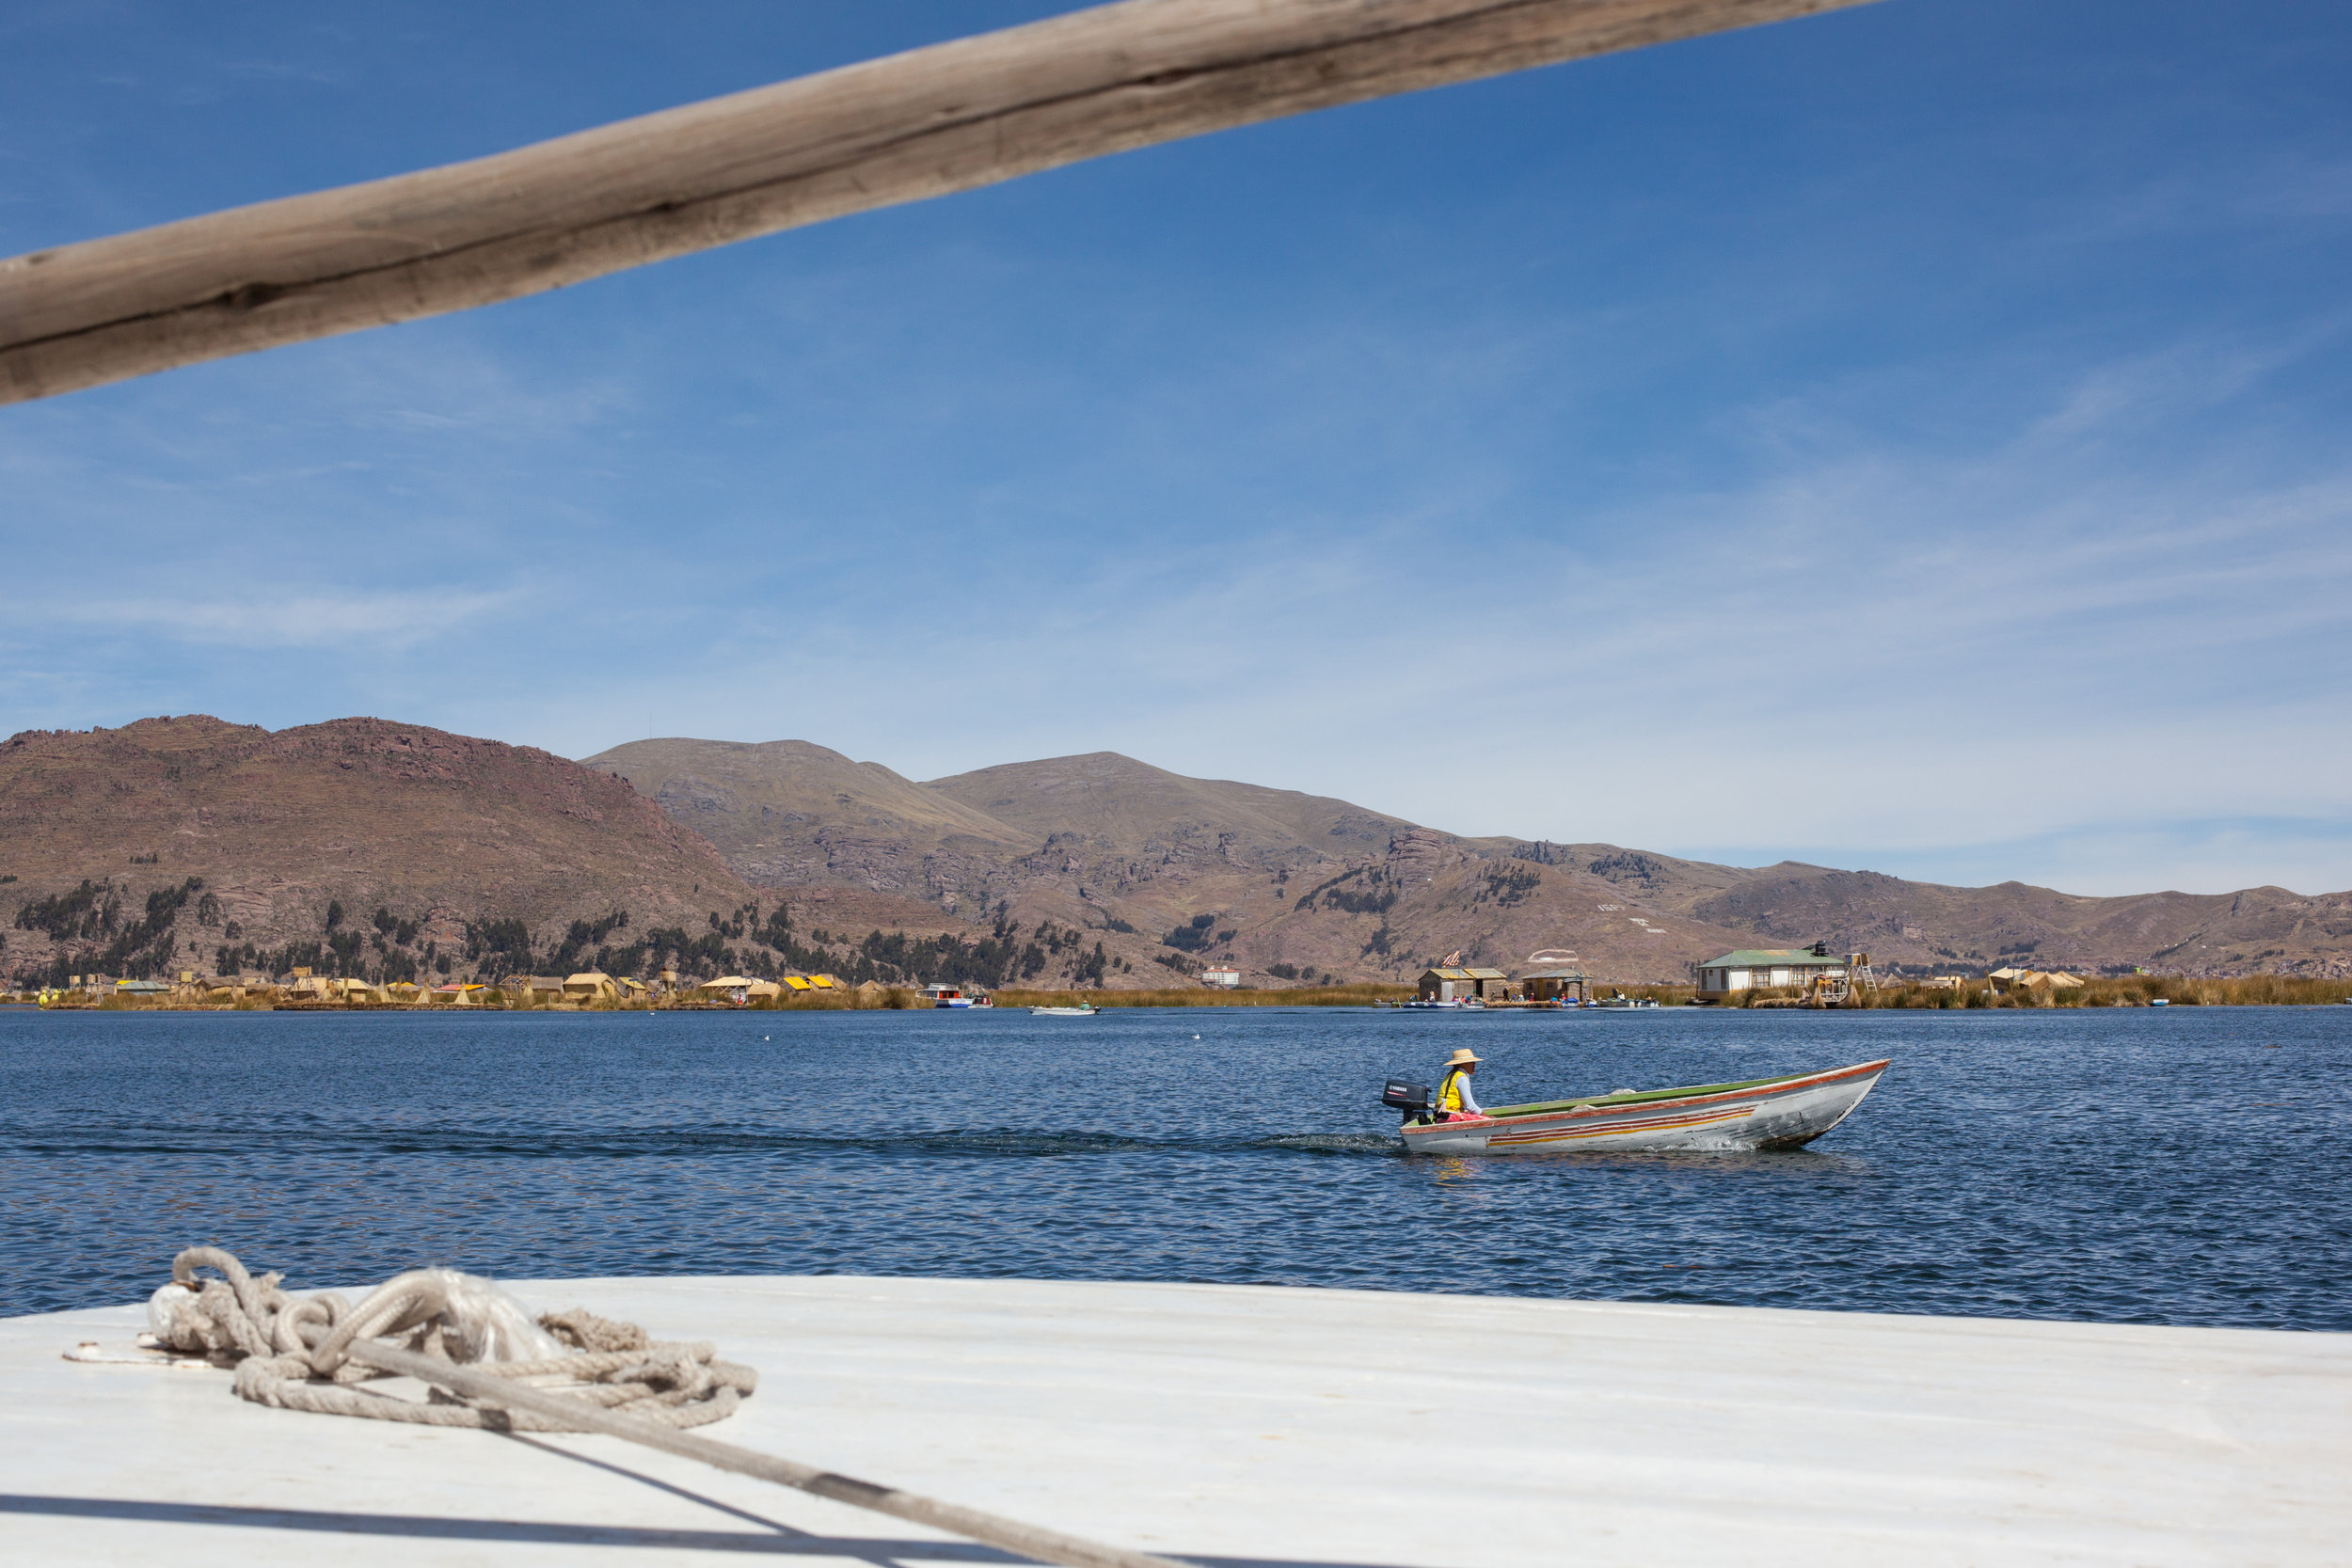
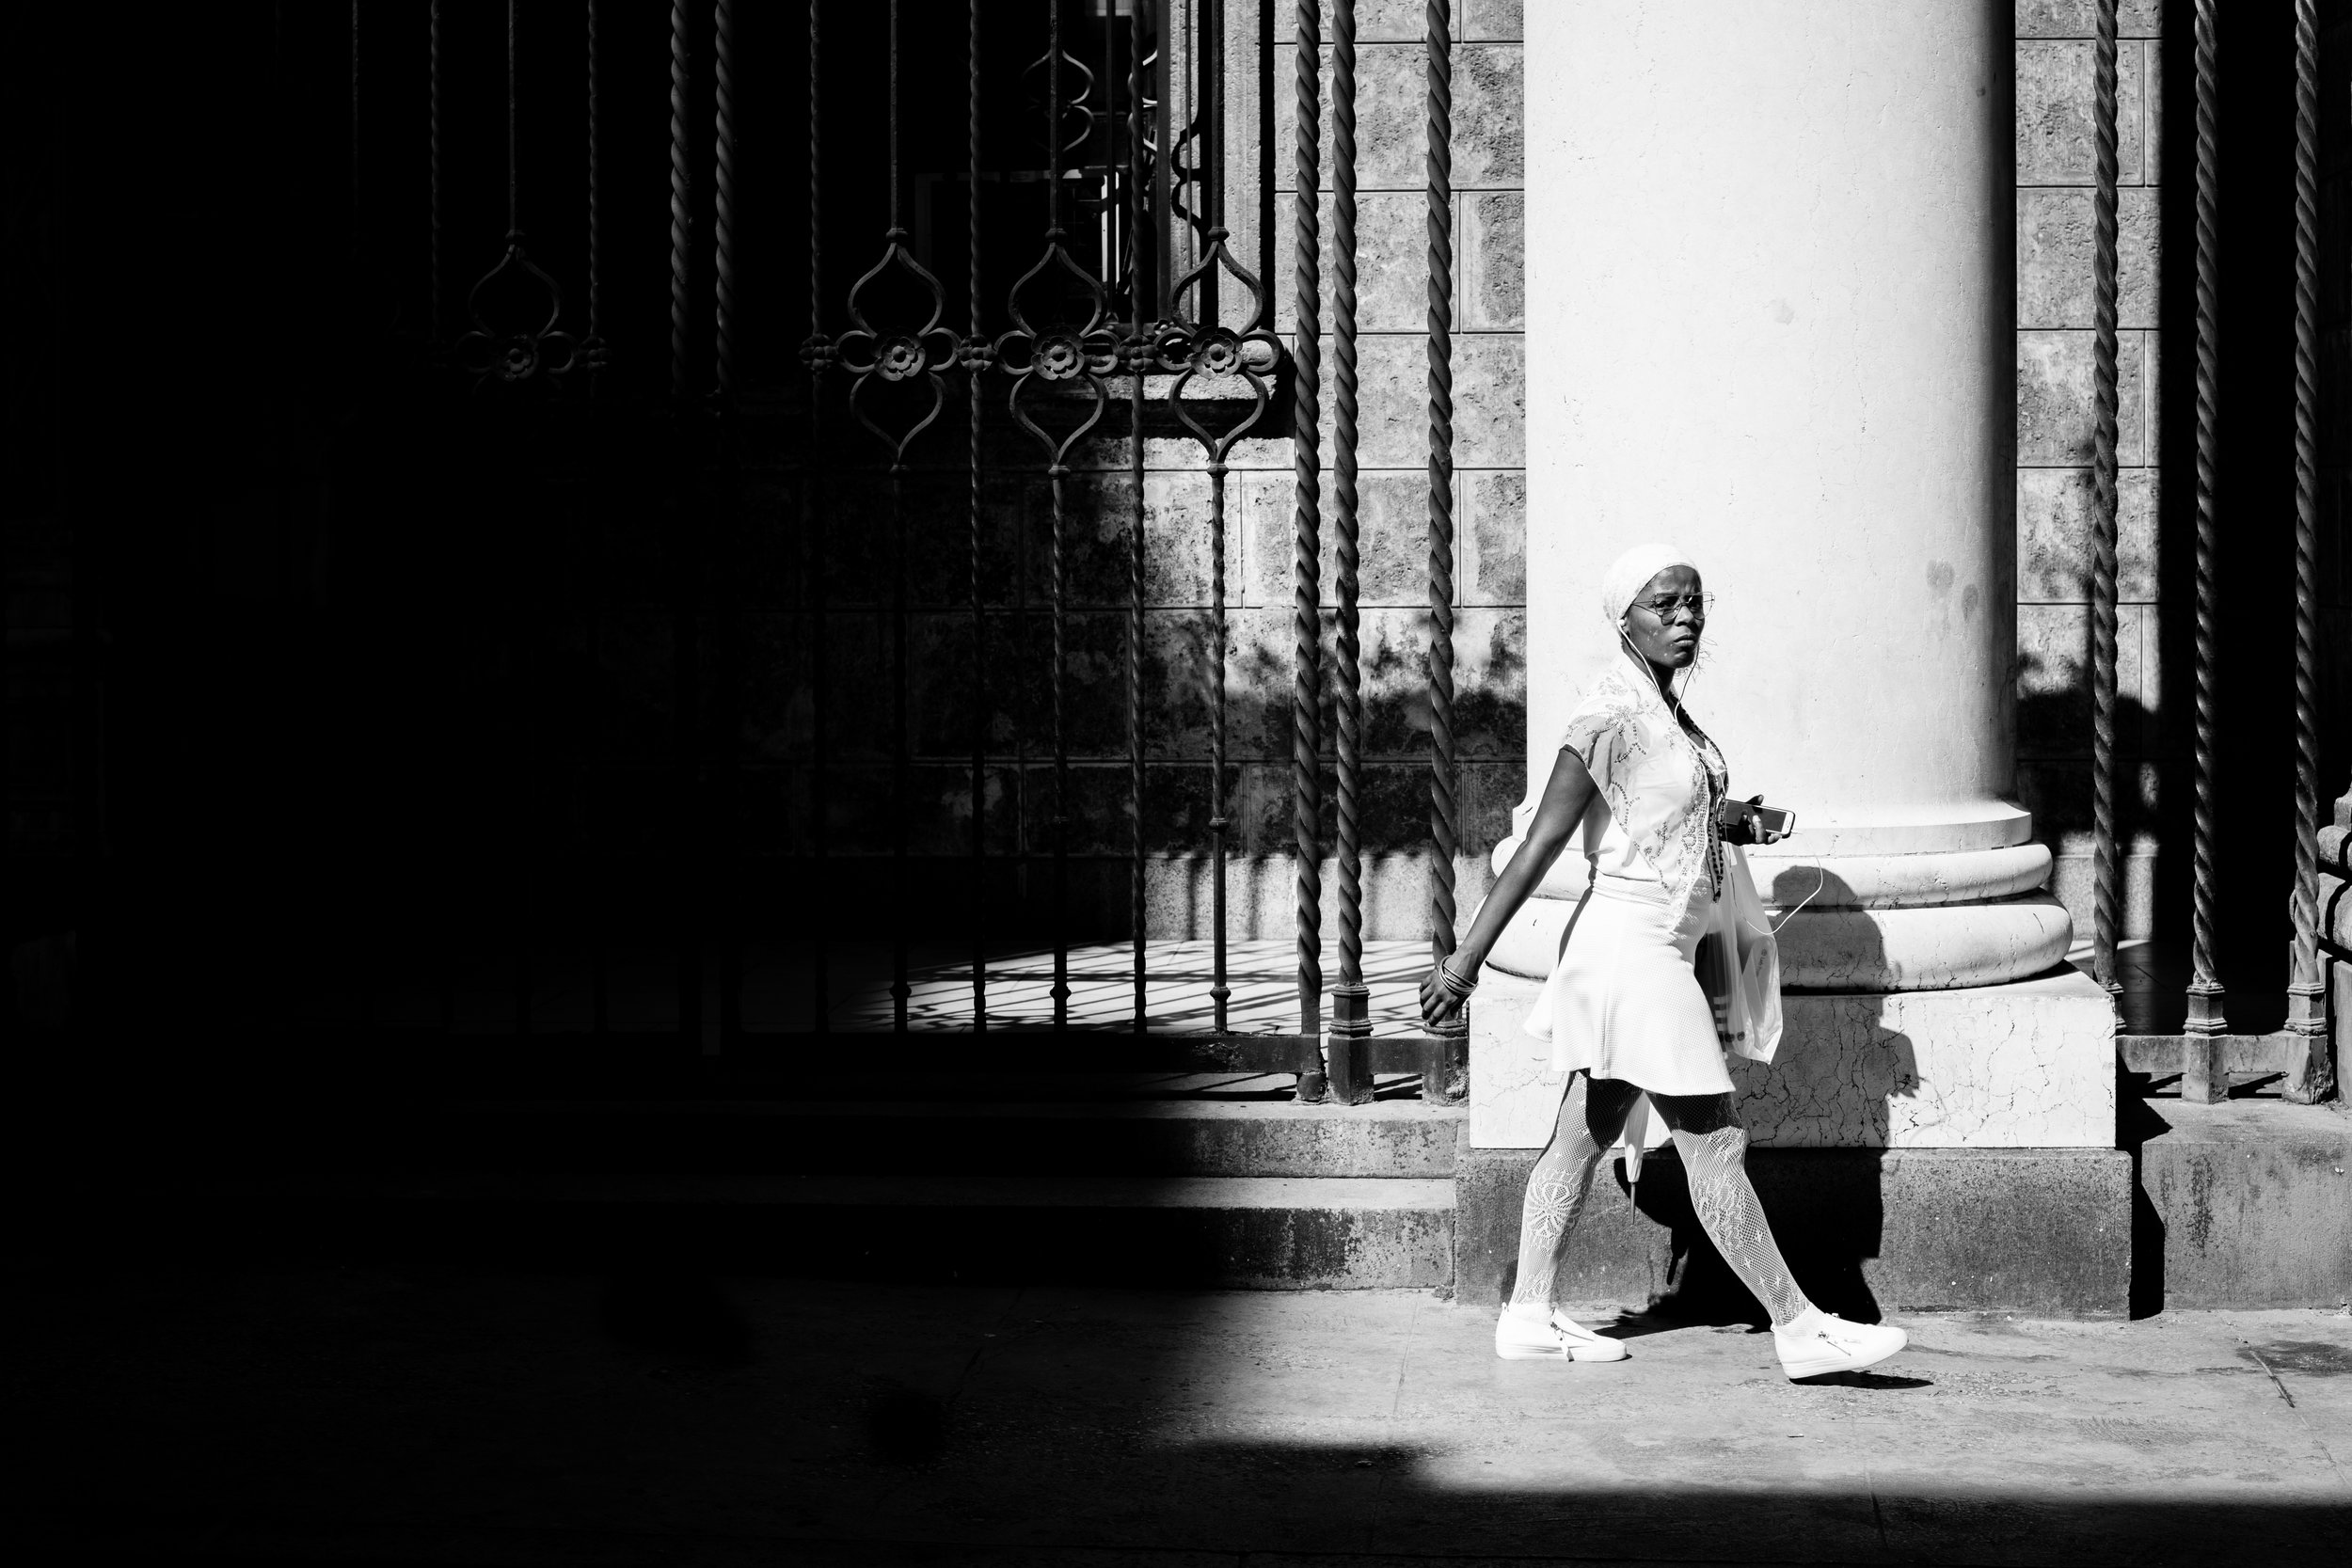
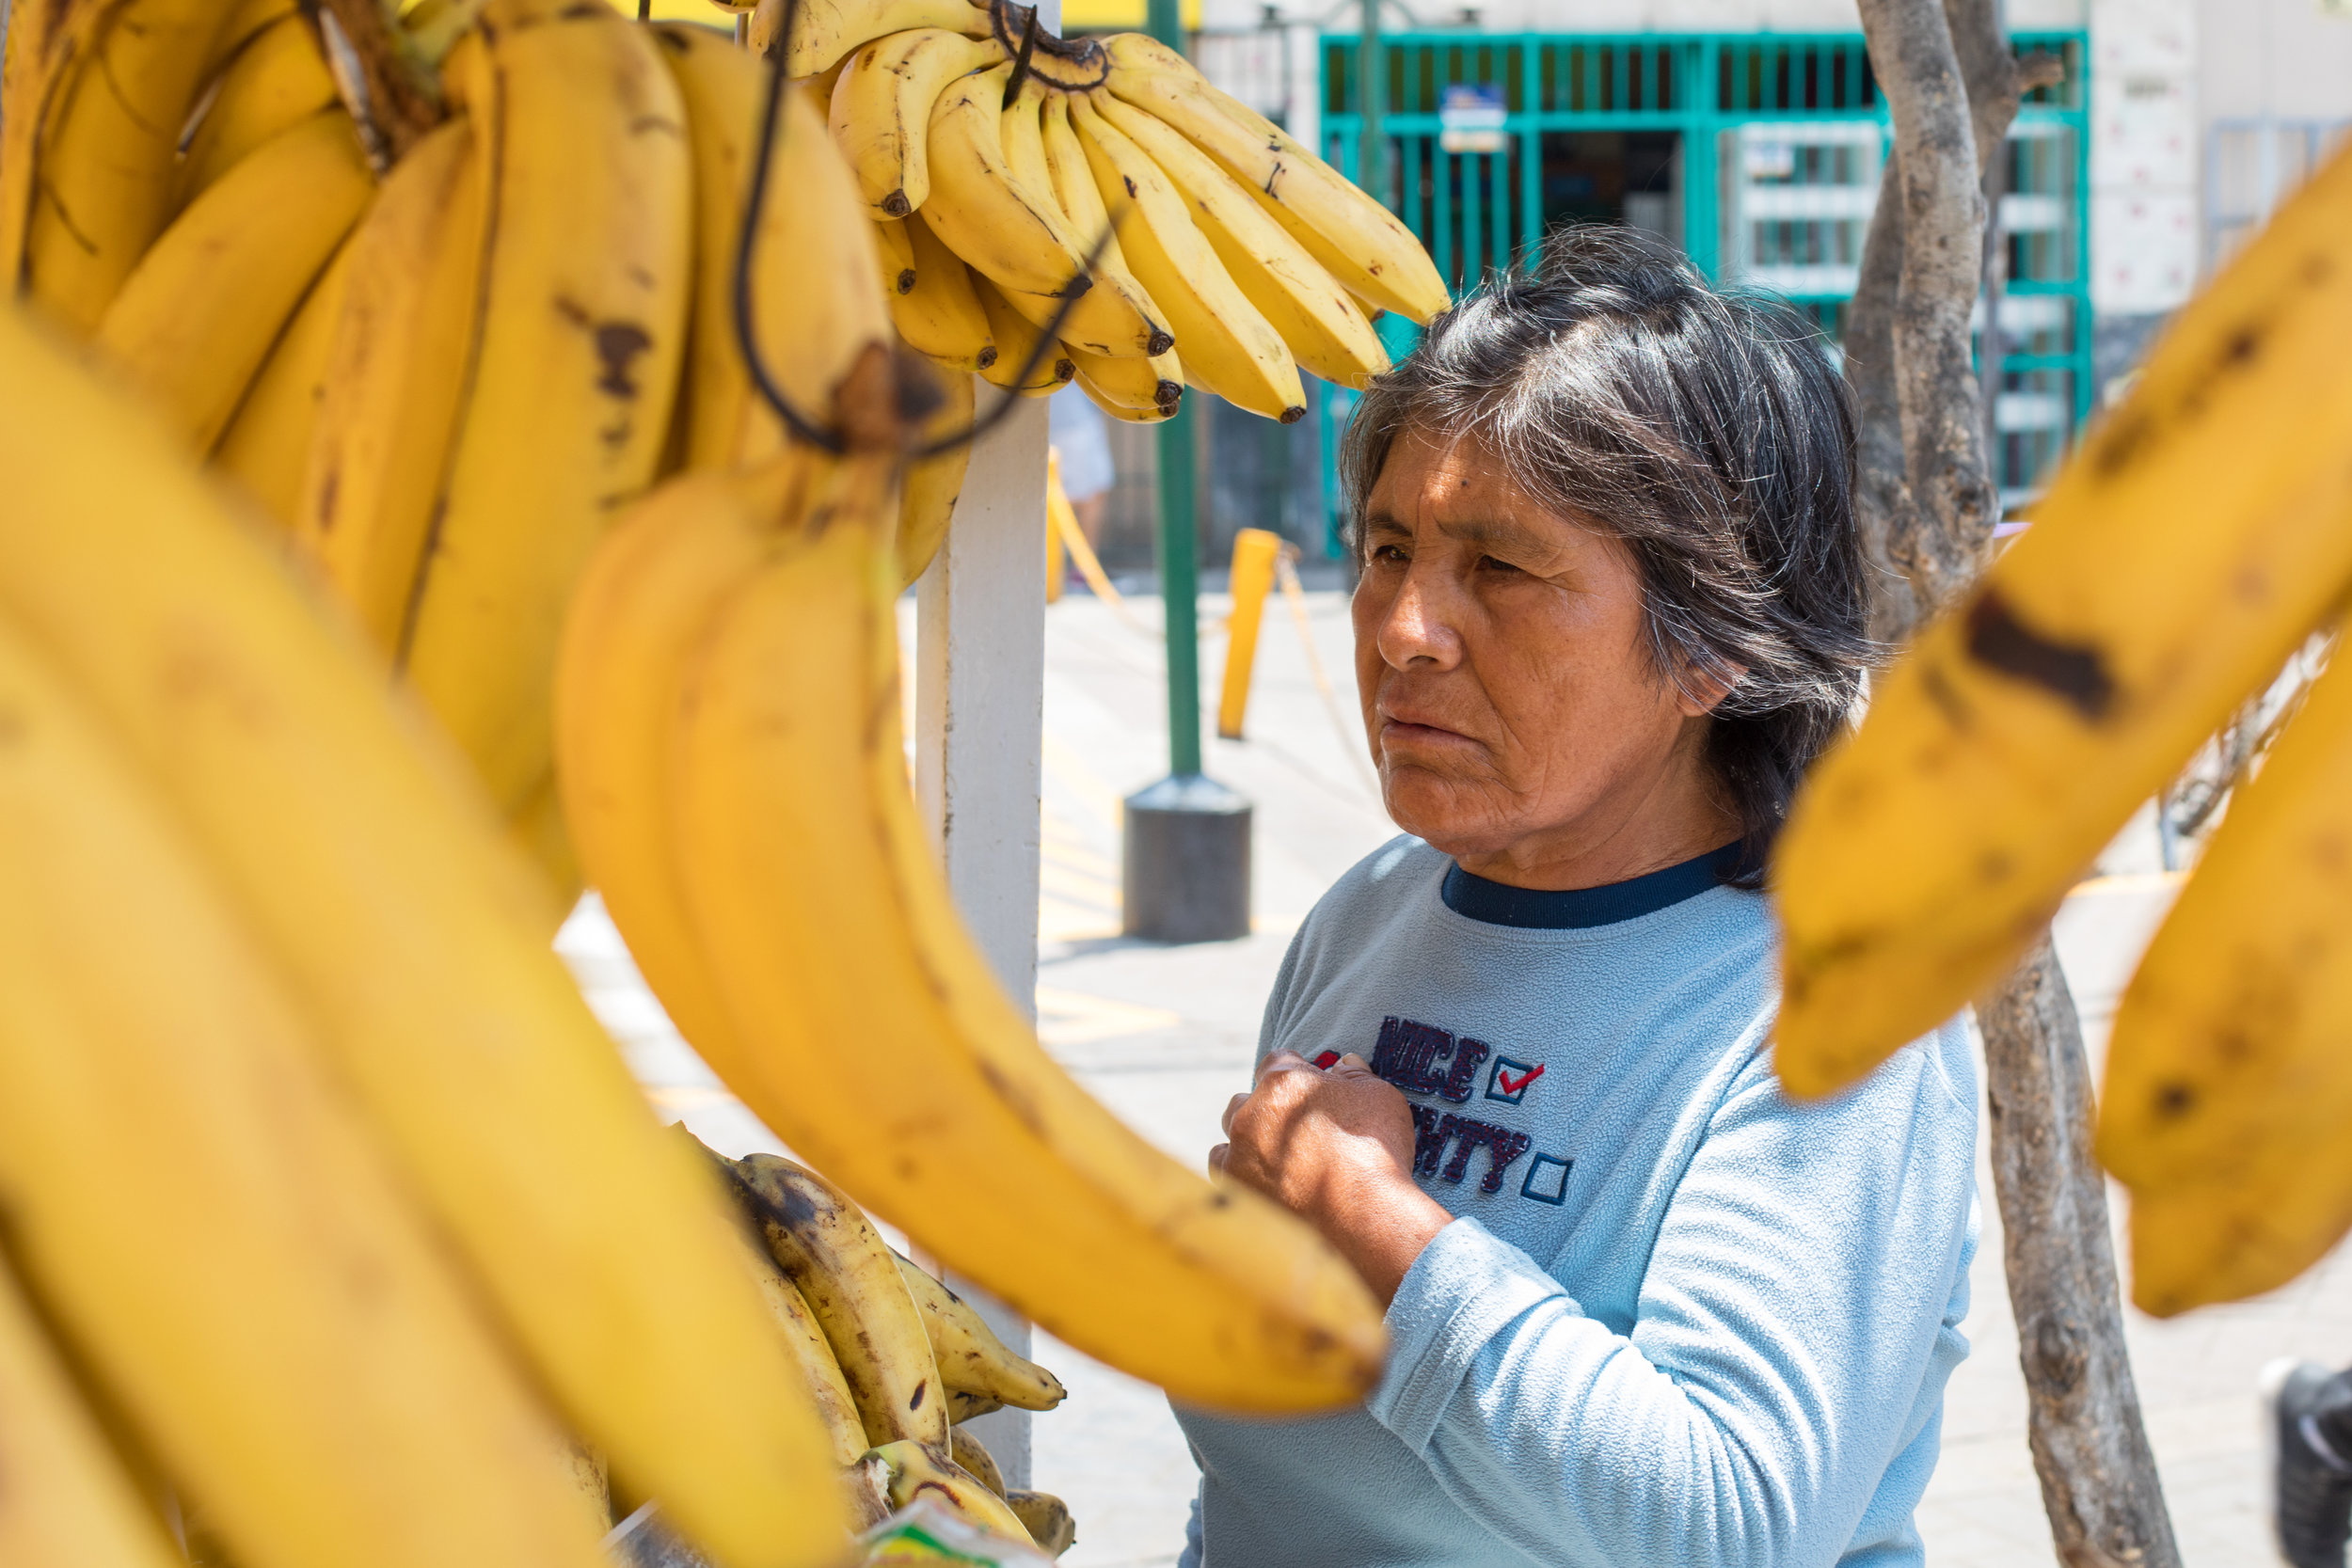
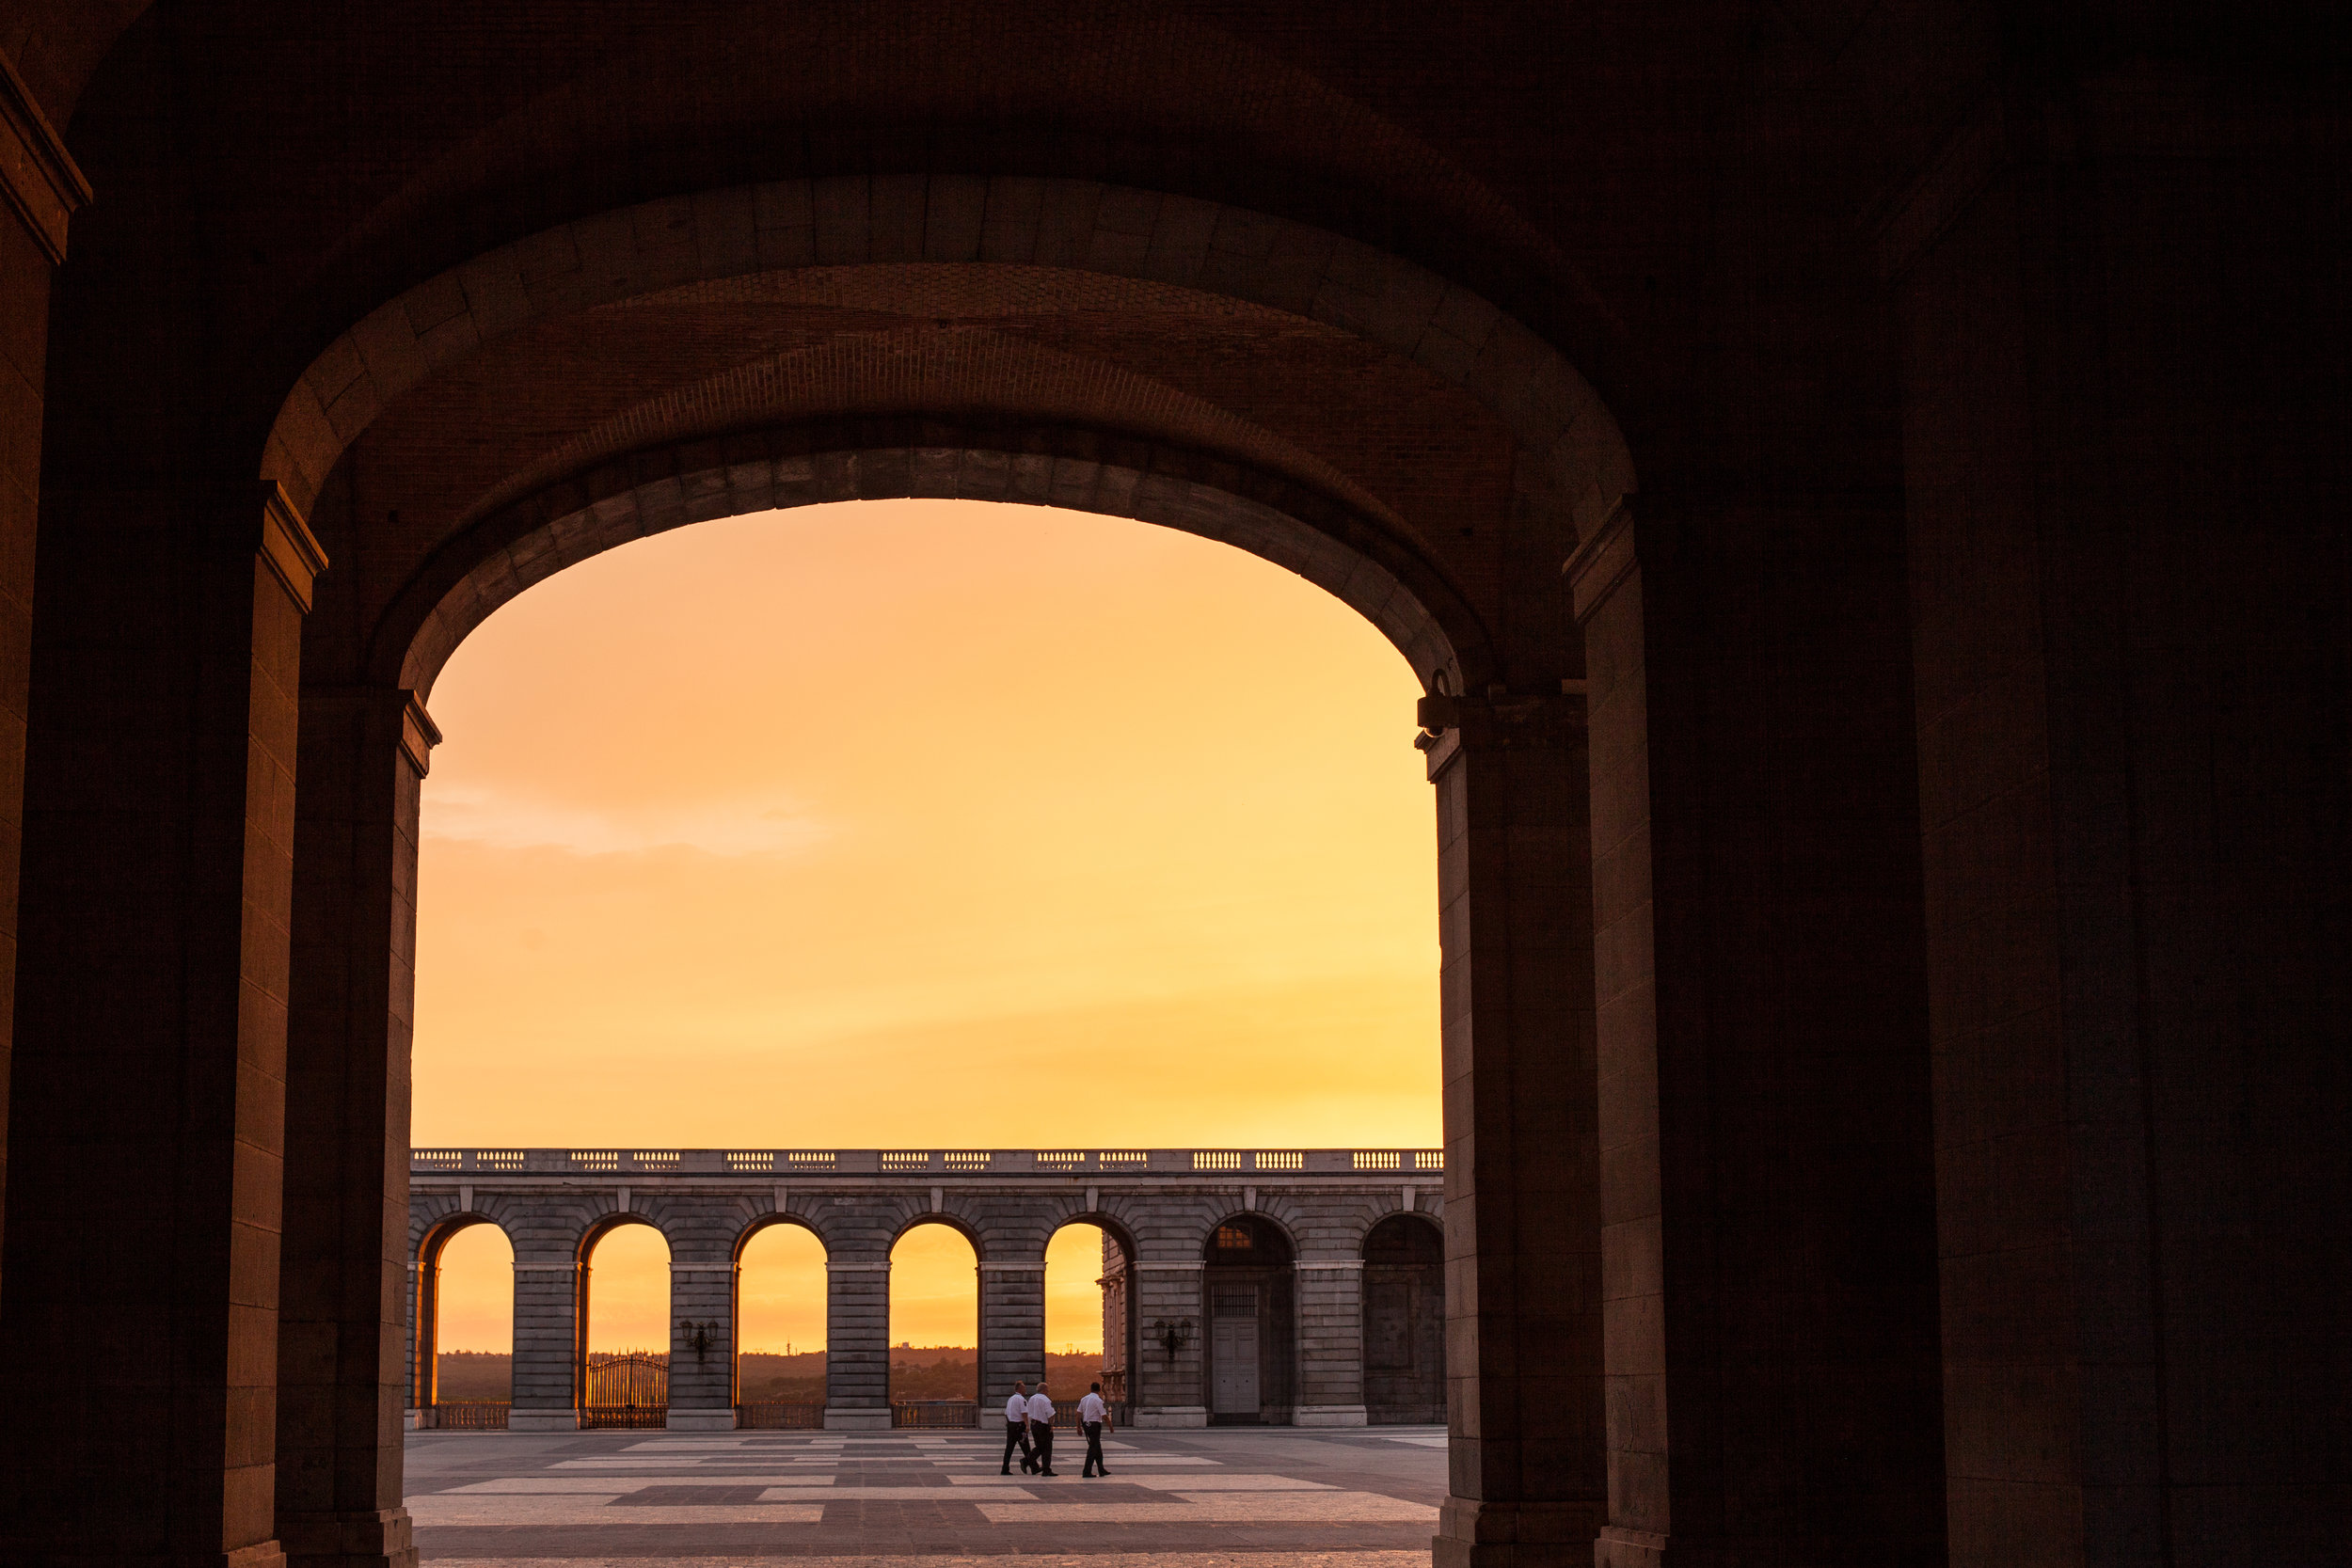
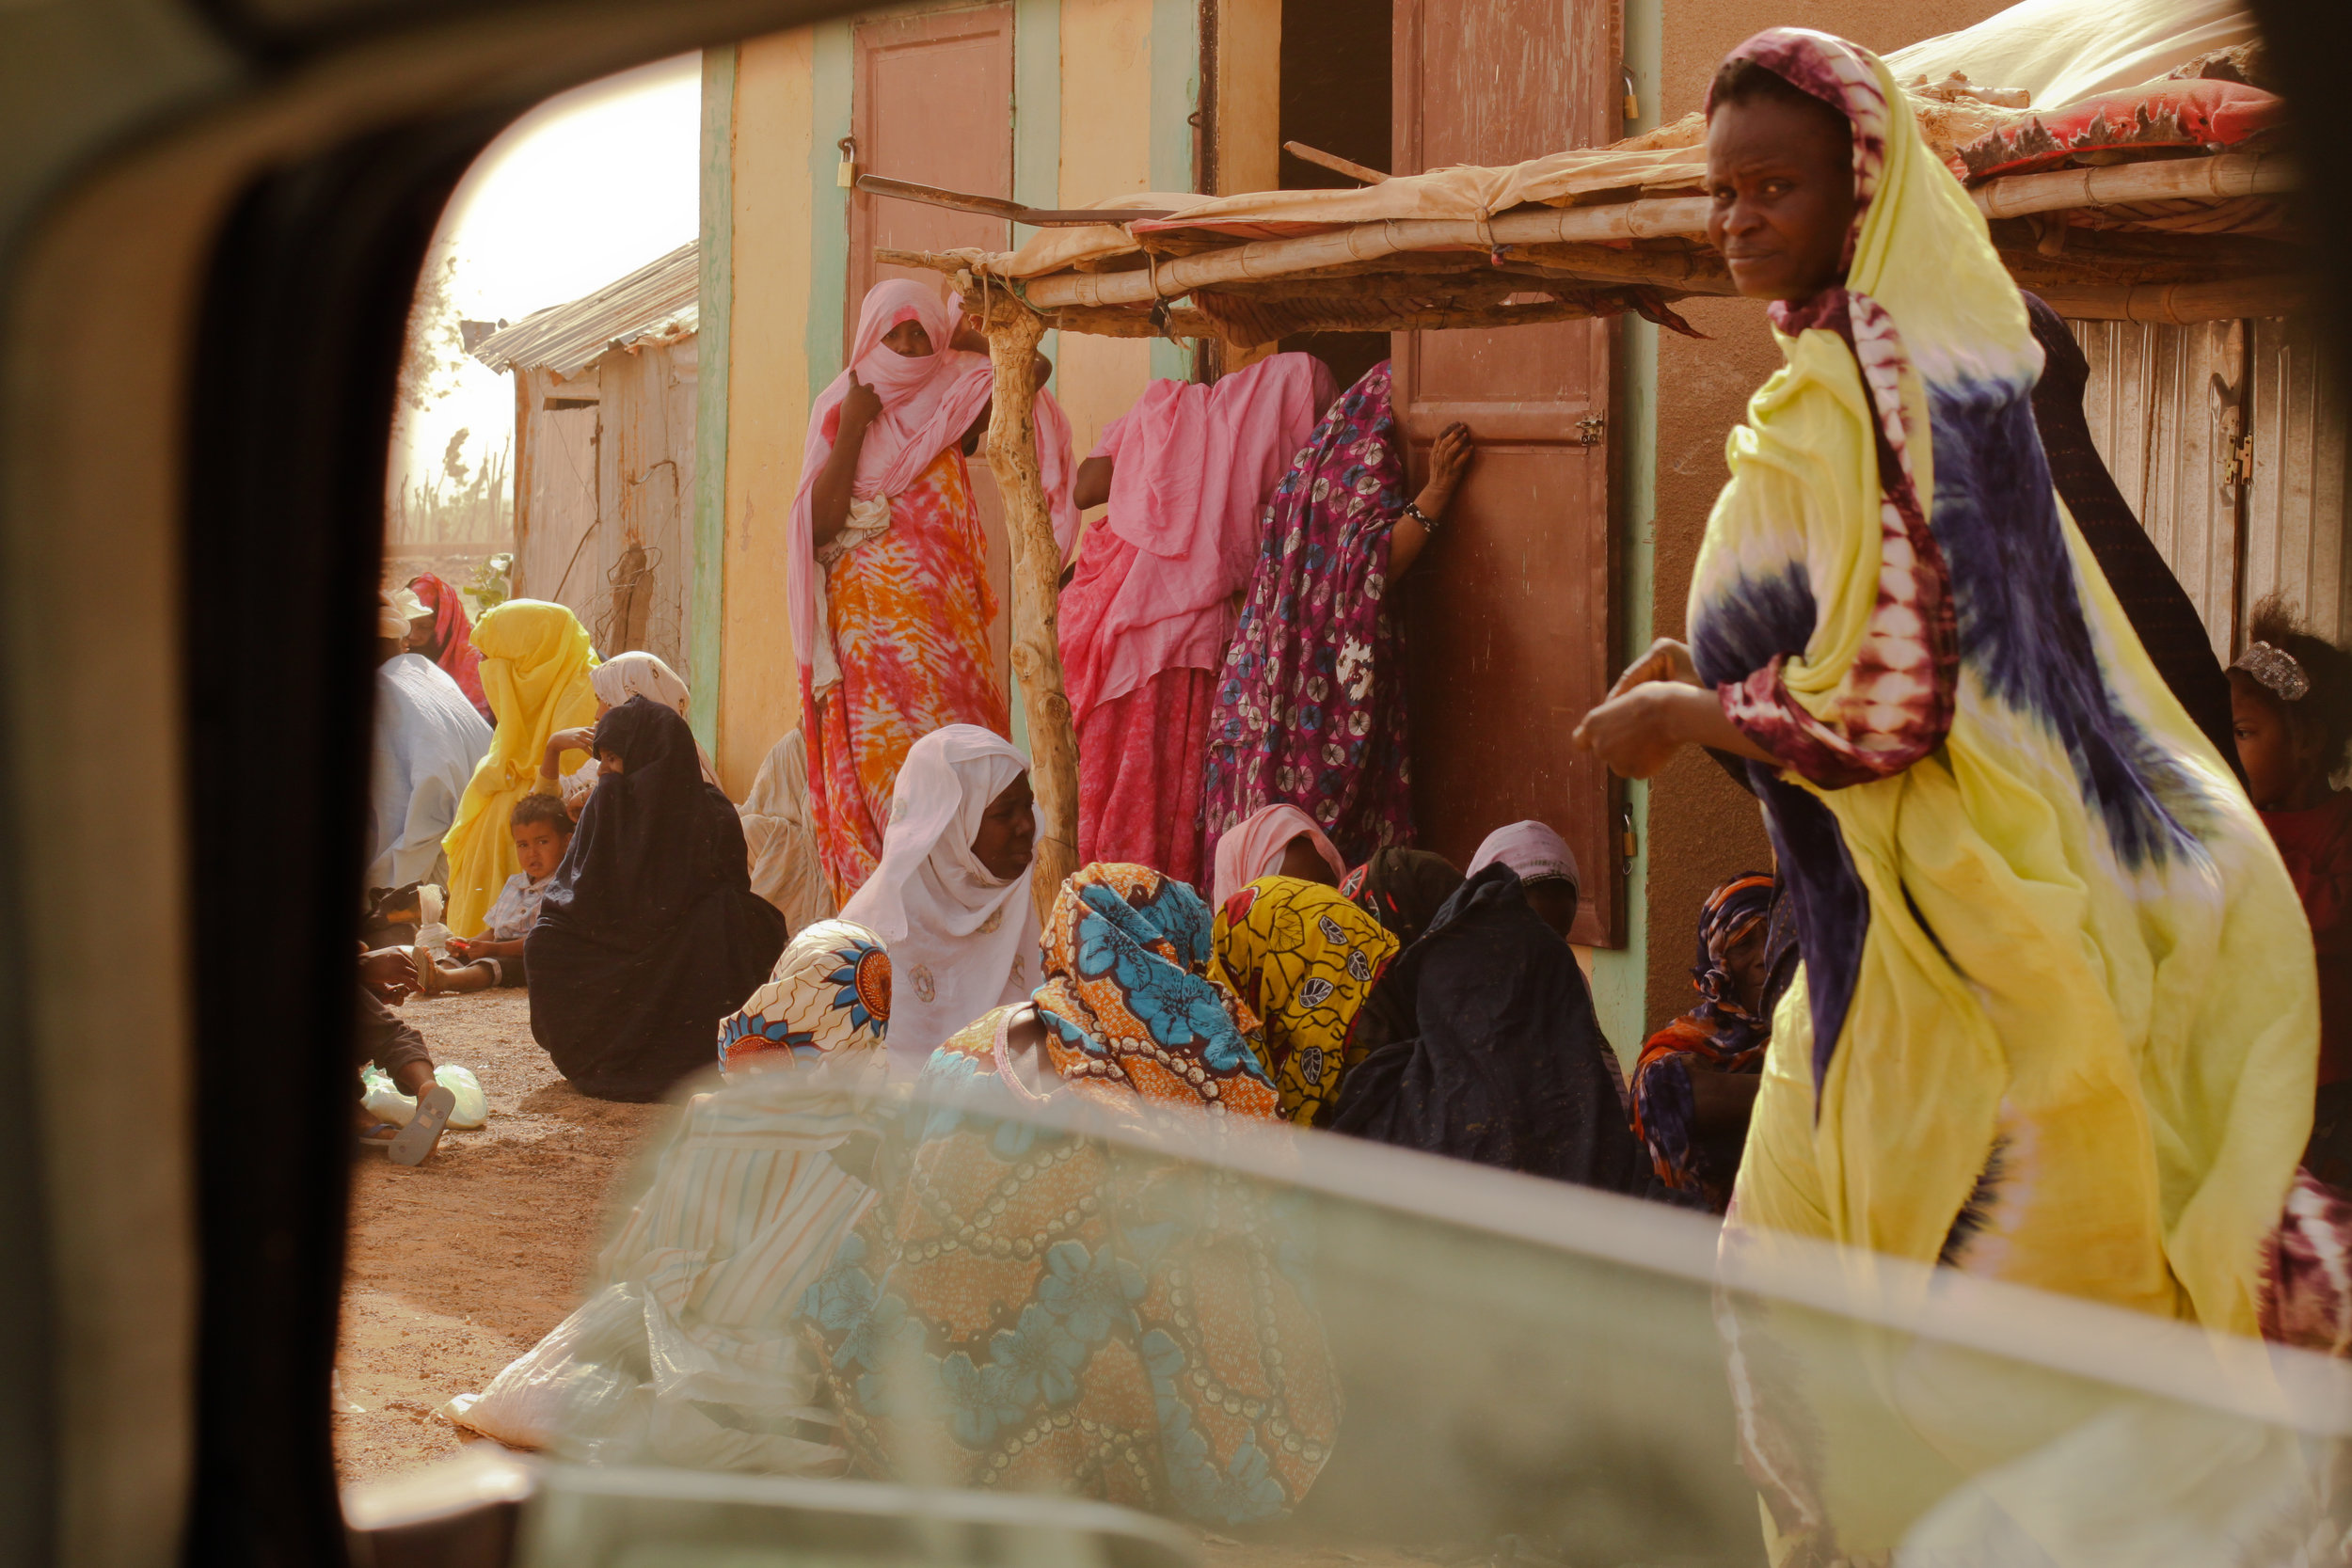
In photography, a frame within a frame is when the photographer uses something within the scene in front of them to frame the main subject.  Therefore a second frame is created within the image hence: a frame within a frame.  This compositional technique can improve your image in several ways: Firstly it draws attention to the subject helping to isolate it from any distraction and clutter within the image.  Secondly it can add depth and layers to an otherwise flat and boring image.  Finally a frame within a frame can create mystery and intrigue within a photo resulting in the viewer exploring the picture for longer.  Click through the slideshow below to view some of my travel images which use the 'frame within a frame' method of composition:

Why should you use a 'Frame within a Frame'?

Composition is one of the most important aspects of photography.  Correct composition can transform an ordinary scene into a great picture.  Unlike certain elements of photography such as lighting, no technical knowledge is required for successful composition.  Finally, anyone with a camera can take images using this technique.  Regardless of price, make or model, anyone with a camera or mobile phone can go and try today.

Opportunities for Framing

Opportunities for framing a scene are endless but often go unnoticed.  For example, nature often provides a vast number of natural frames such as trees, clouds or flowers.  In addition there are many man made objects which can be used equally well.  These can include: windows, archways, bridges, buildings and so on.  The more of this kind of image you take, the more potential you will see in everyday situations.  In the slide show above, framing examples have included: modern art in Havana, car window frames in West Africa, a boat in Peru, shadows in a street shot in Cuba, bananas at a market stall in Lima, and an archway of a palace in Madrid. Wedding, travel, and street photographers all regularly take photos using this compositional method of a frame within a frame.  

More of my travel photography can be found on my websiteInstagramFacebook Page and my Flickr account.  If you are interested in purchasing any prints, or are interested in collaborating please send me an email at: geraintrowlandphotography@gmail.com.  
Silhouette Photography by Geraint Rowland

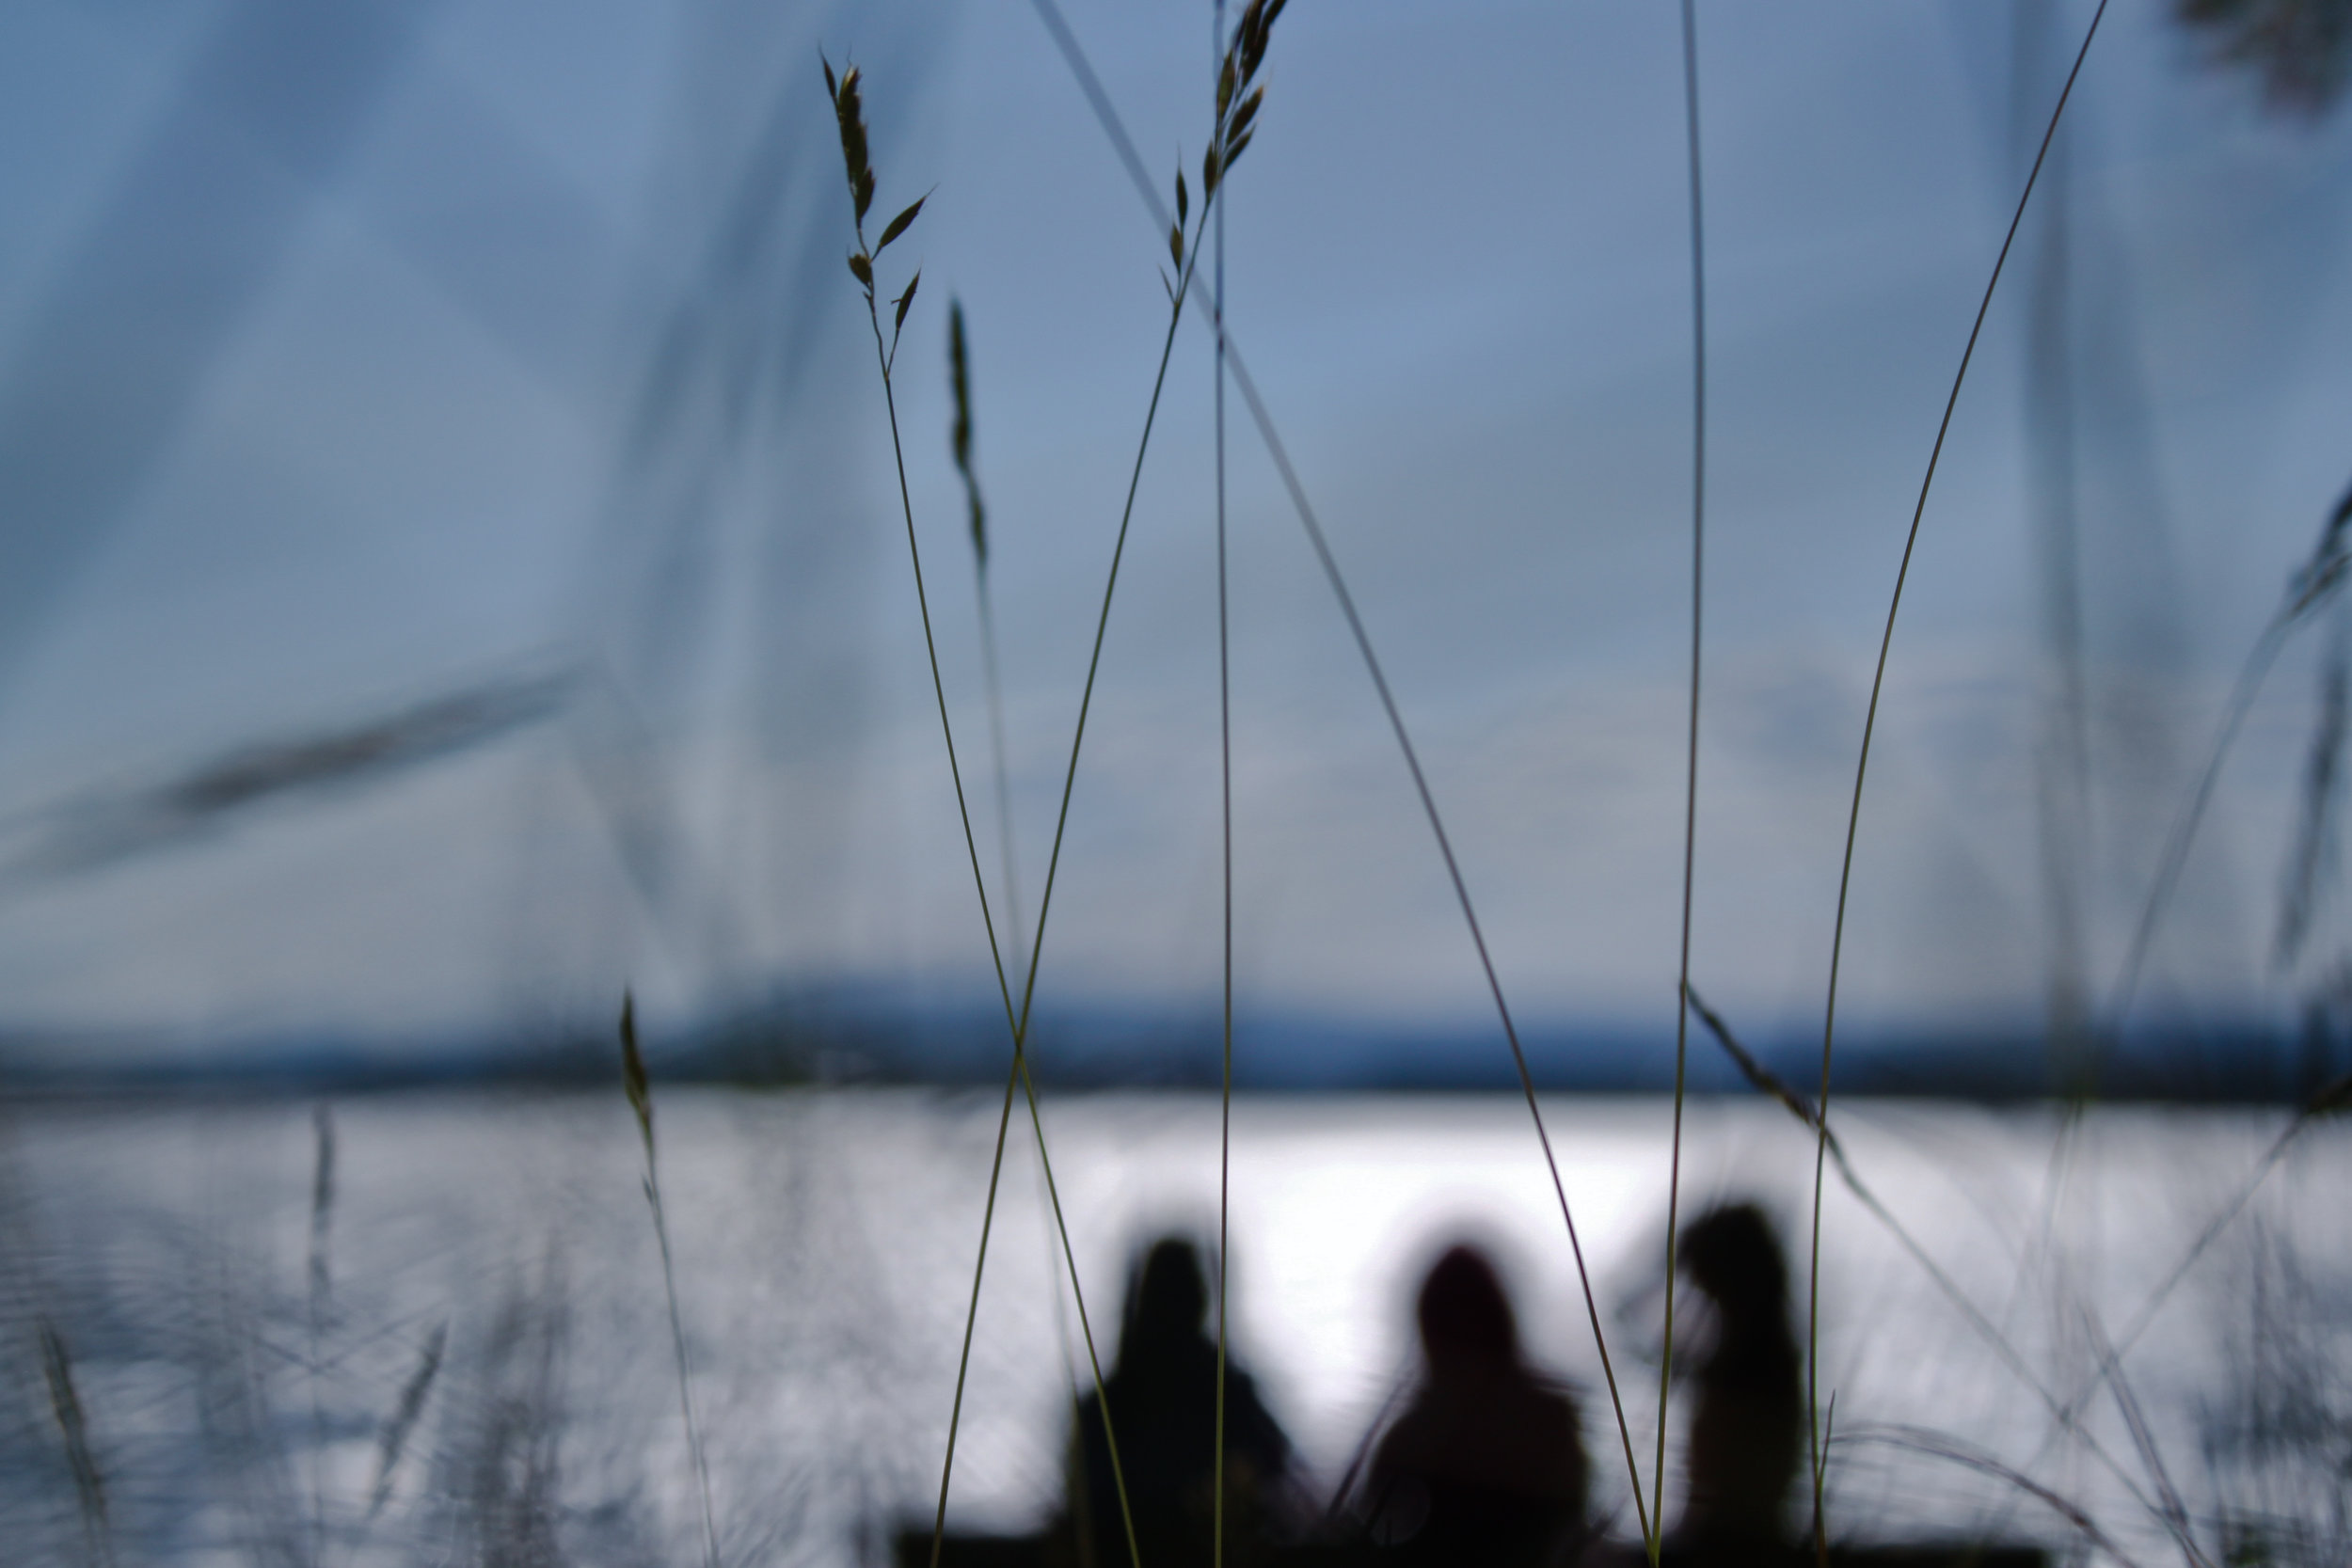
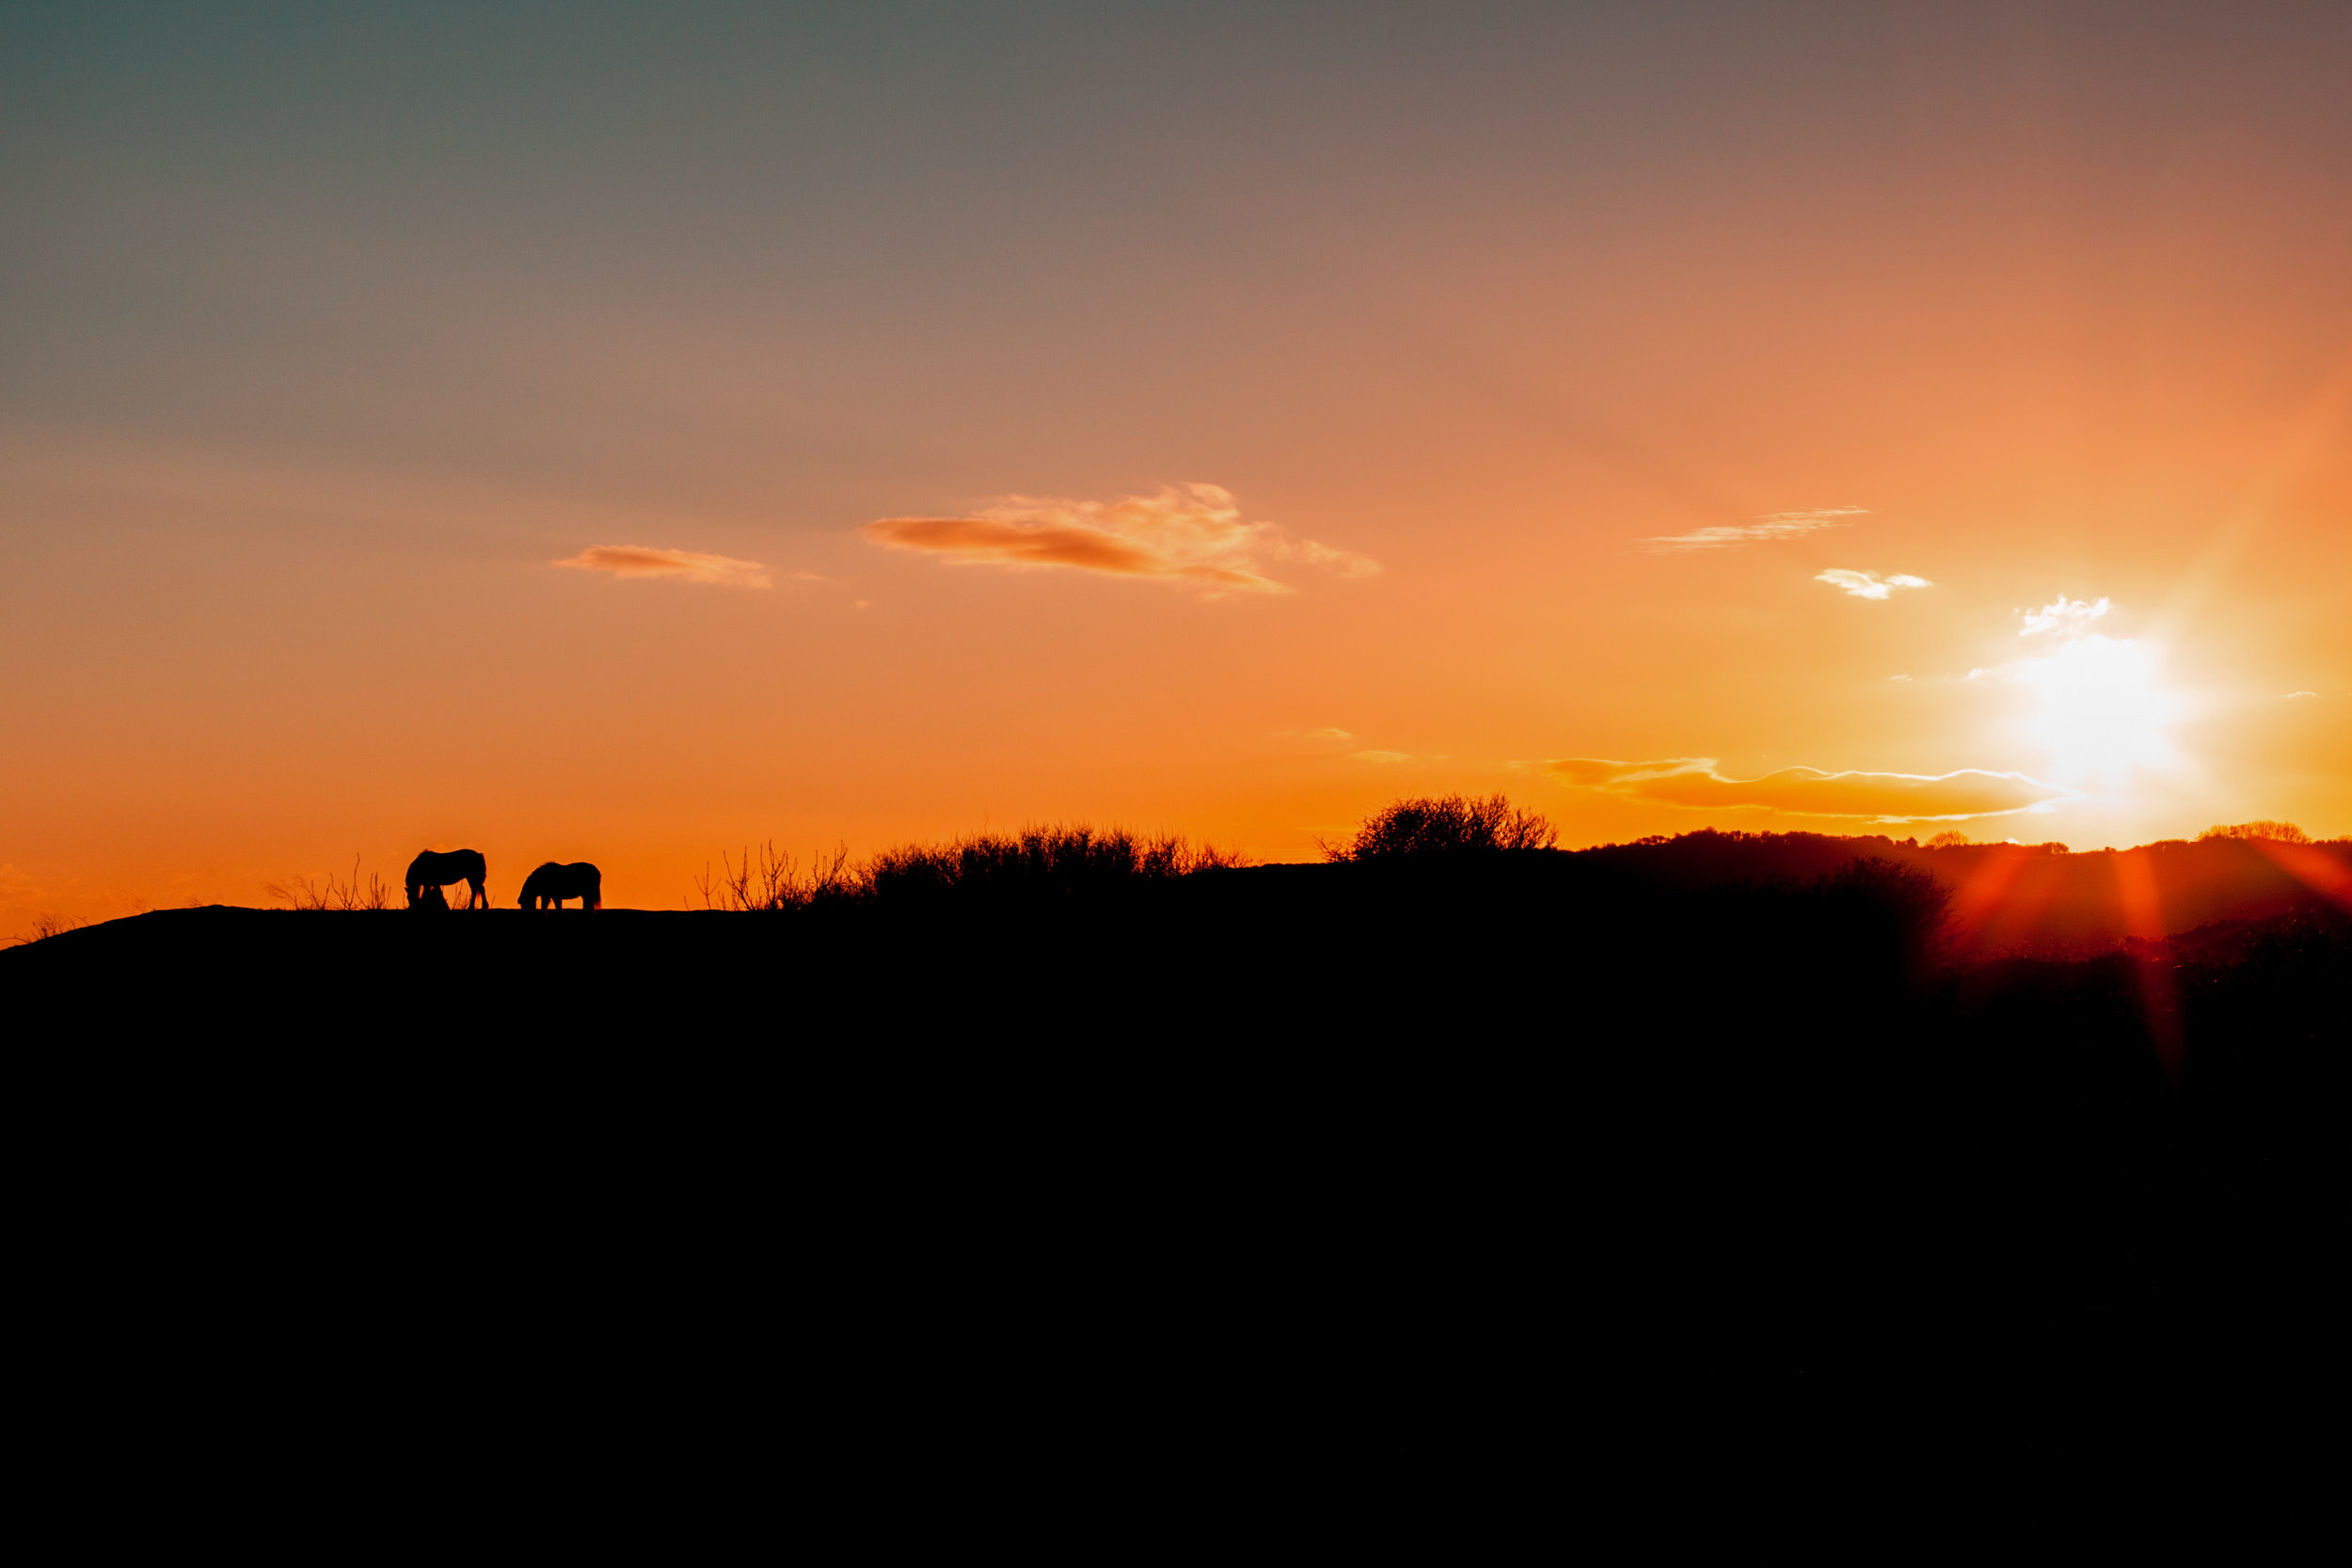
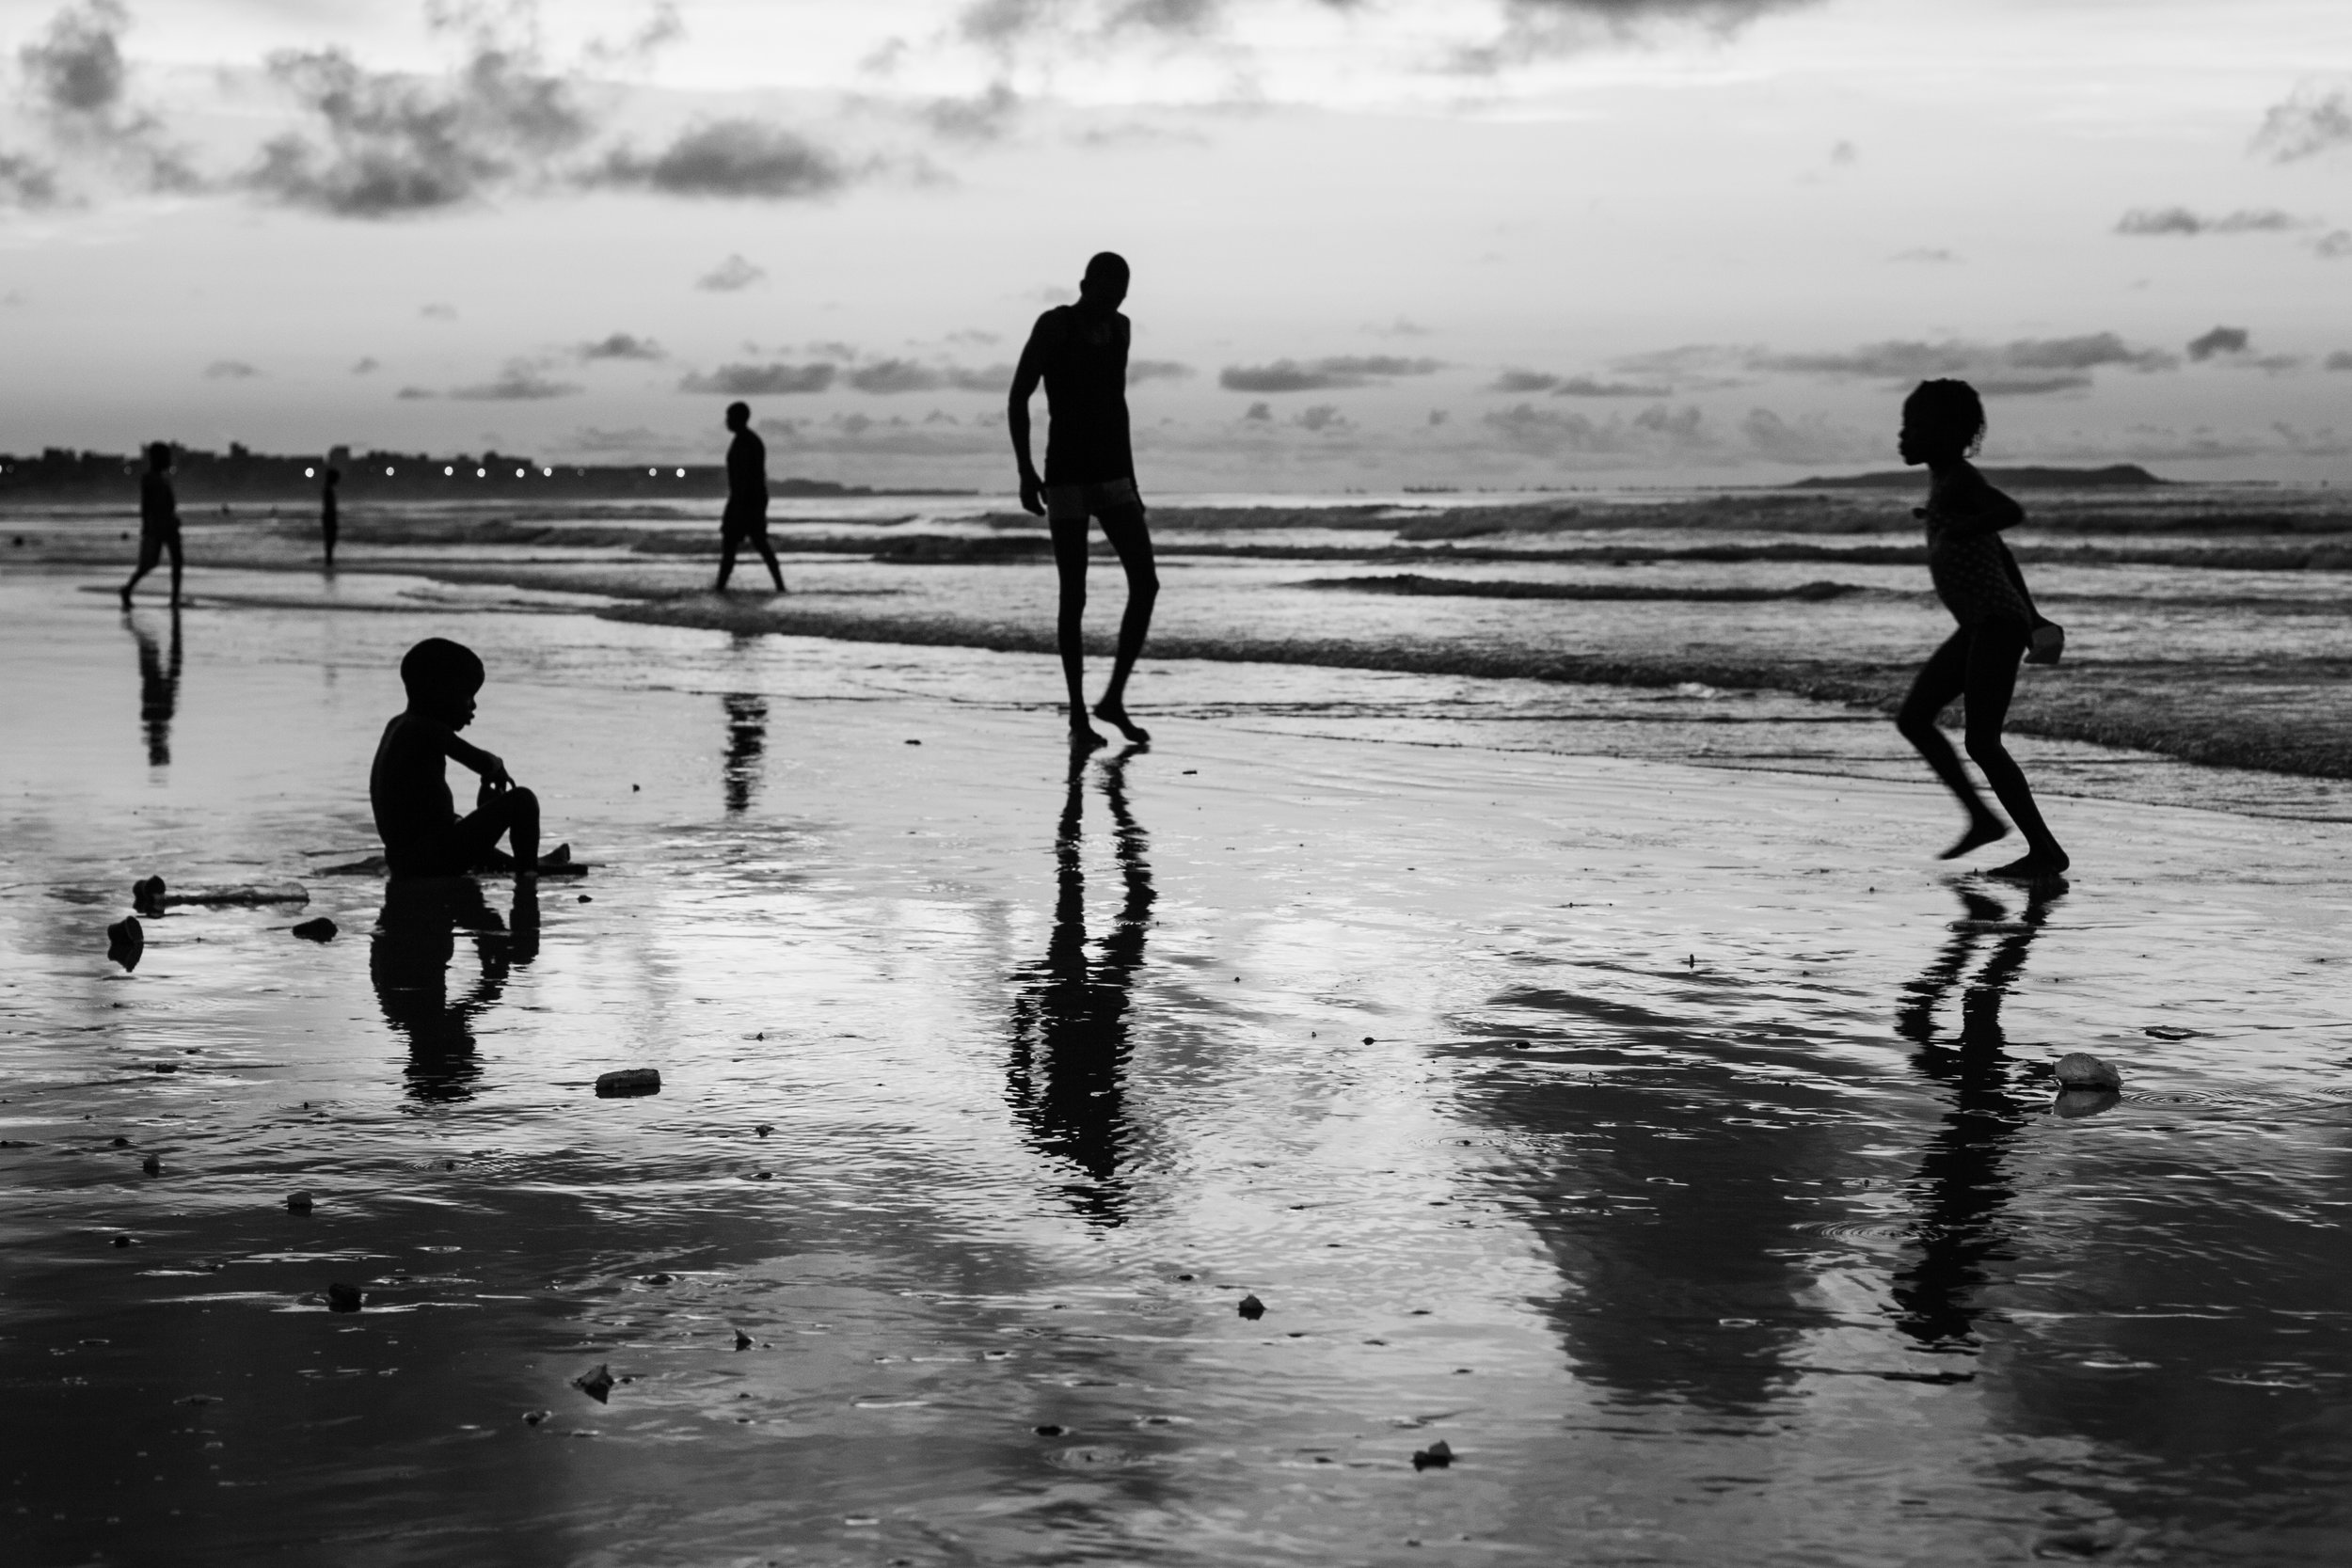
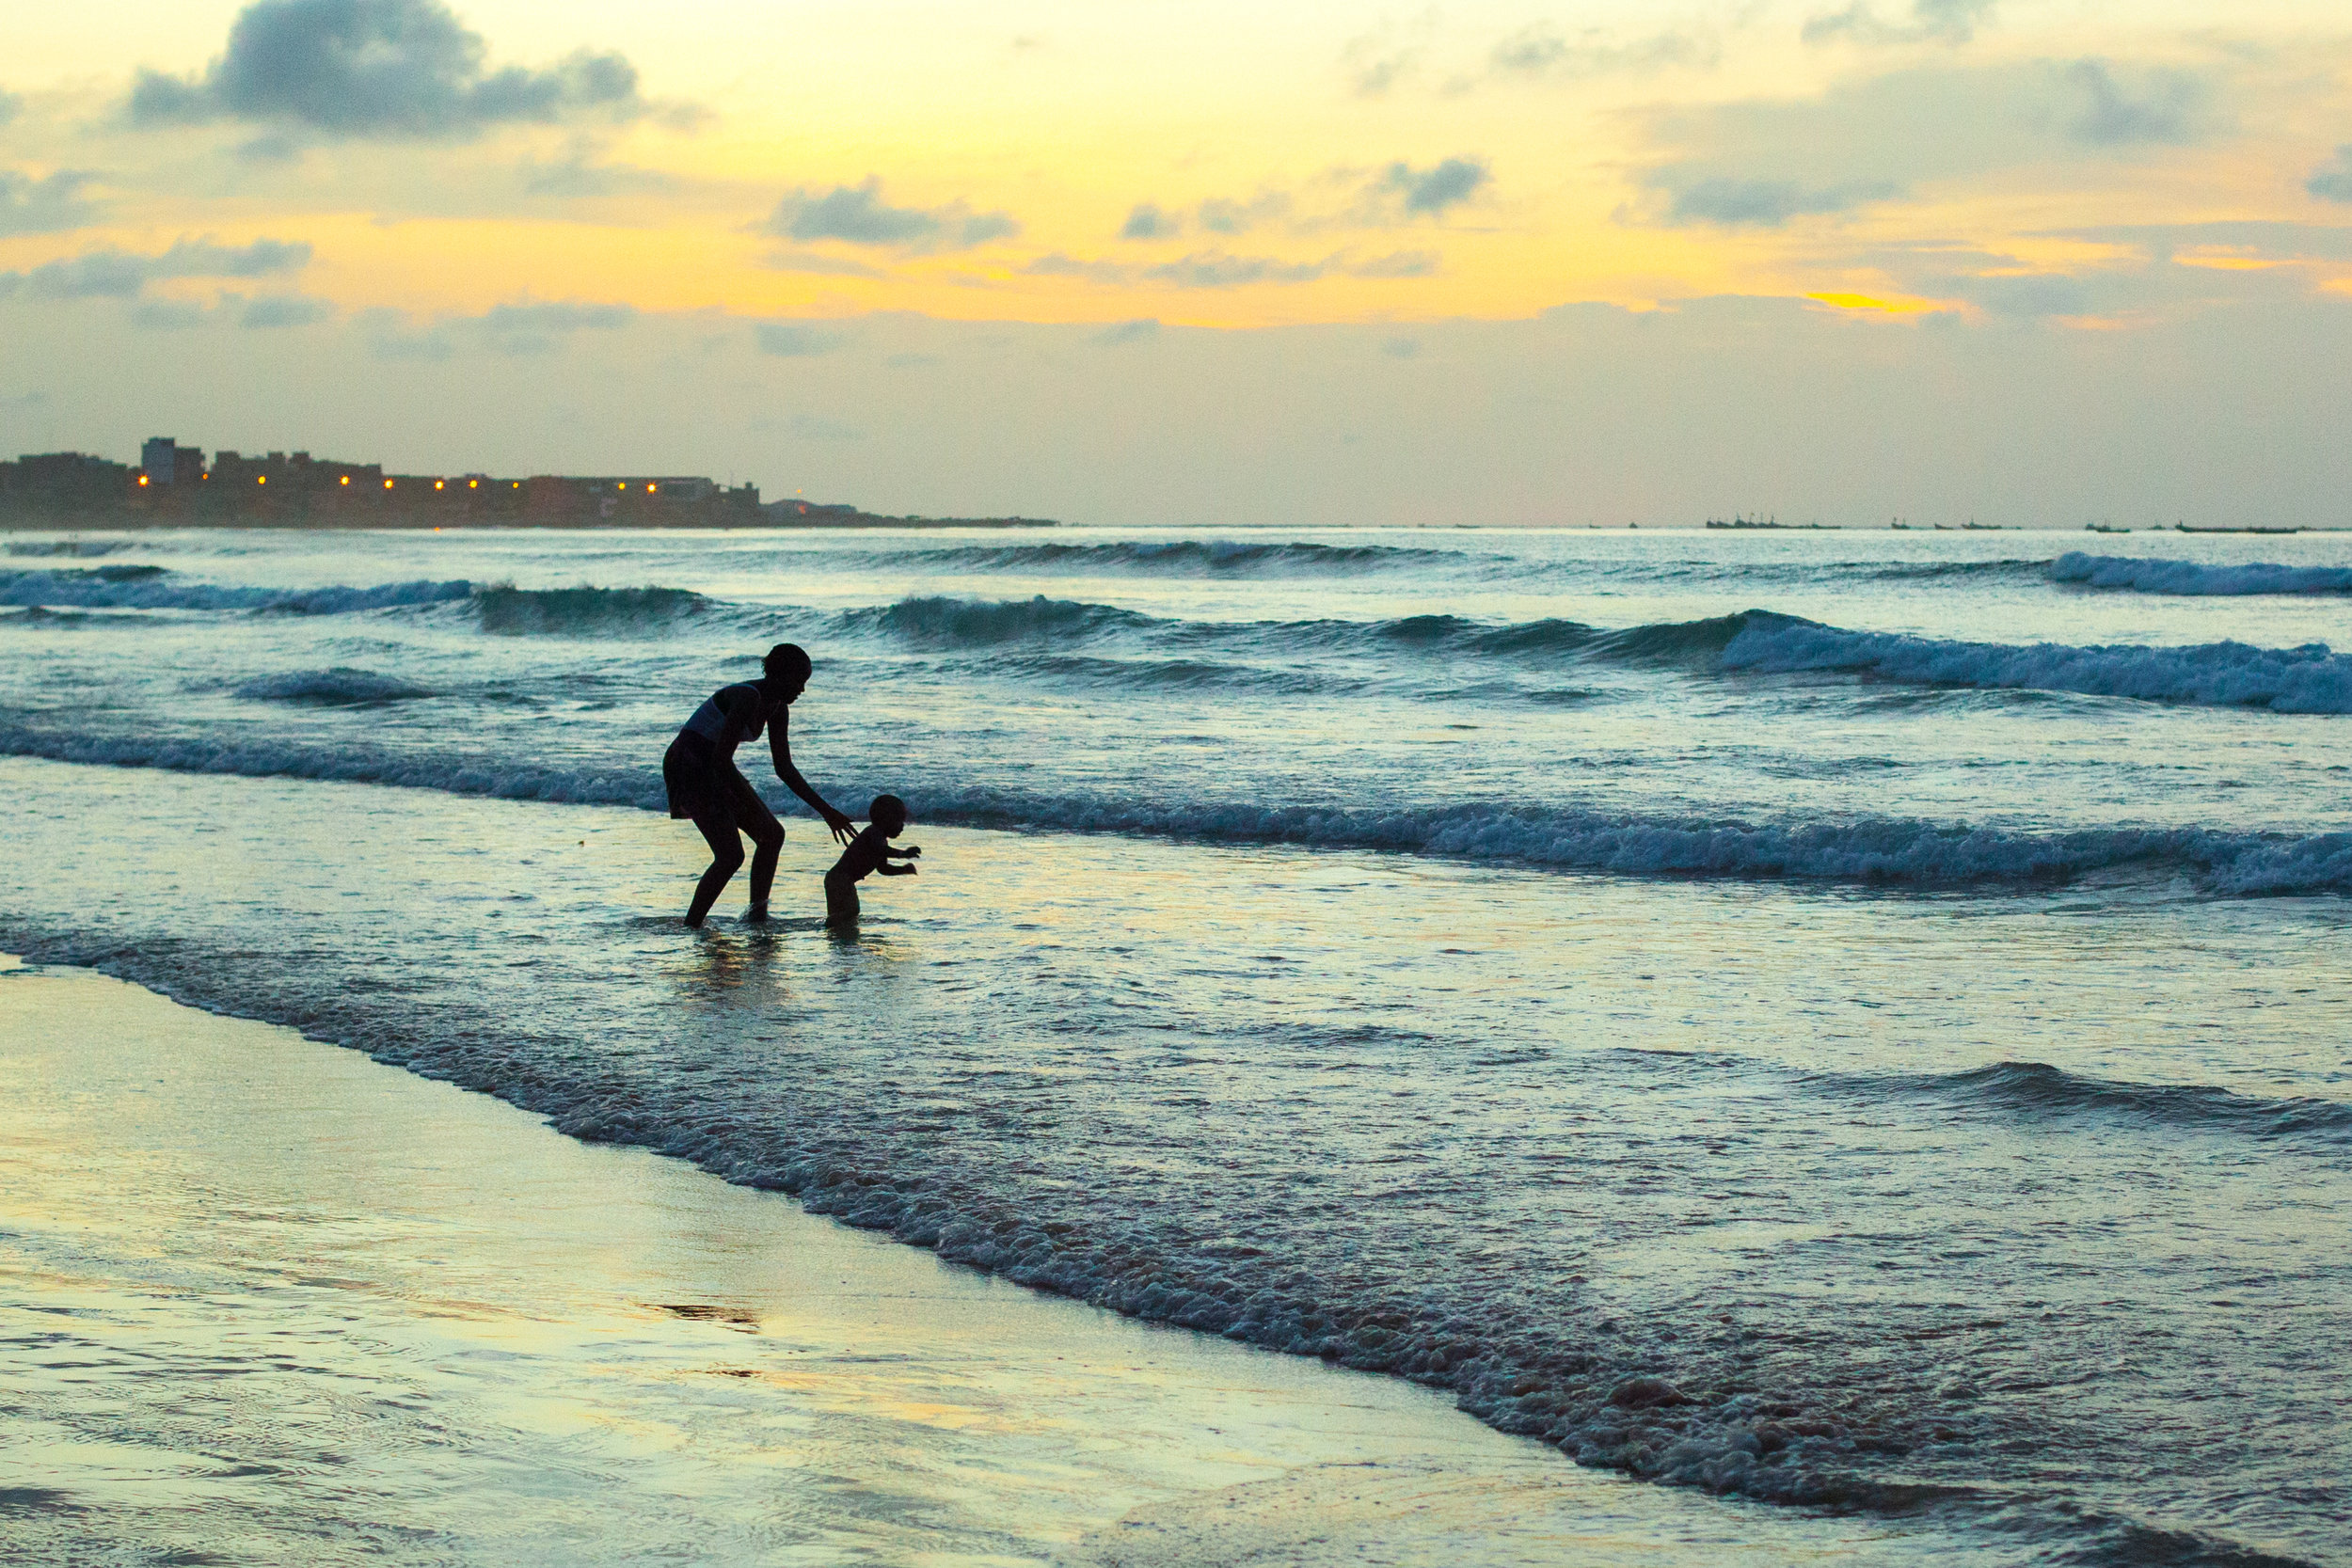
I have always enjoyed taking and viewing silhouette photographs.  I think that the simplicity of silhouette images adds to their overall beauty.  And I believe the lack of detail in silhouette photography often makes the imagery more interesting by adding an element of intrigue.  I particularly like silhouette photography when there is an interesting background such as a colourful sky, dramatic cloud formation or a strong sunset.

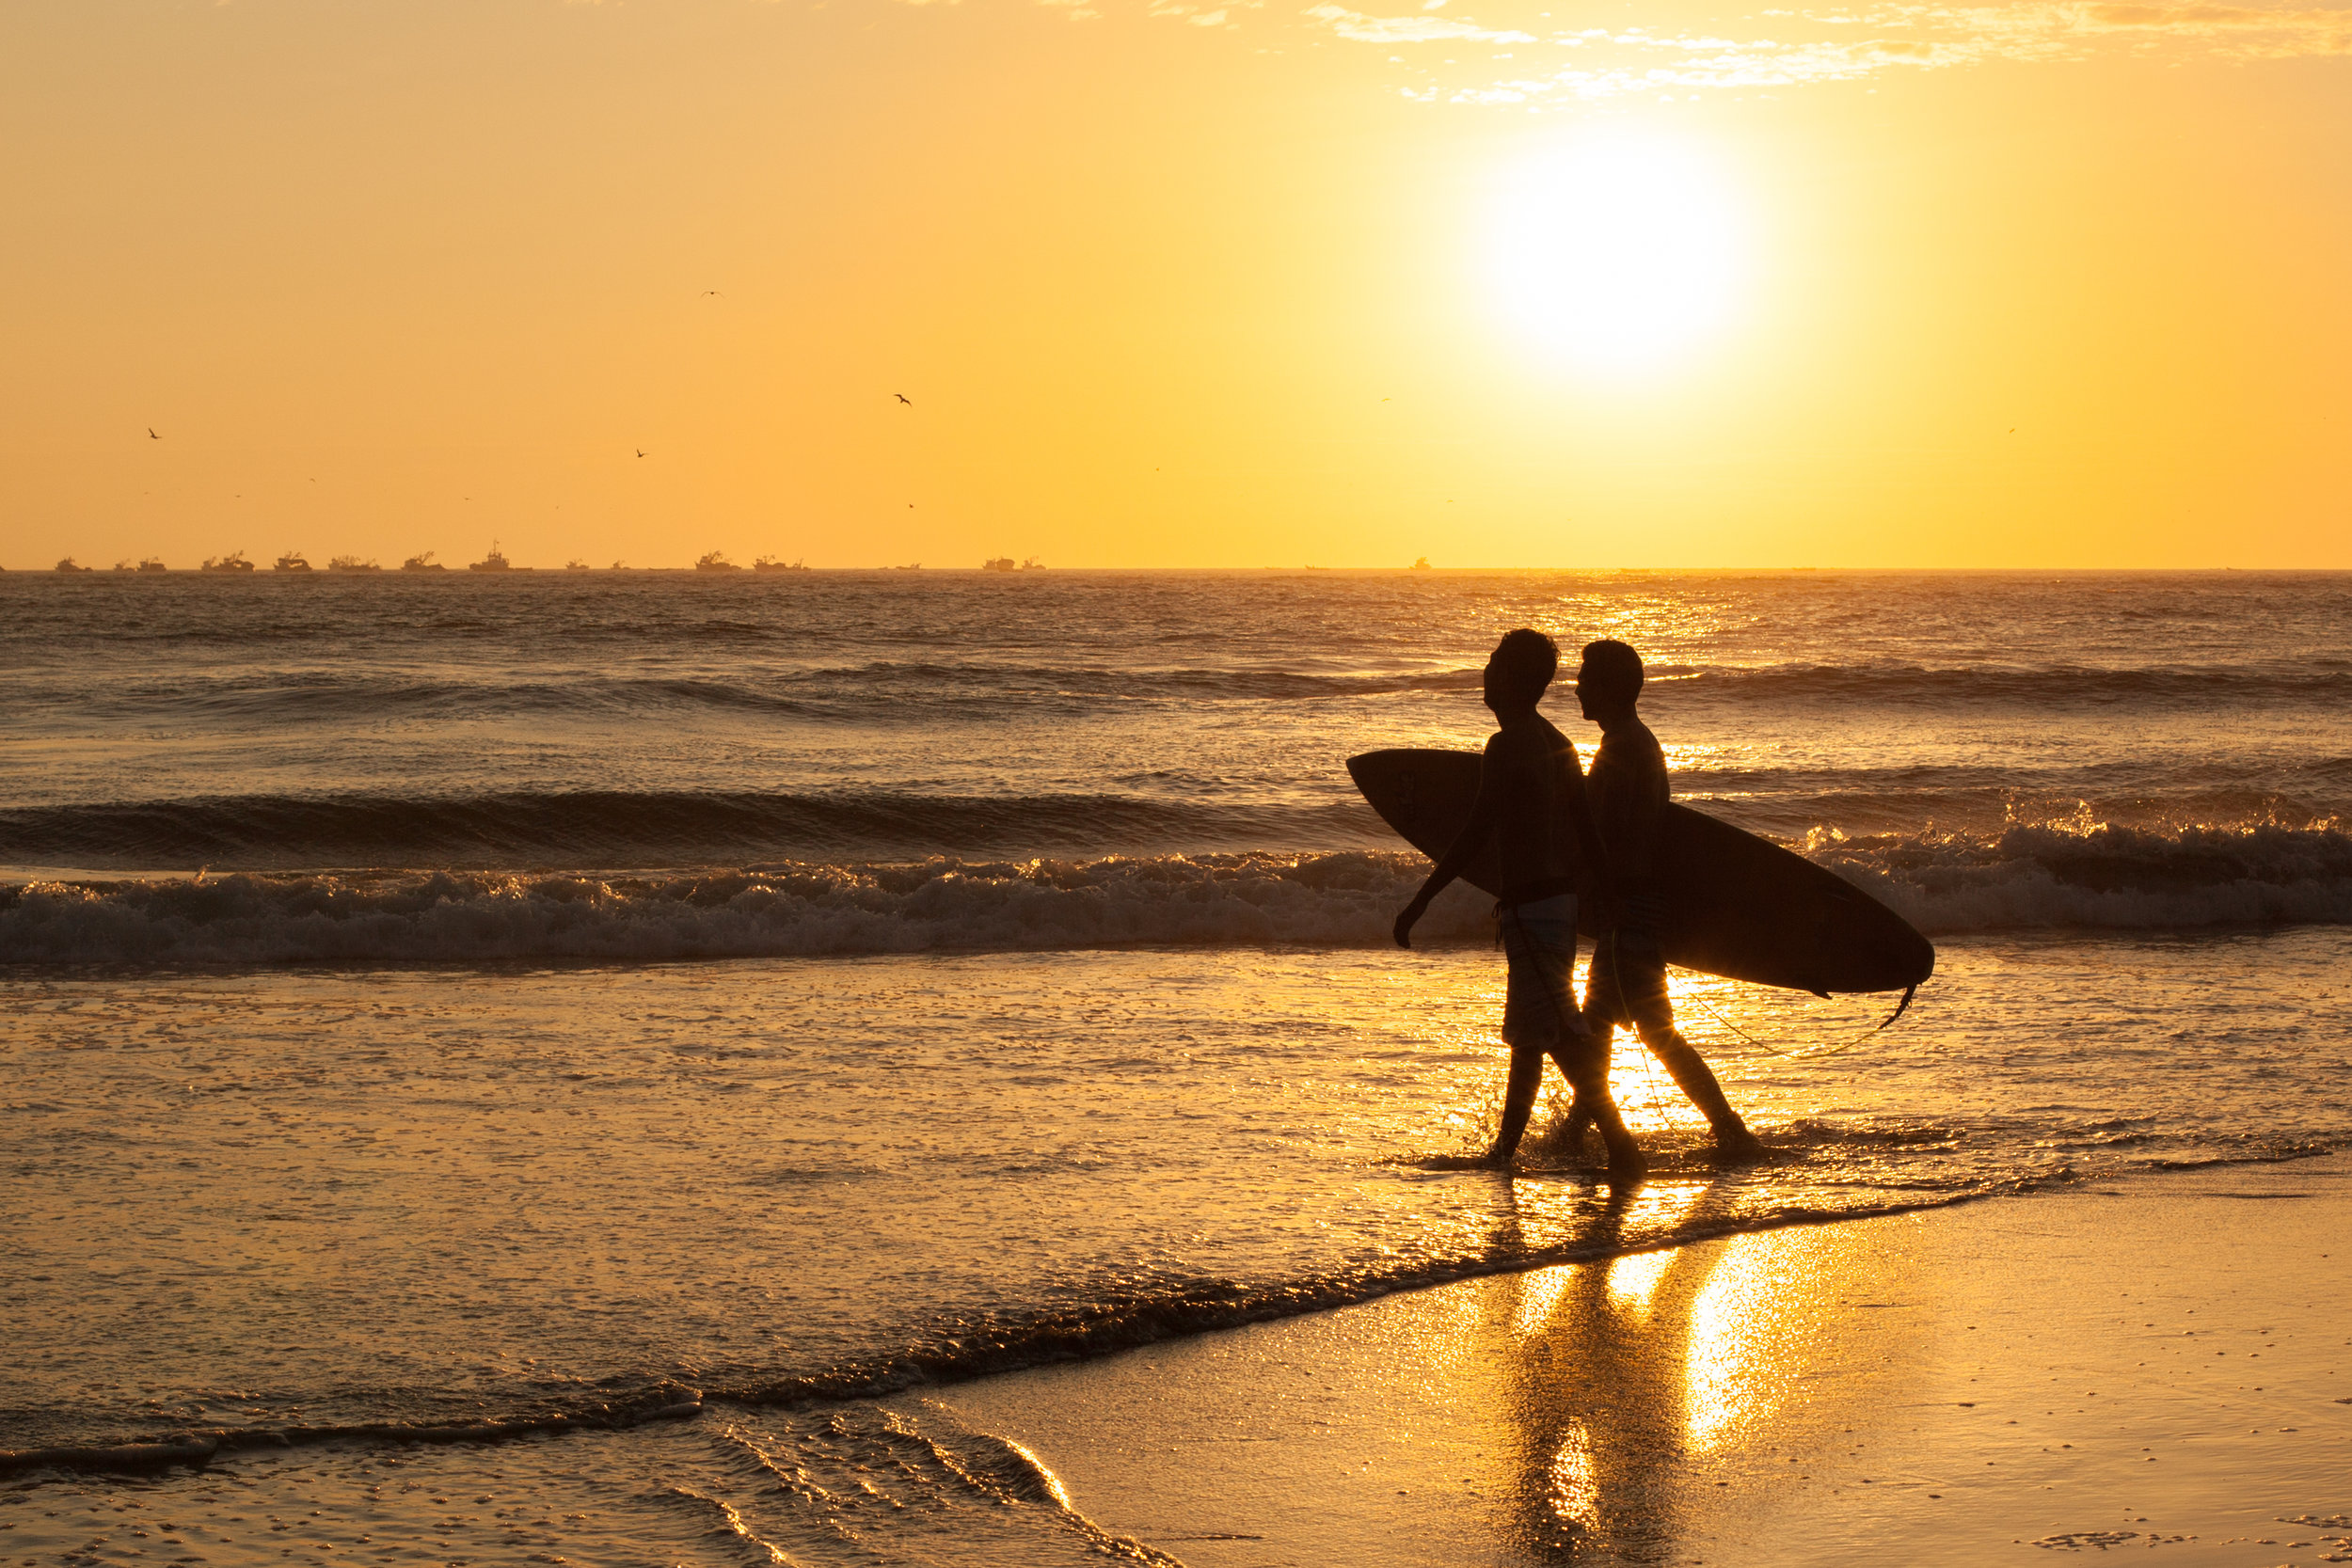
Silhouette photography by Geraint Rowland, two surfers at sunset in Peru

Silhouette photography by Geraint Rowland, two surfers at sunset in Peru

How to take silhouette photos

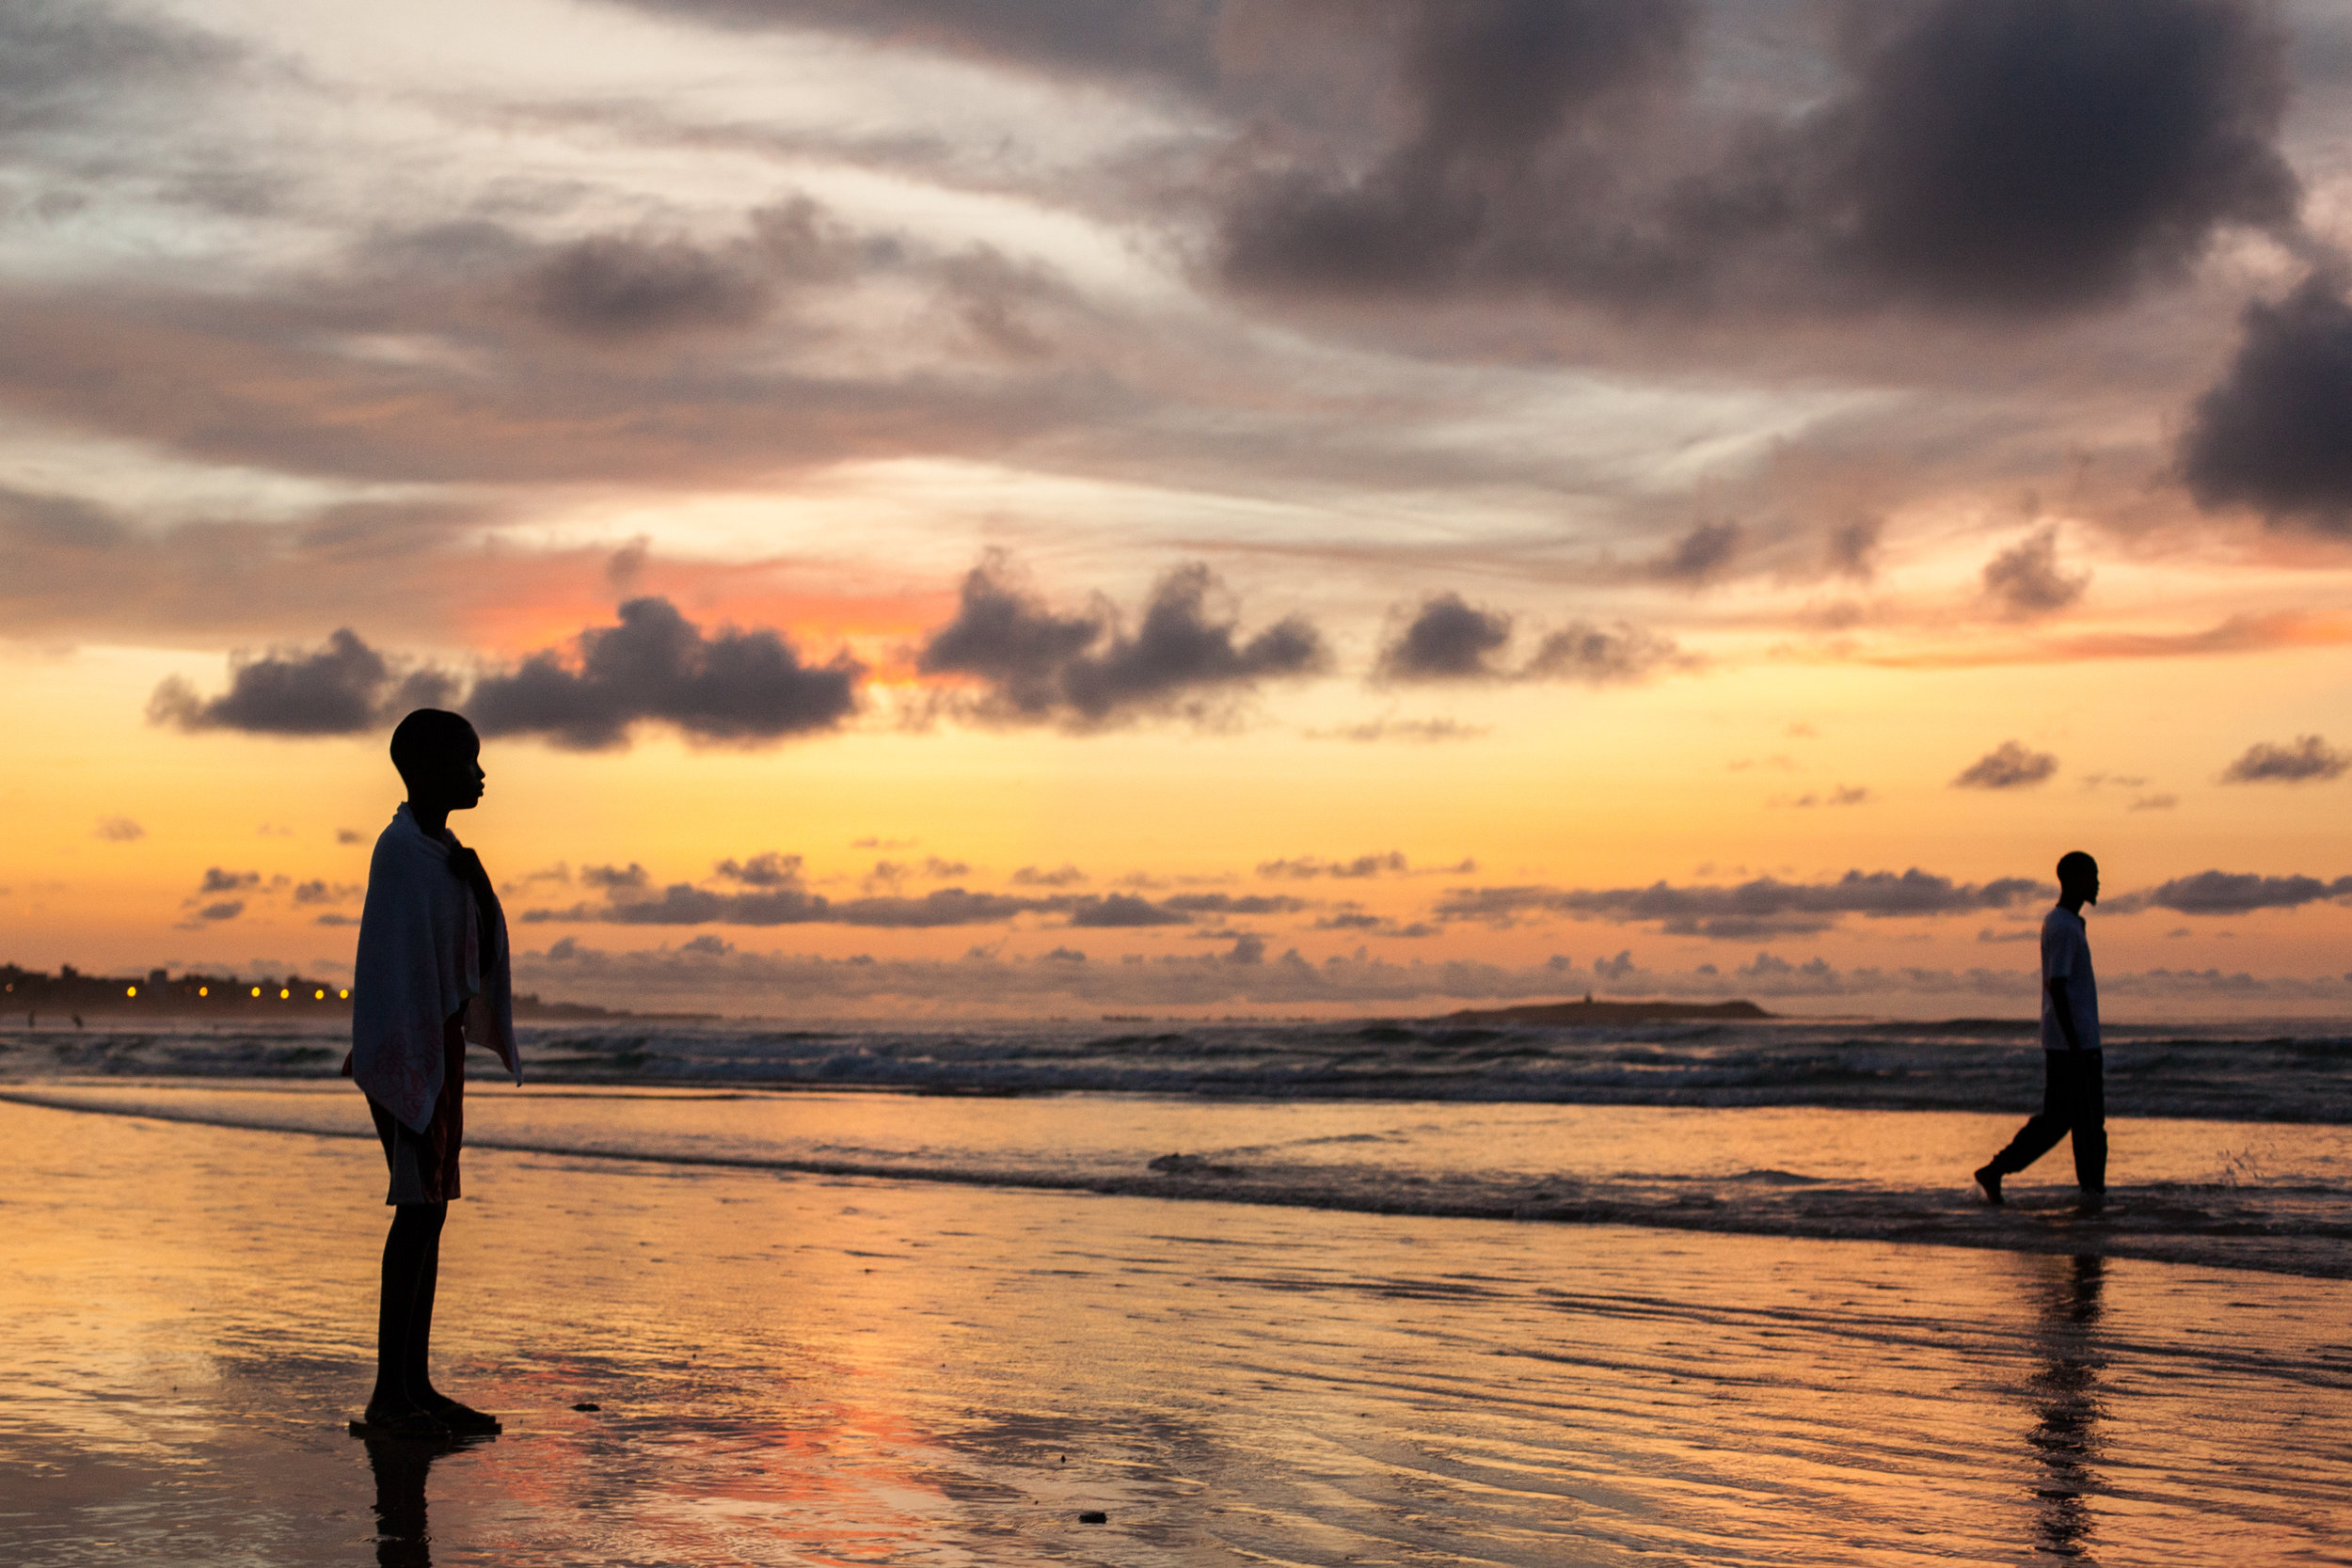
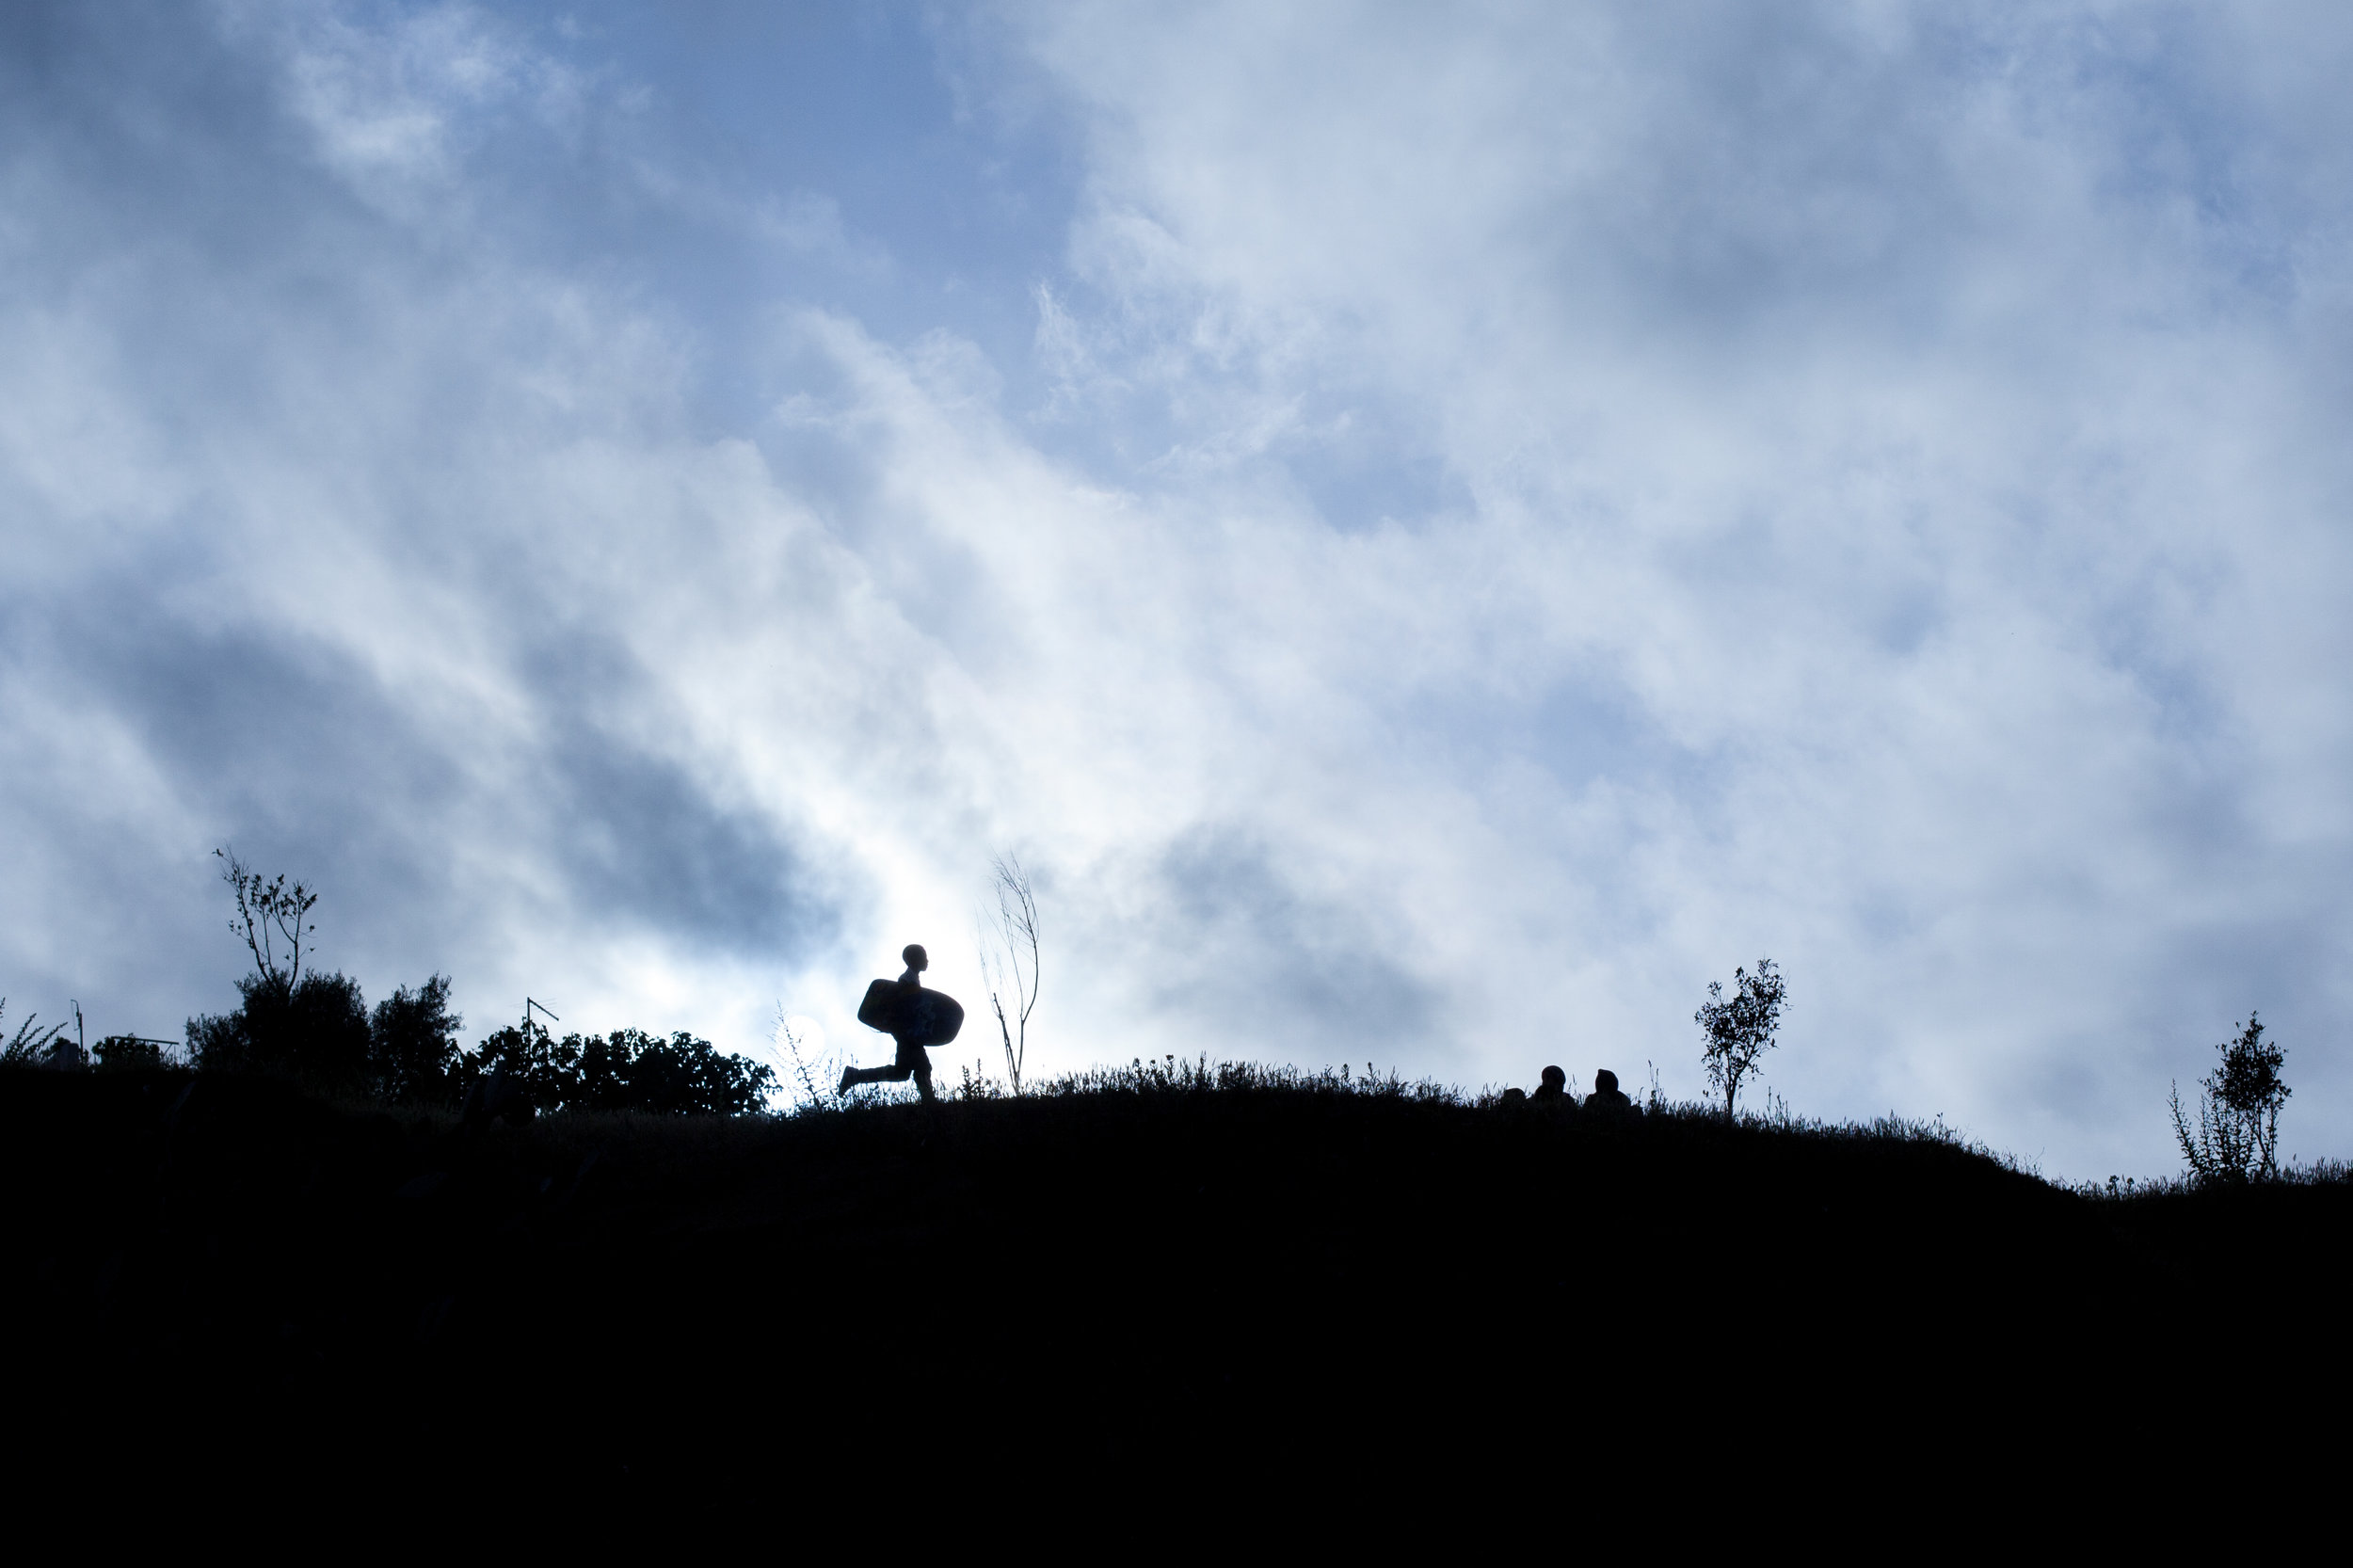
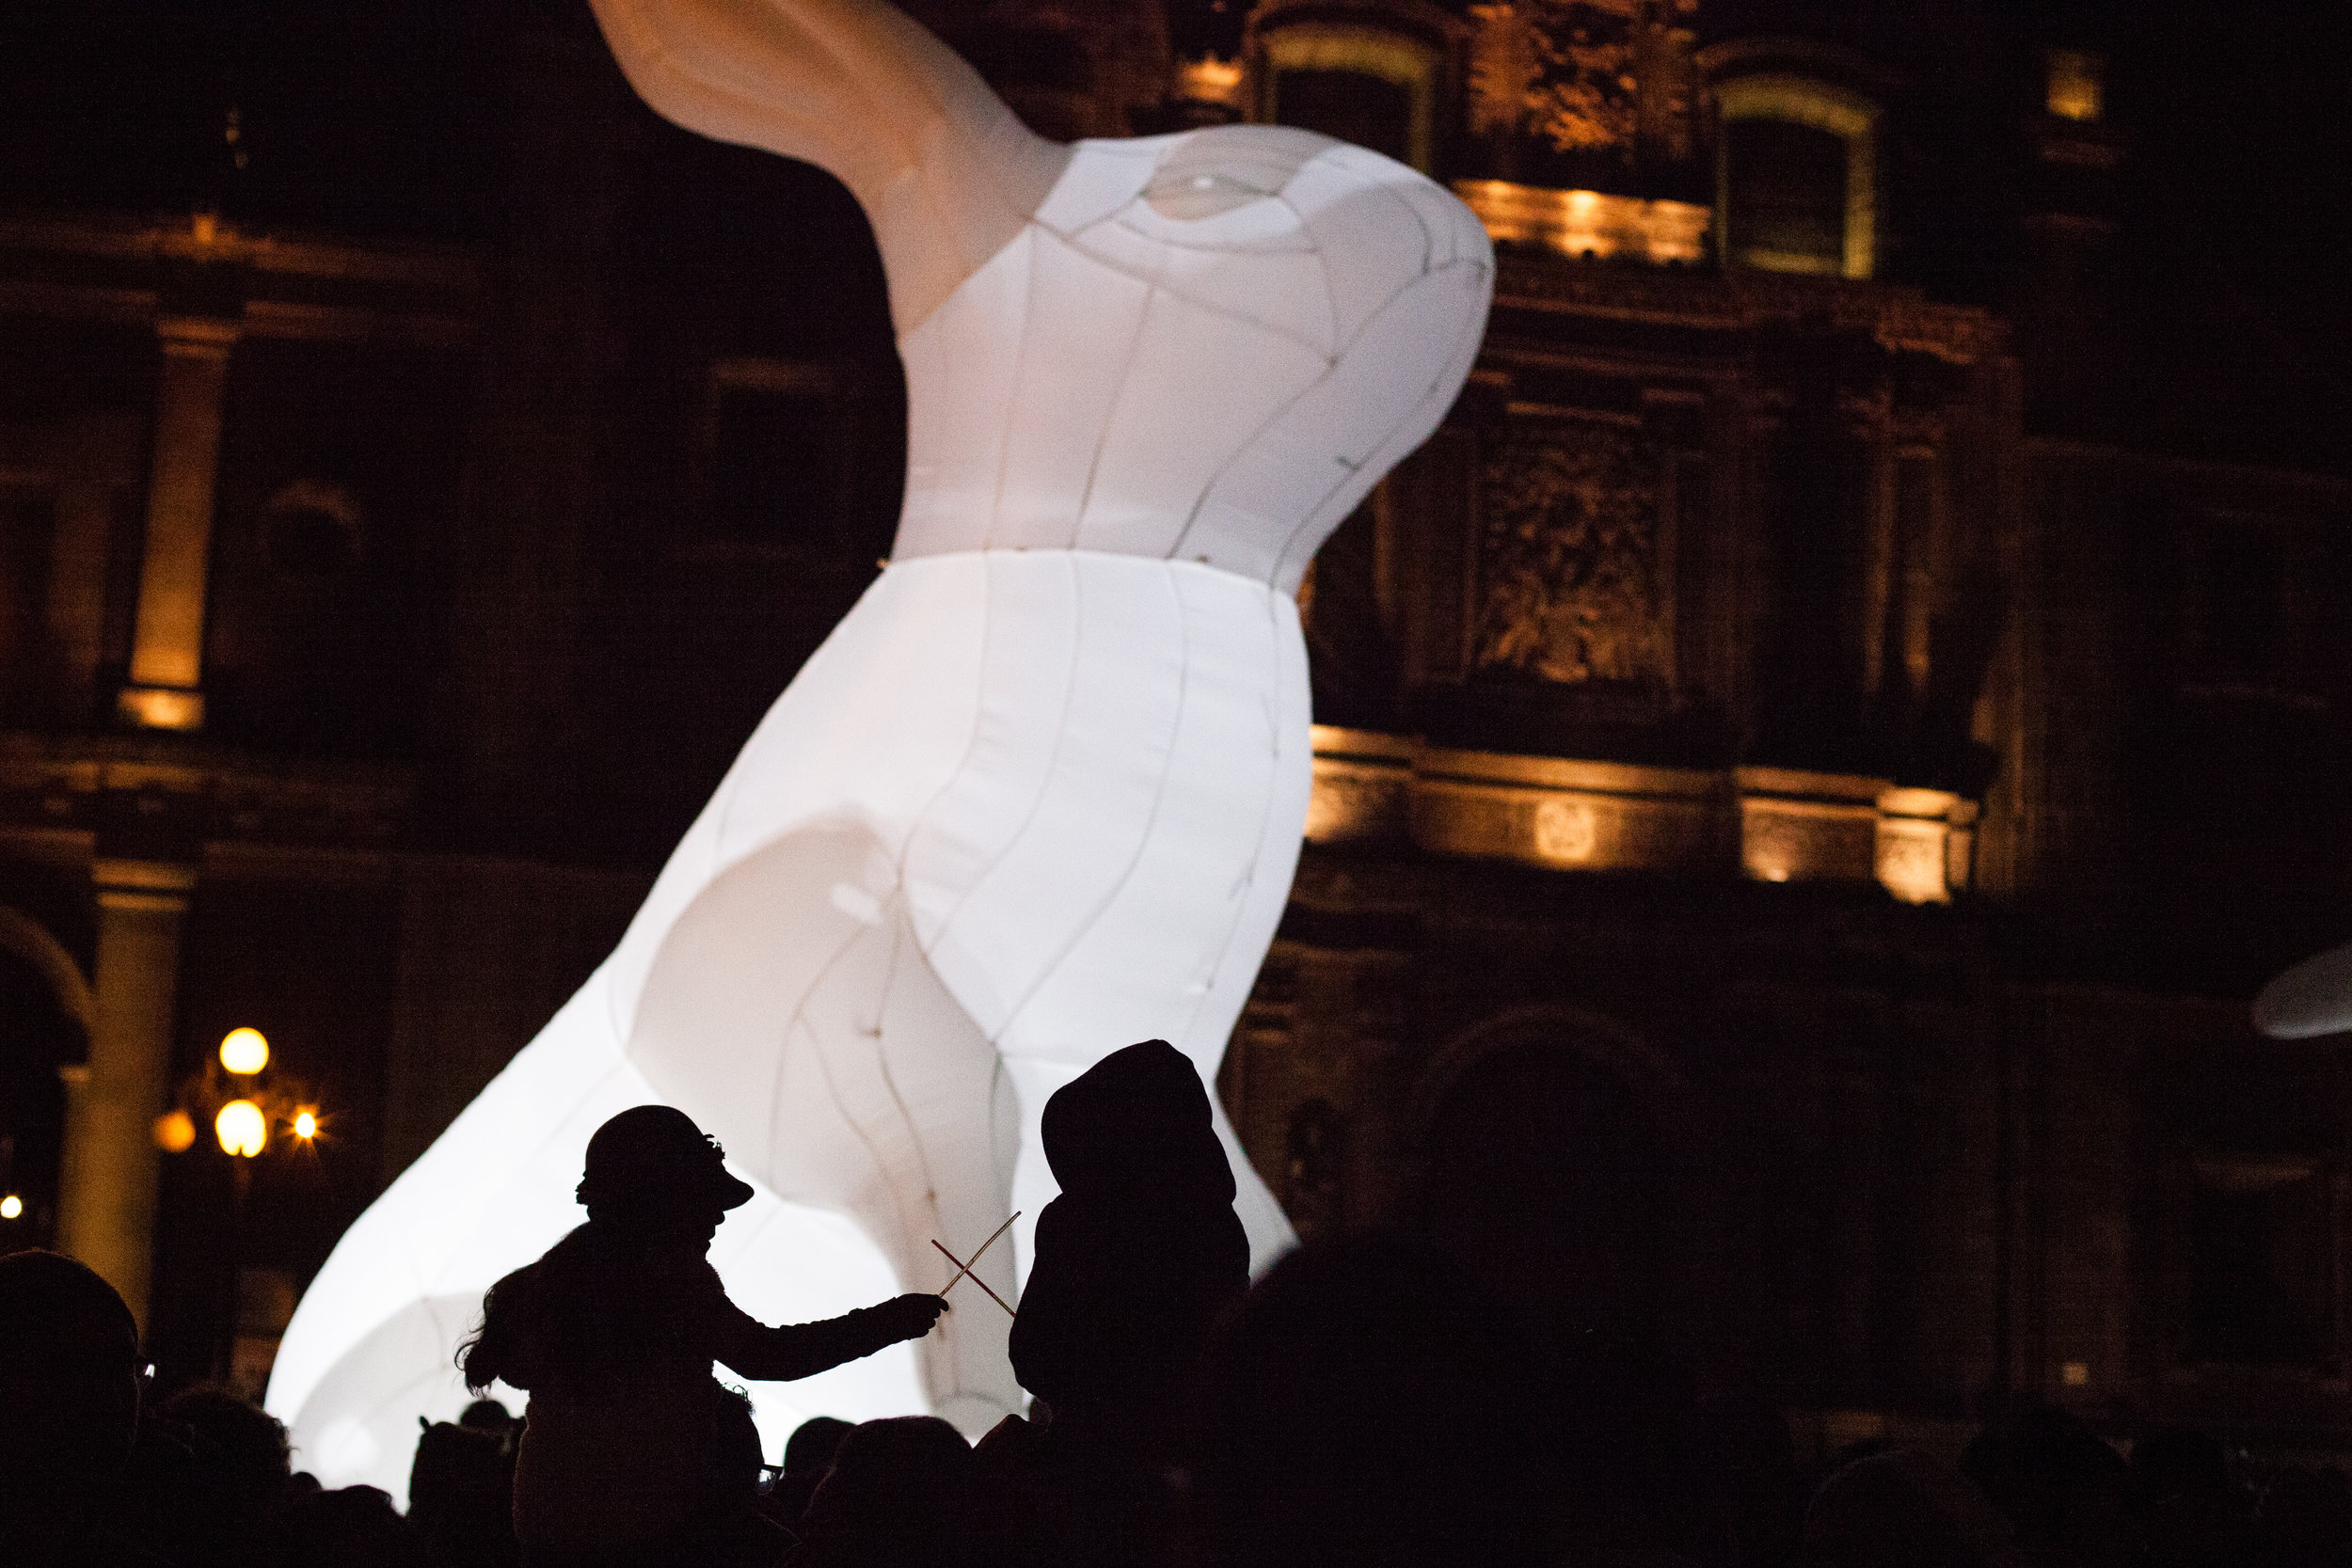
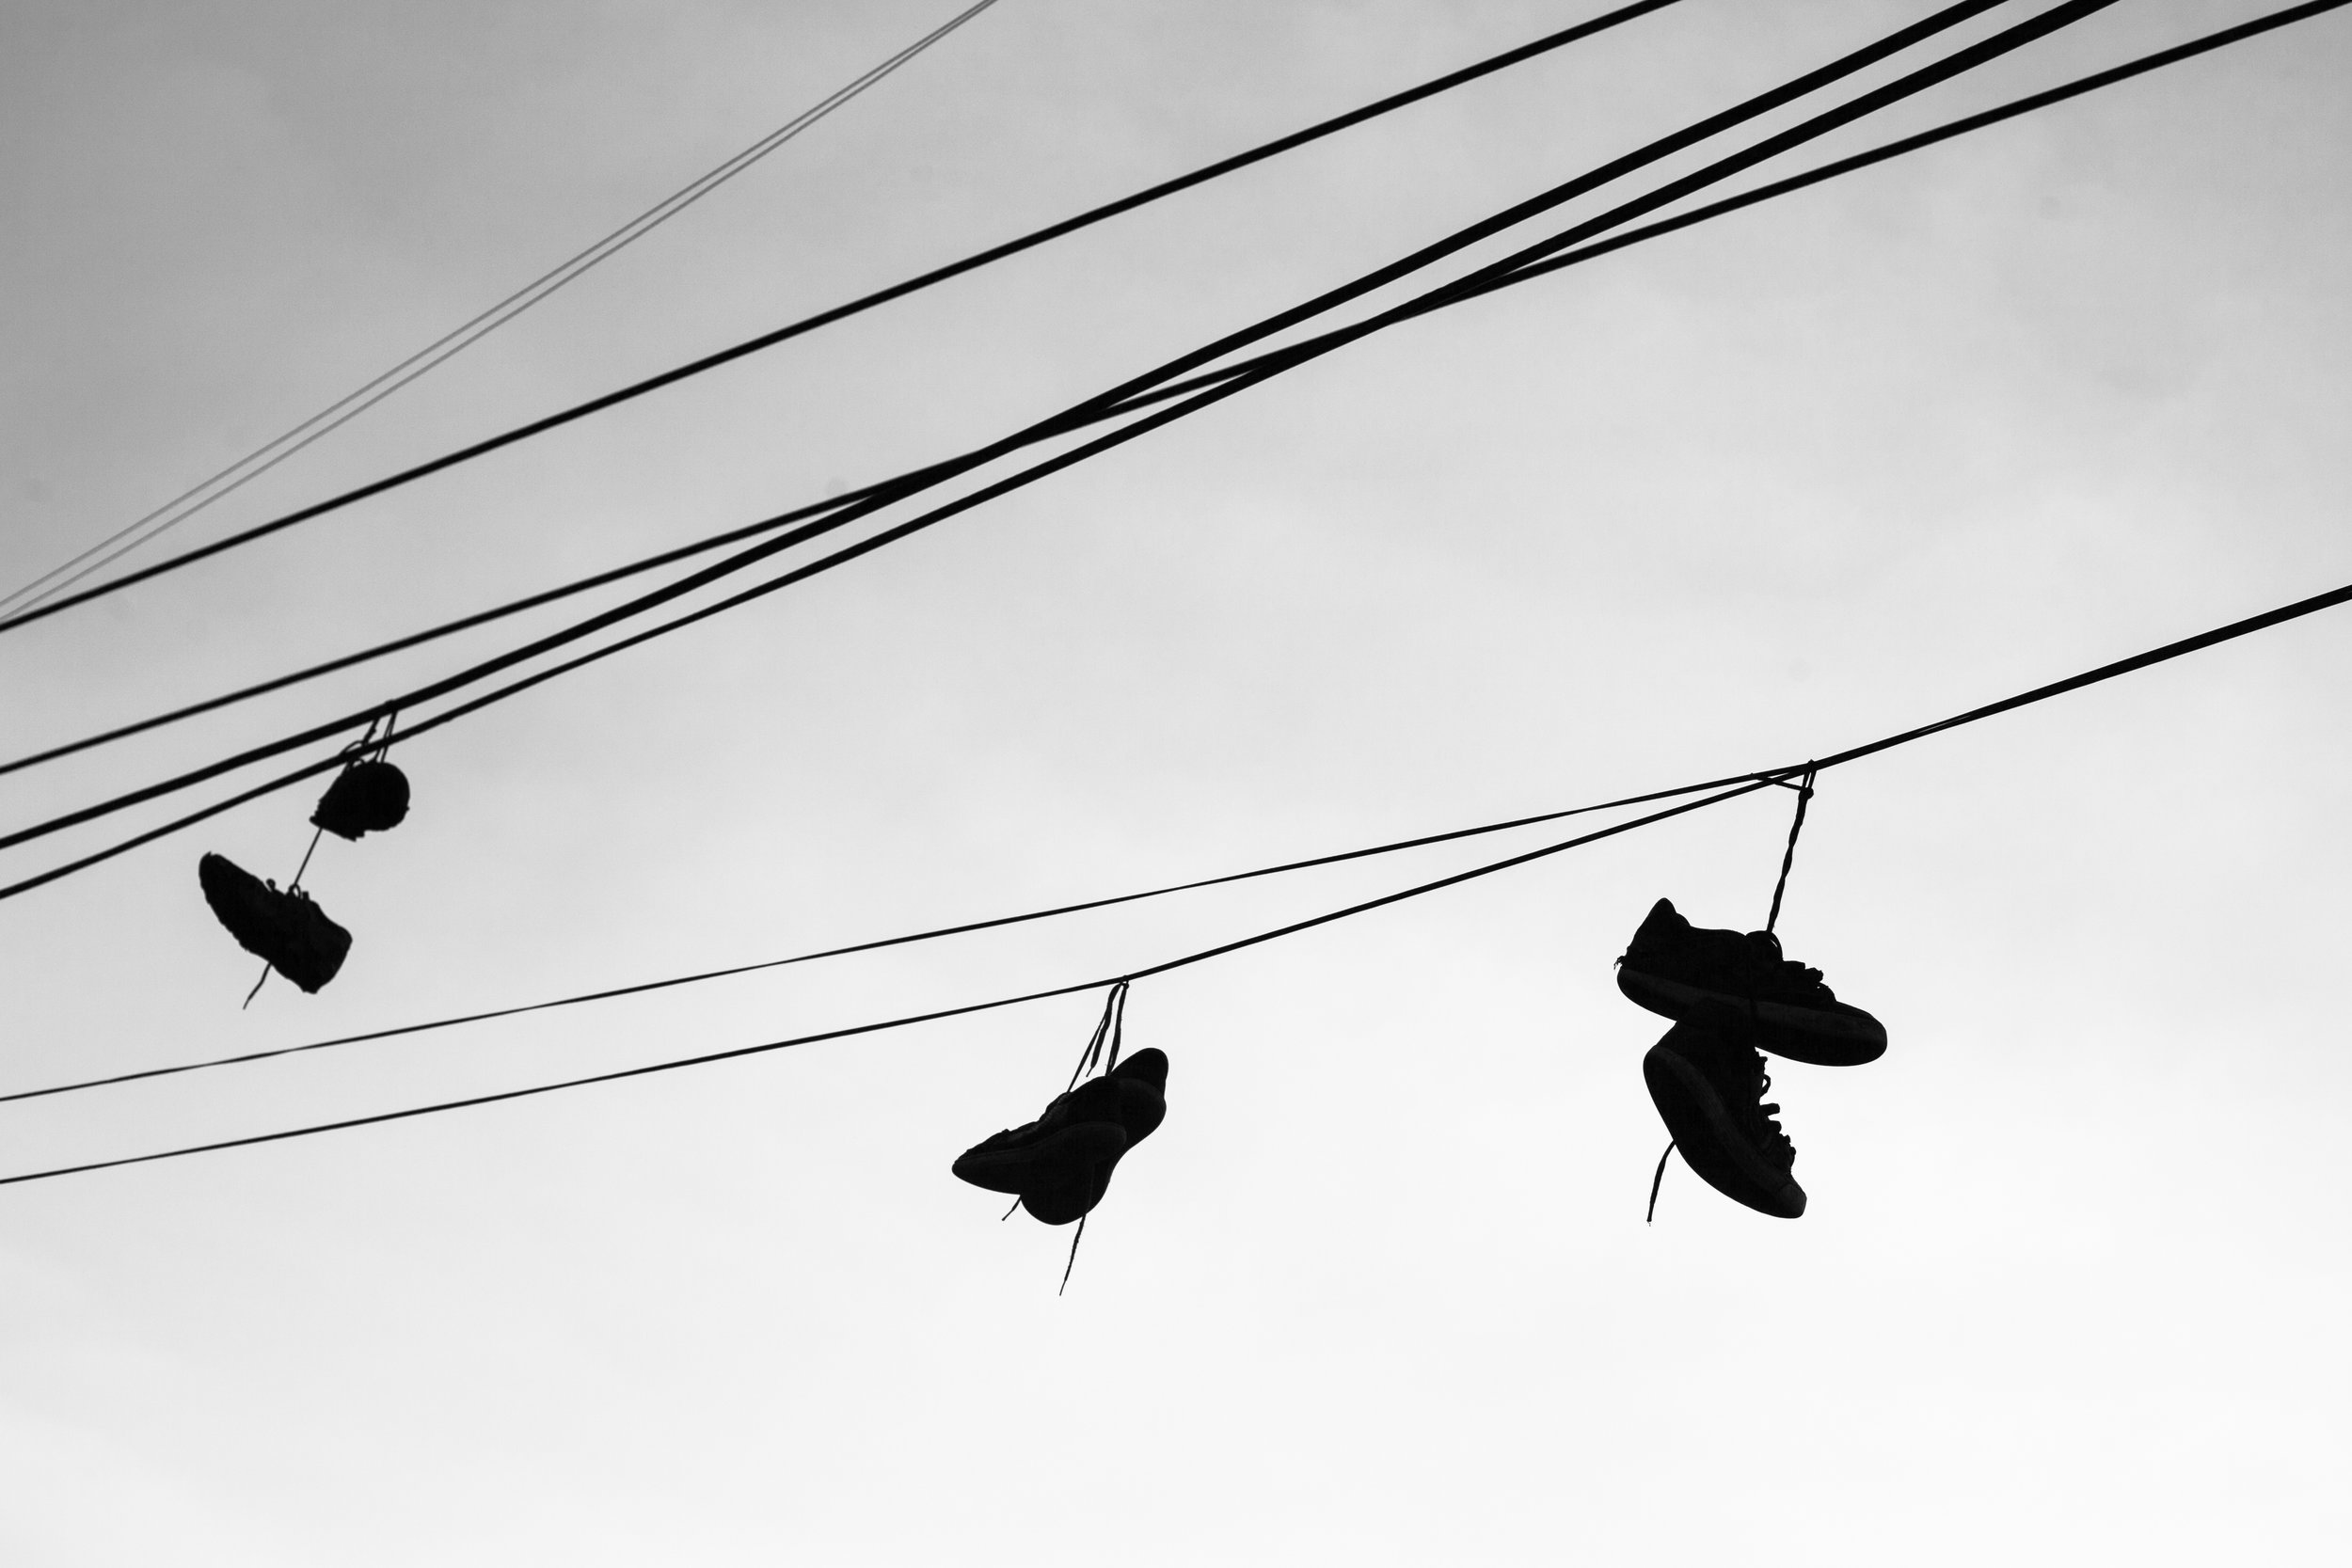
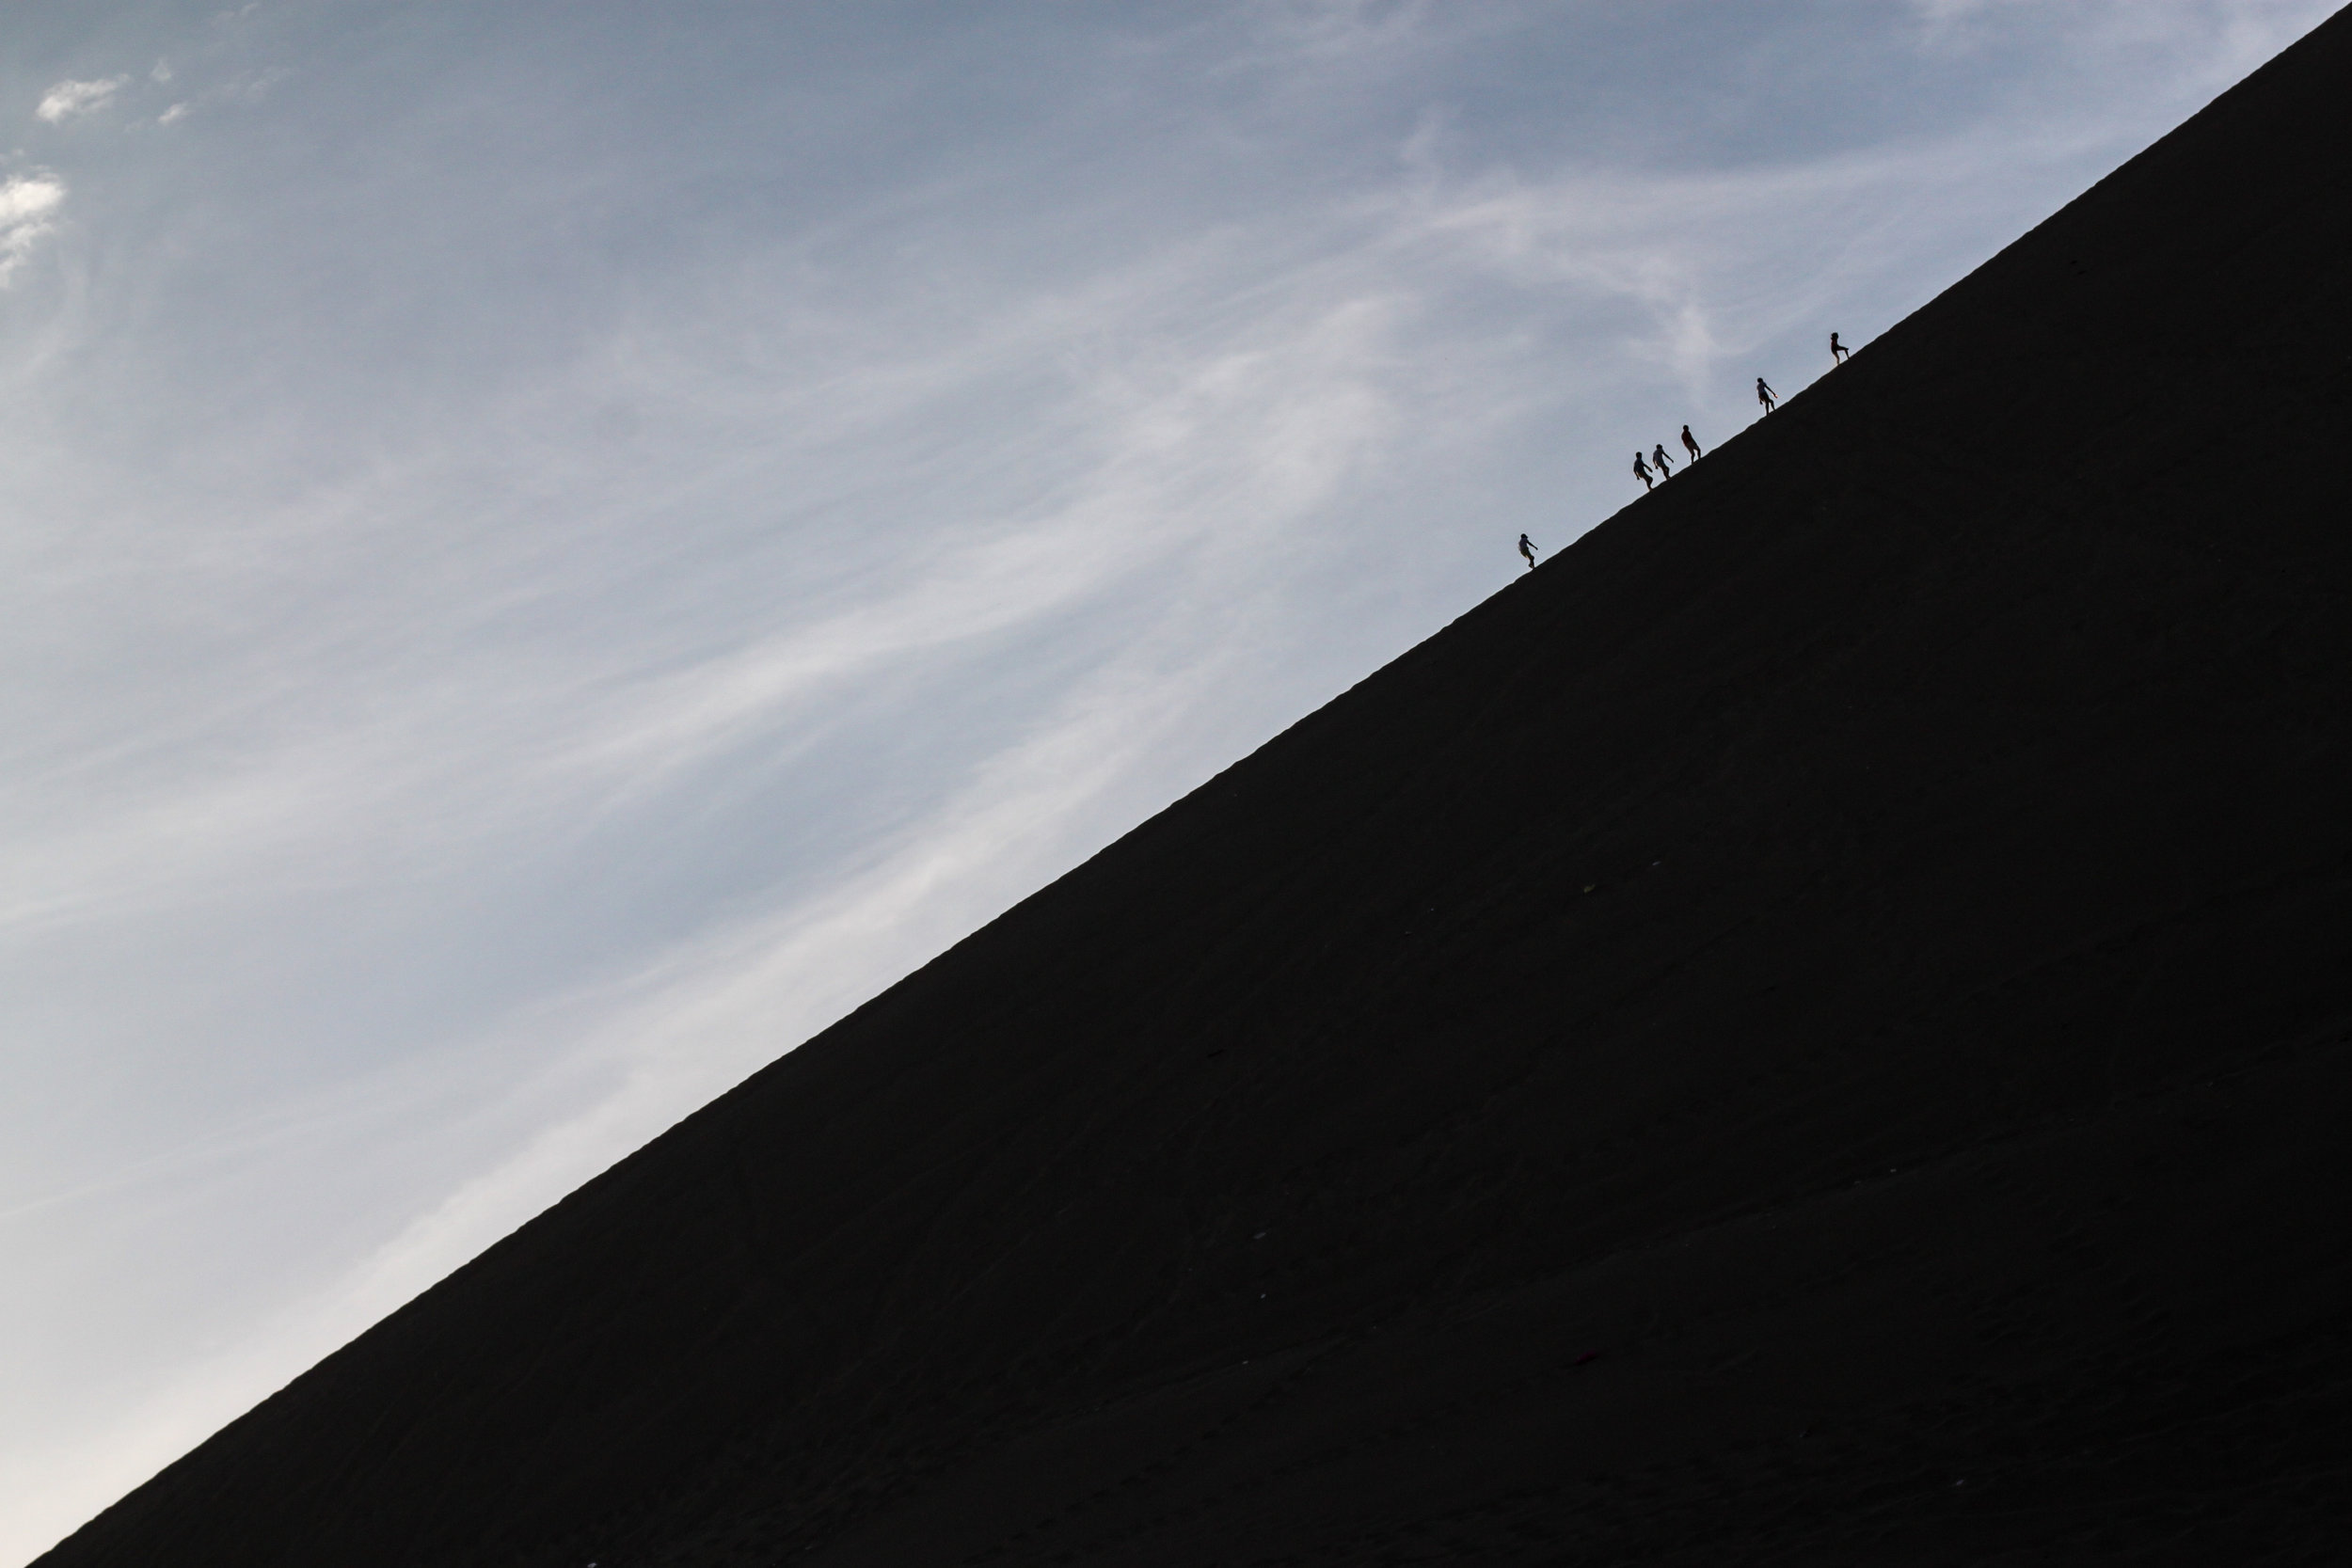
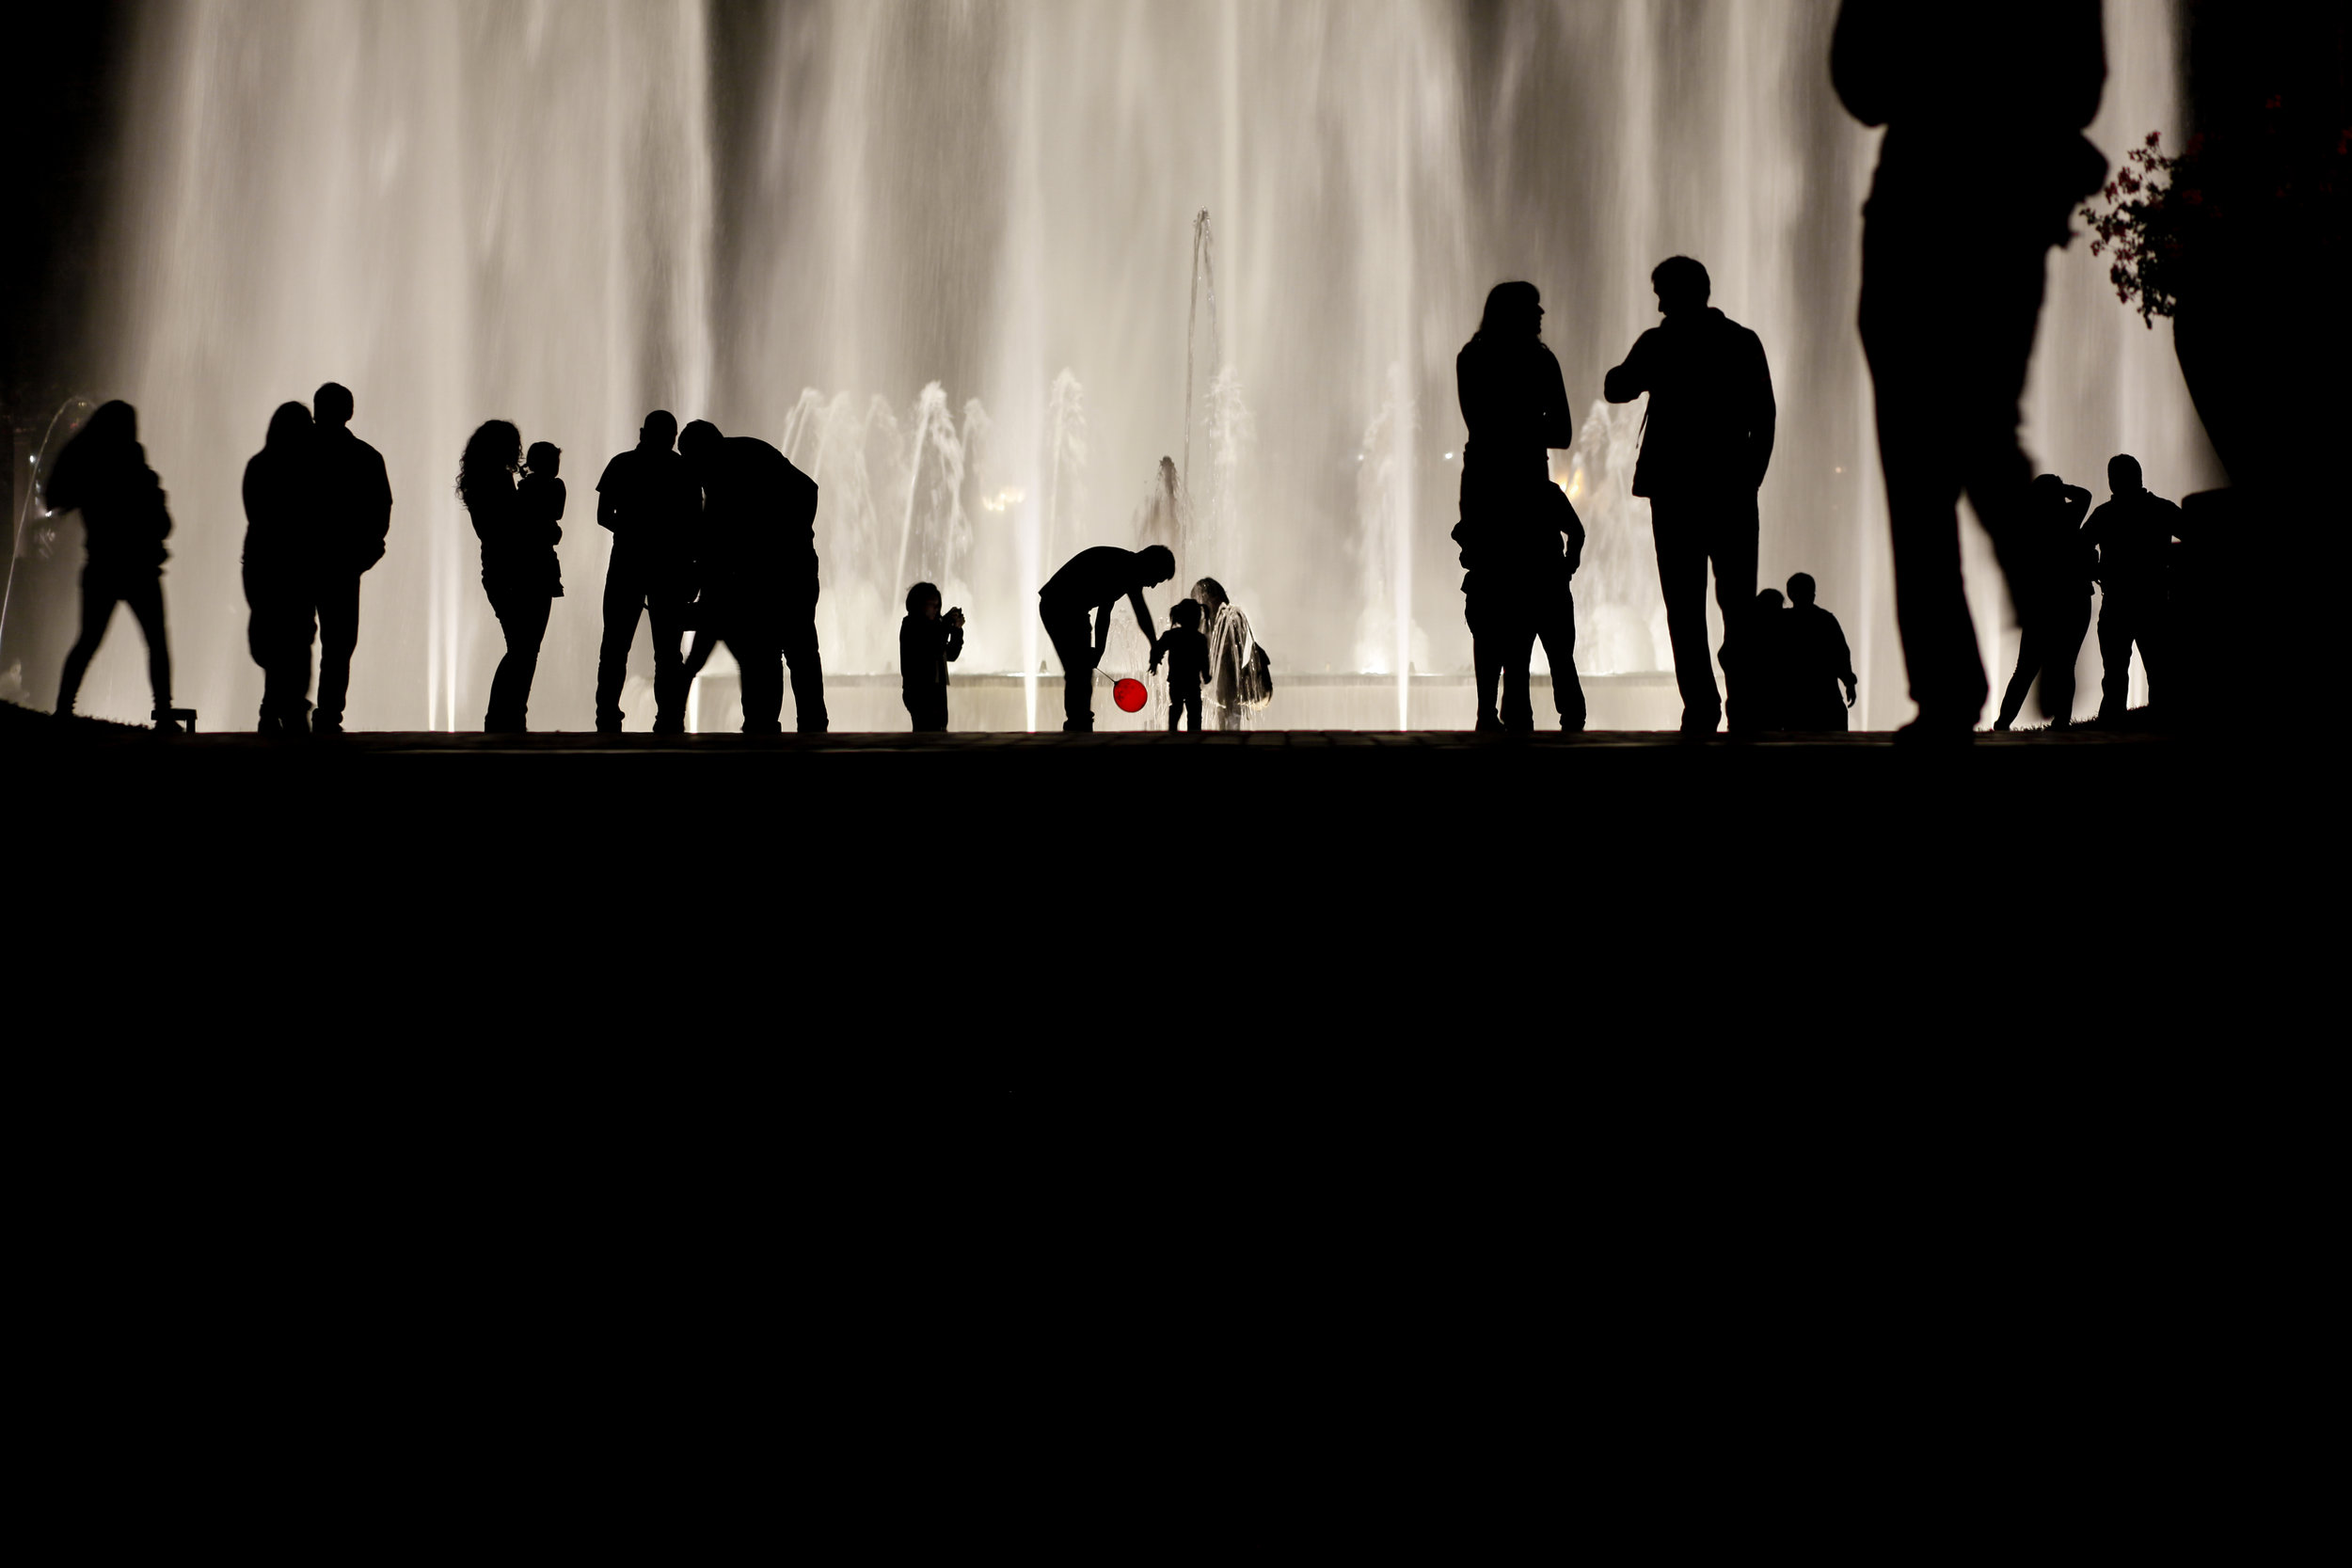
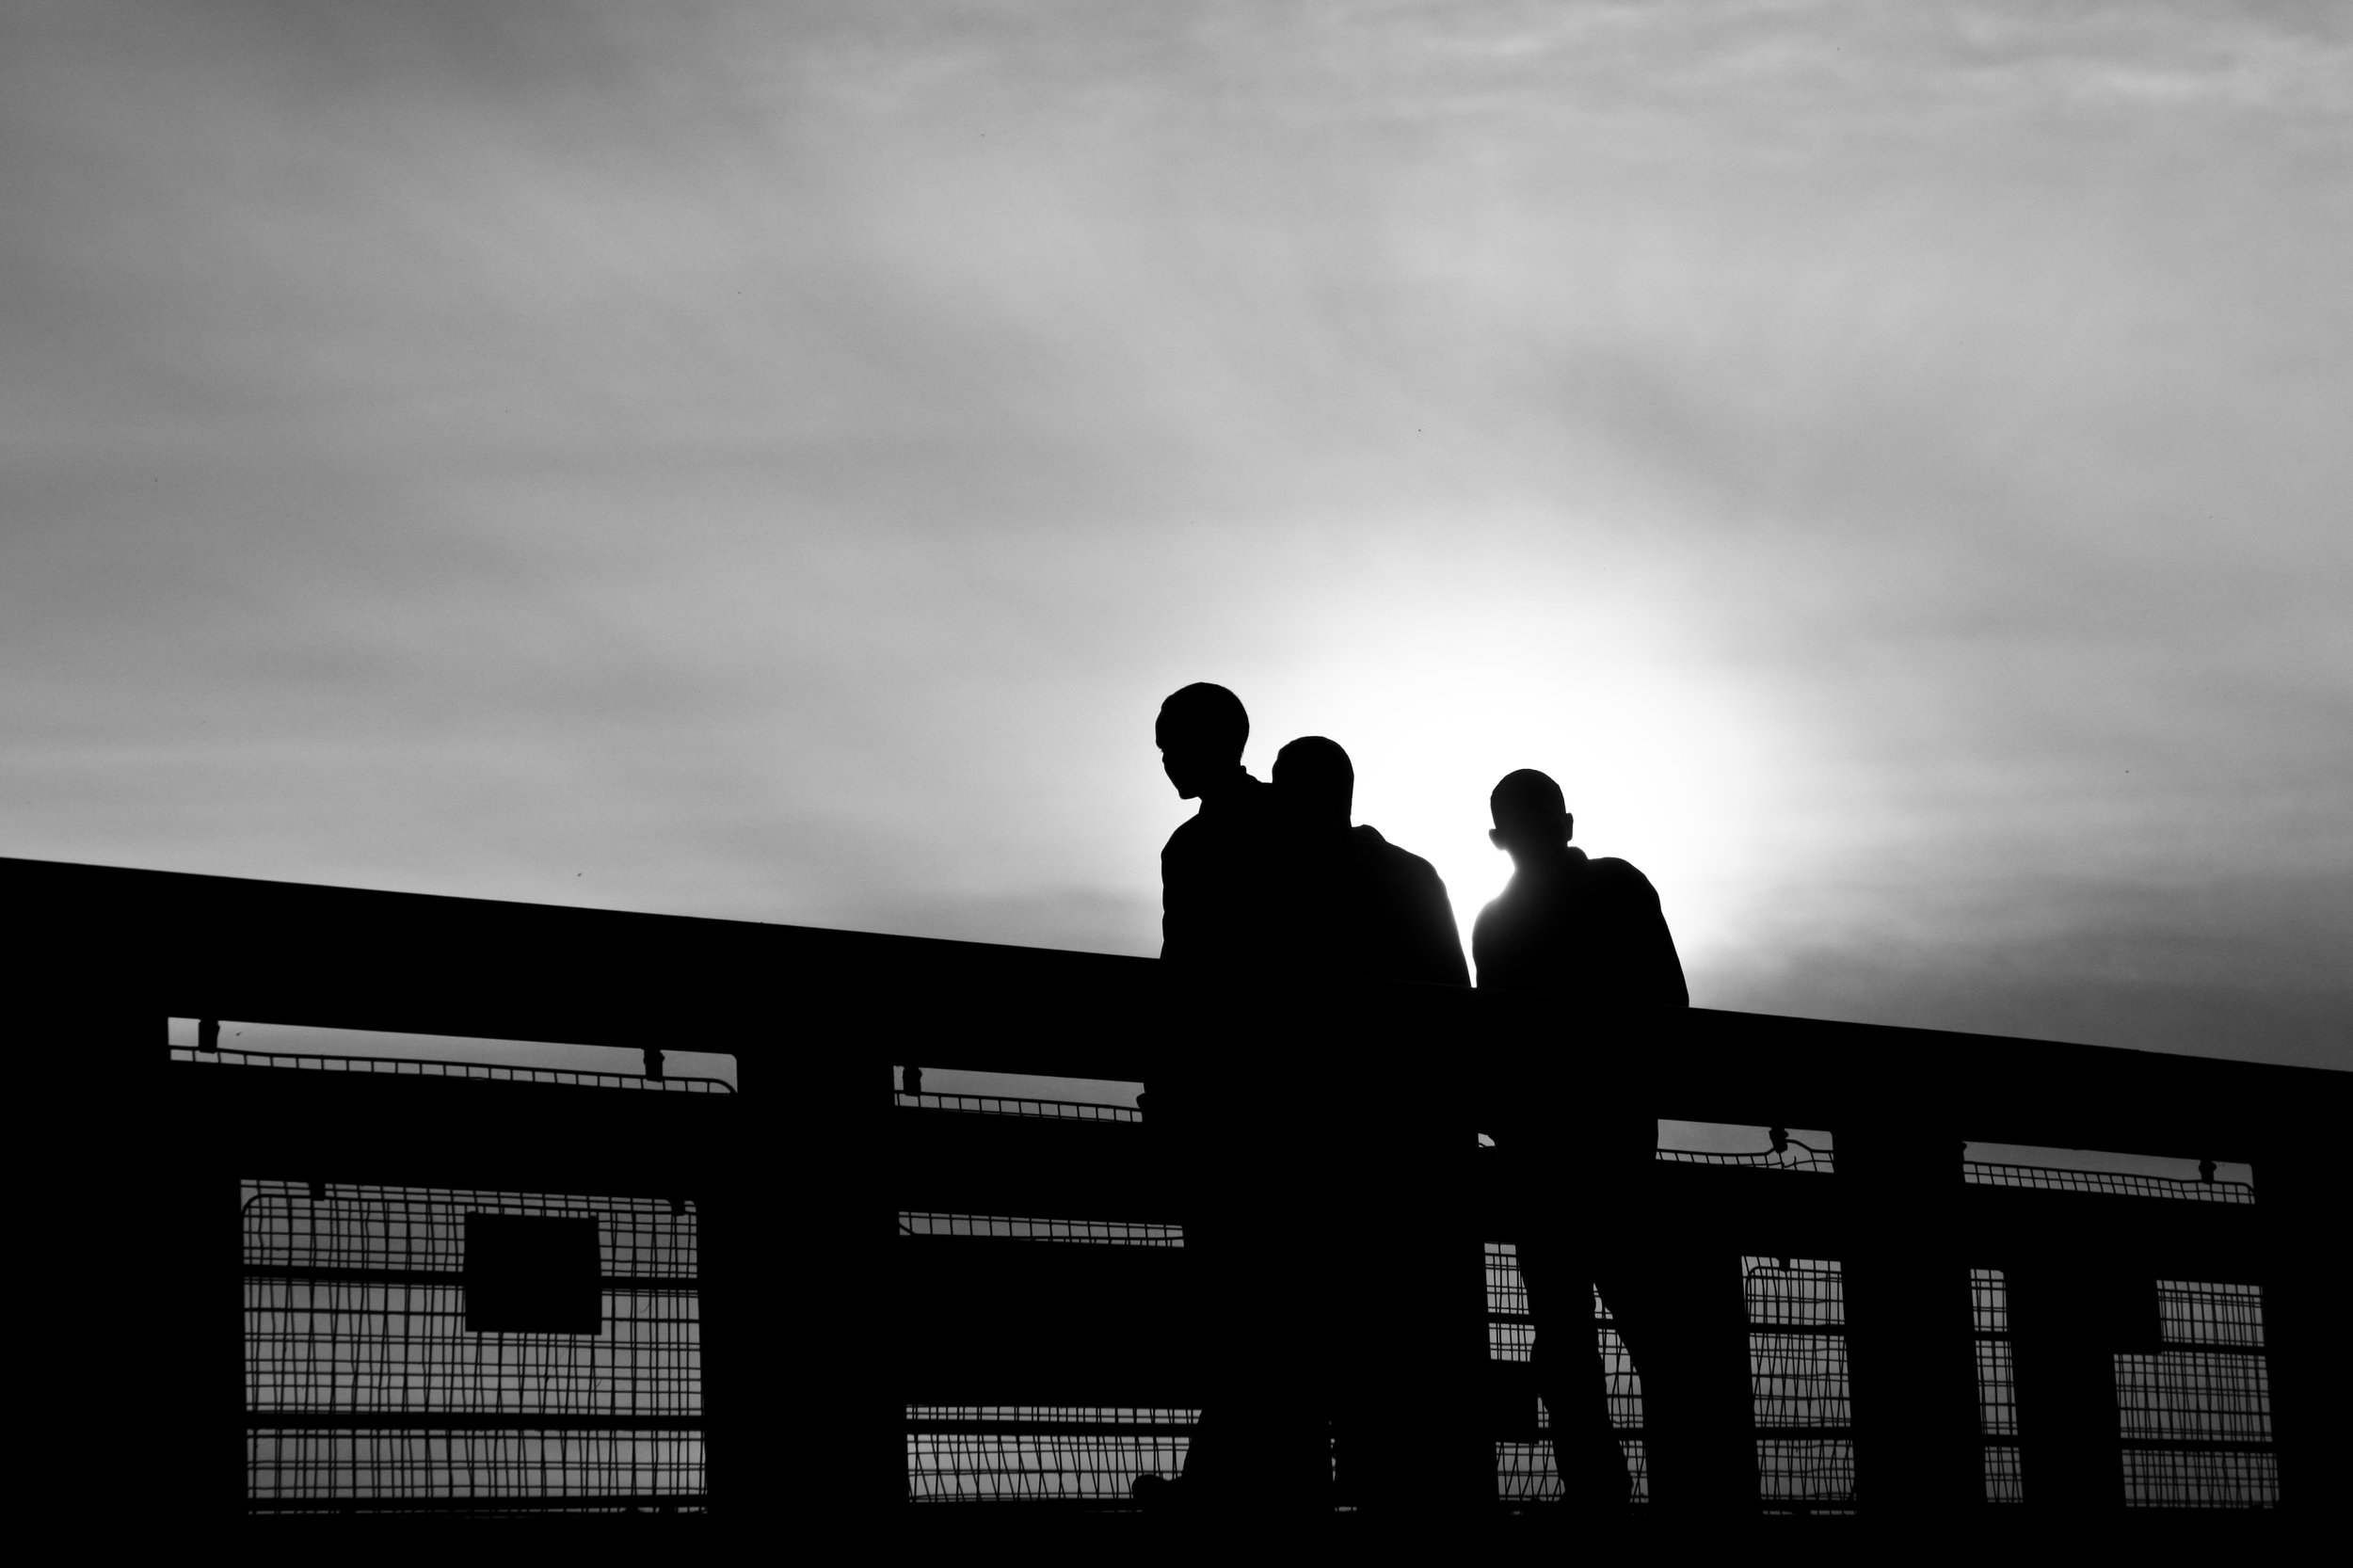
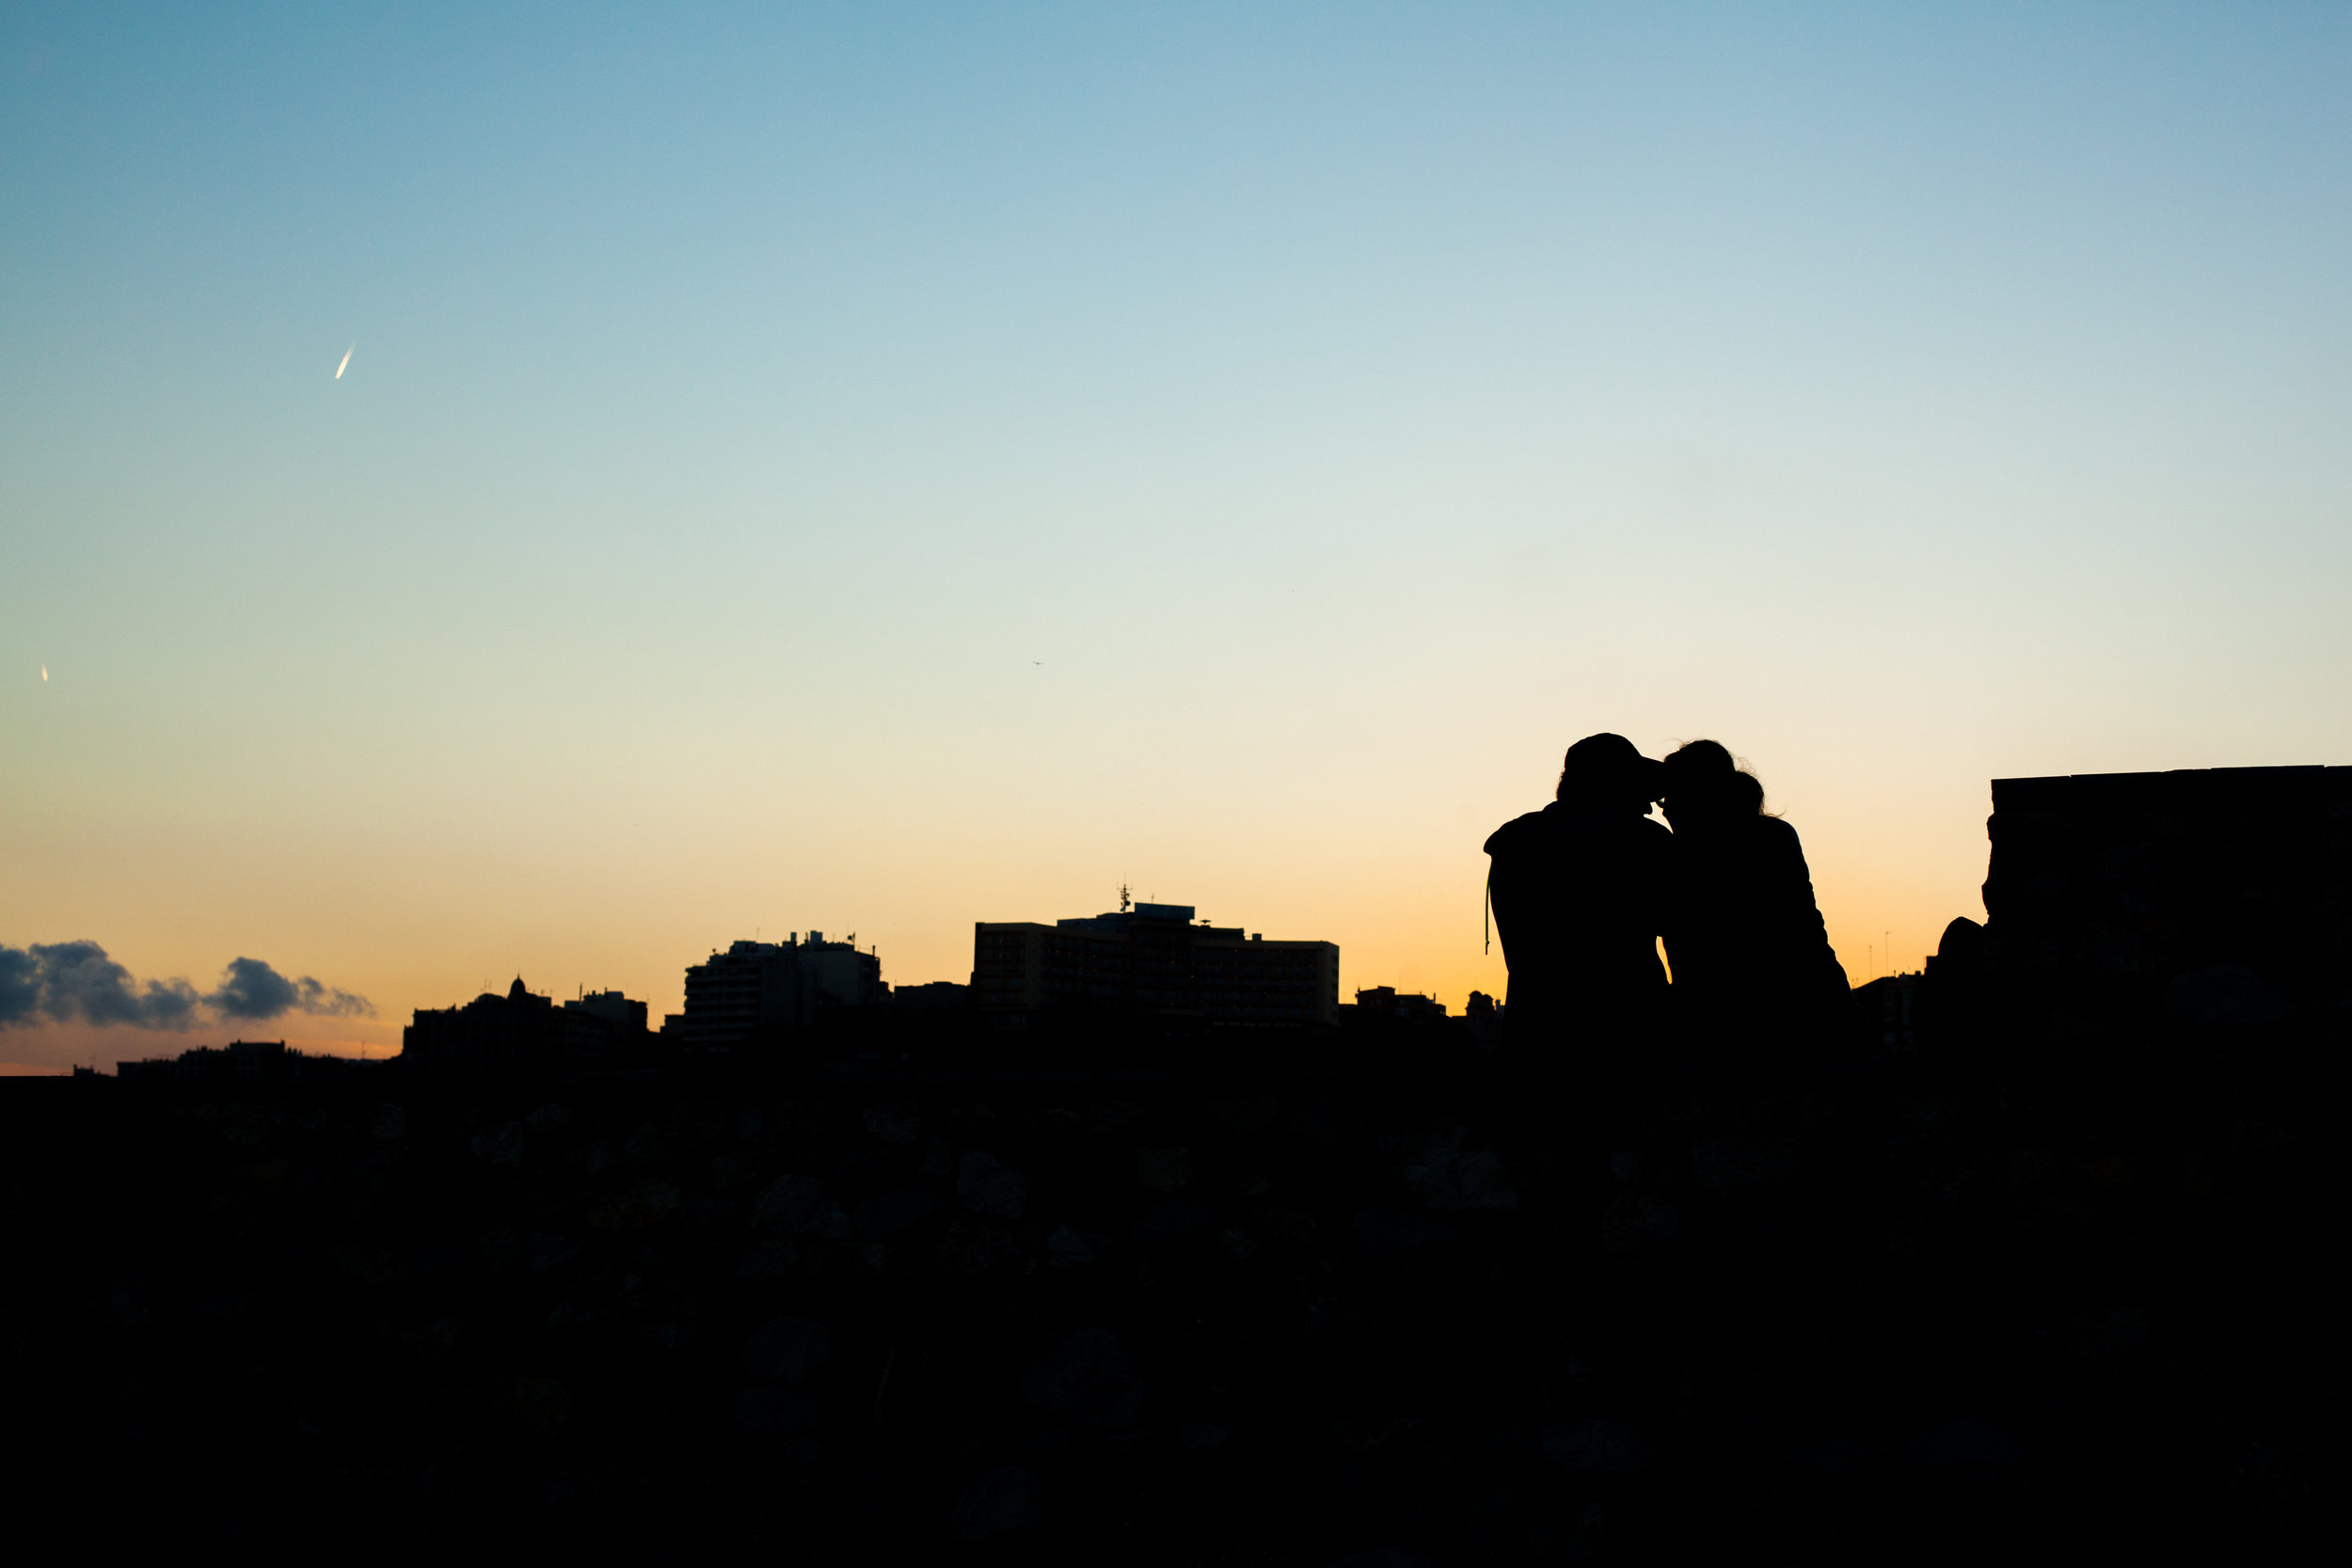
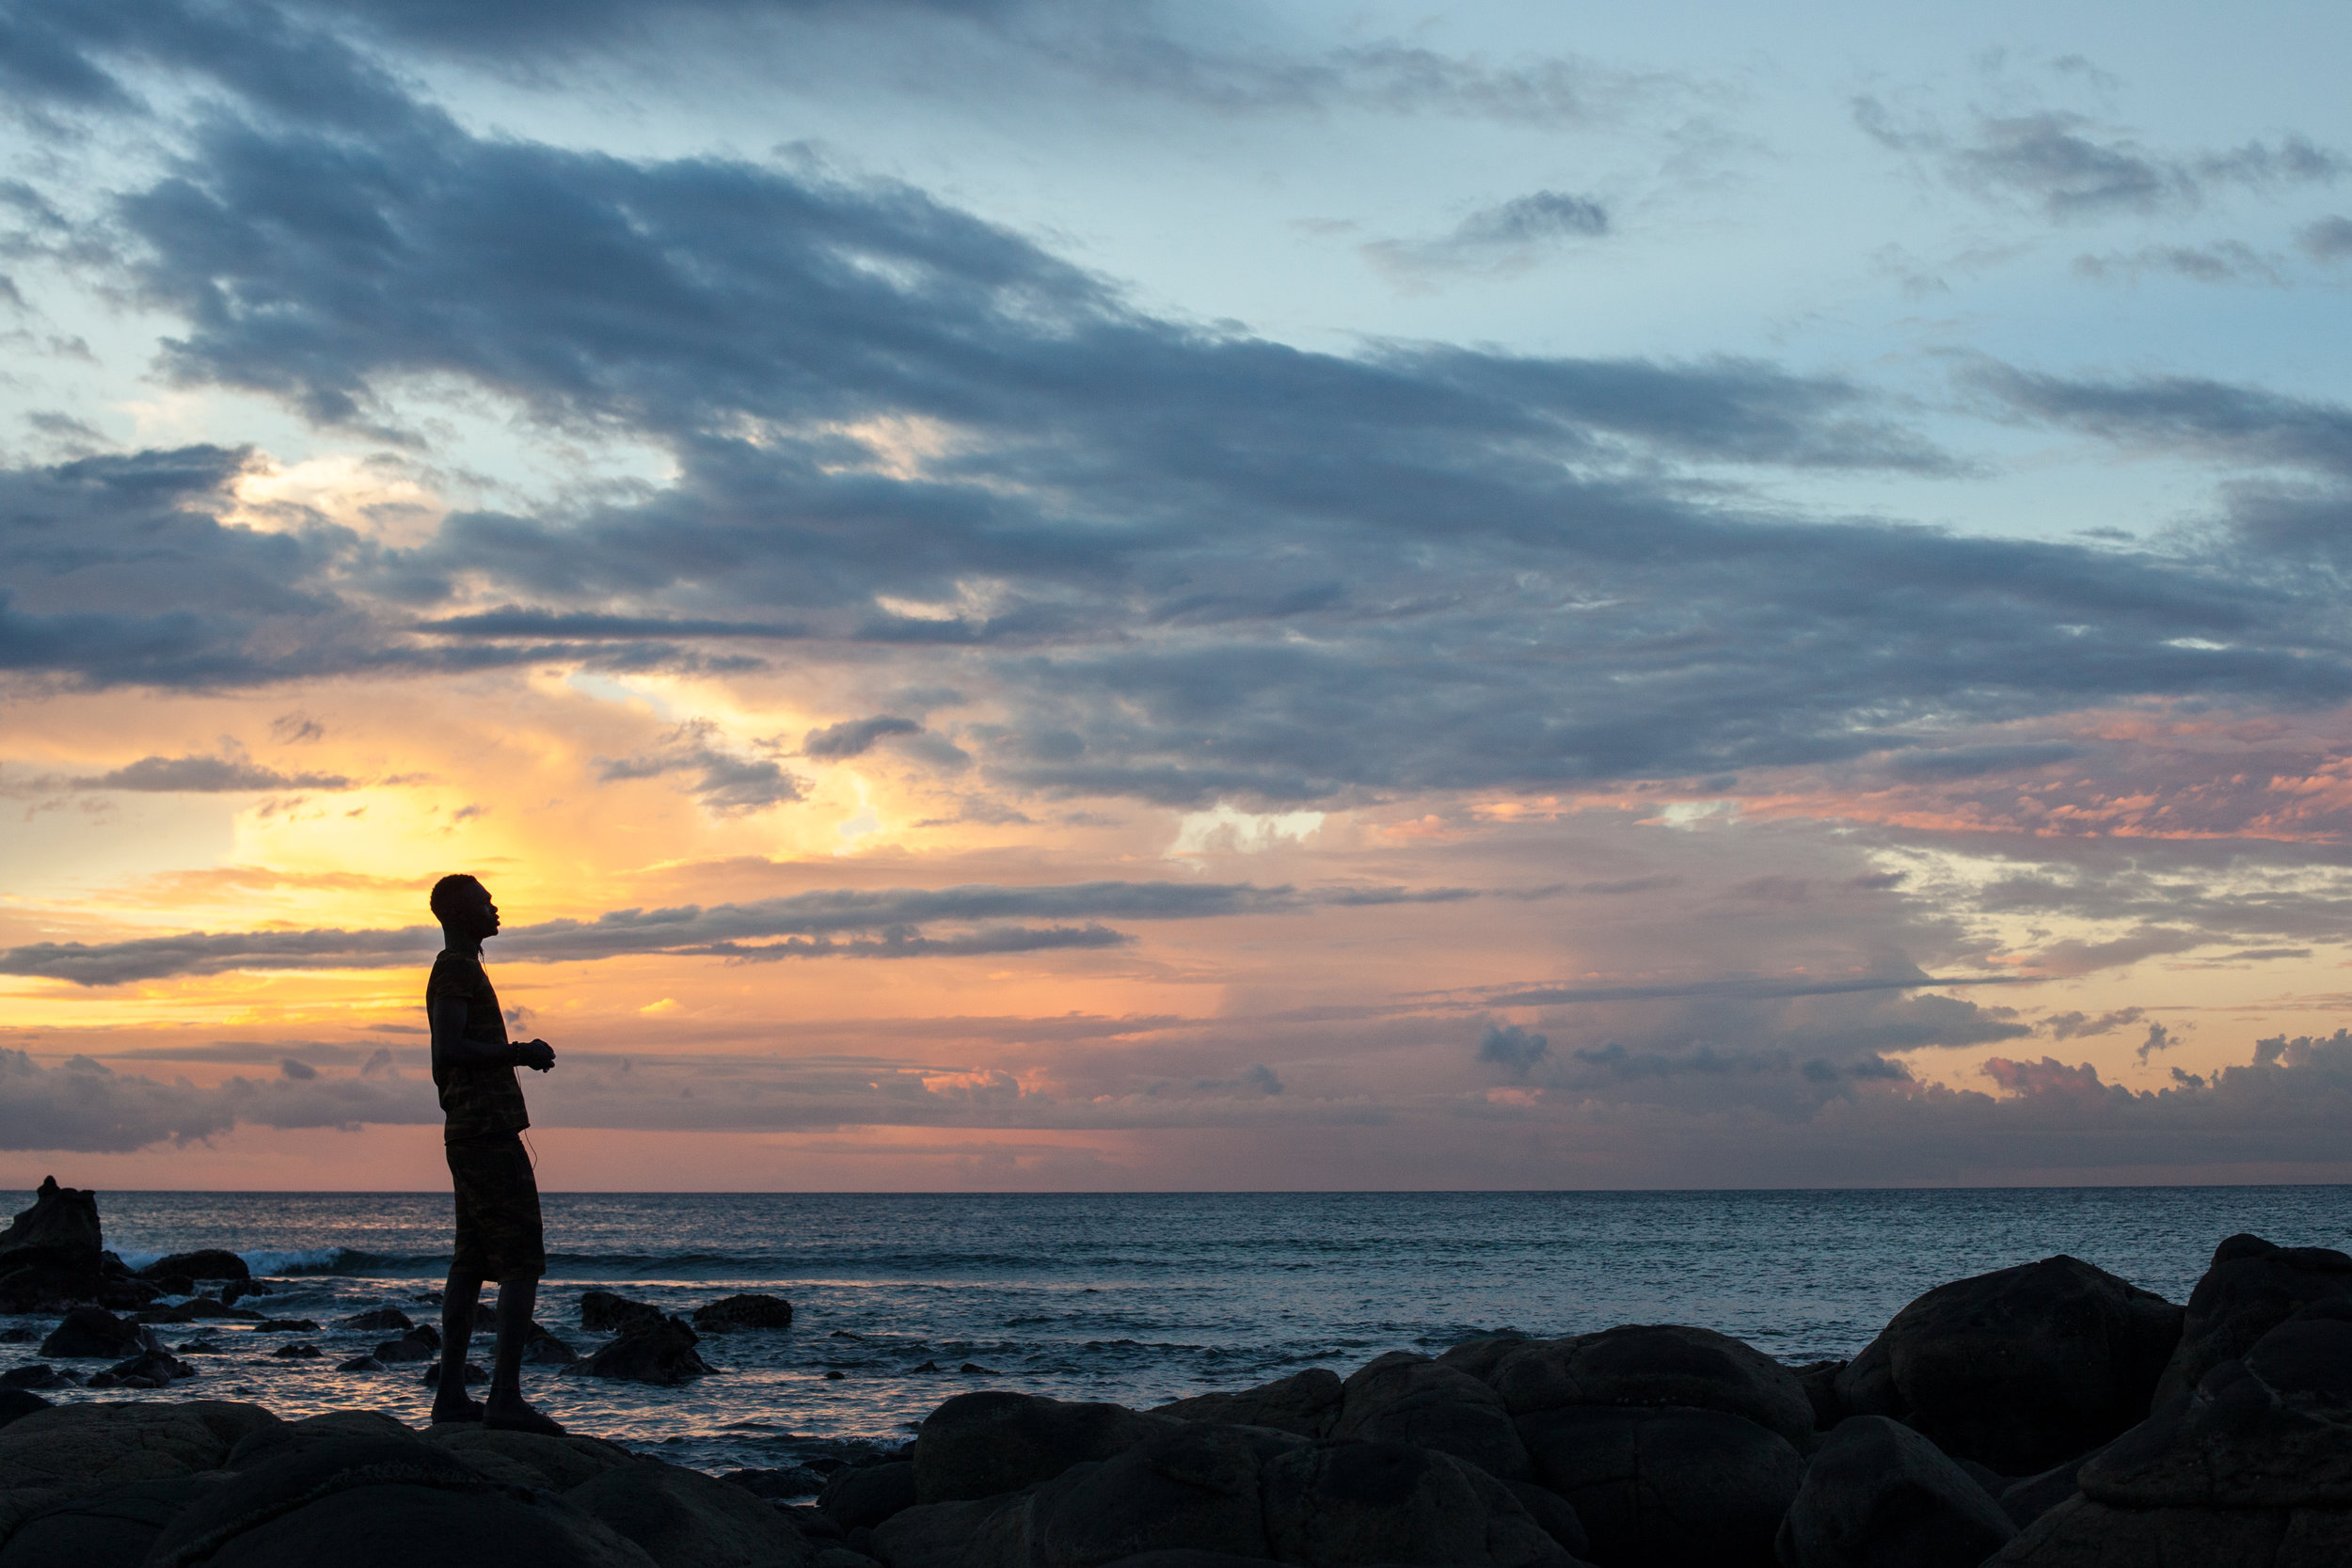
As with everything in photography, when taking silhouette photos, the most important thing is the lighting.  In basic terms, you want the background to be lighter than your foreground subject. The best way therefore is to take the image at either sunrise or sunset.  At this time of the day you may also have the added bonus of colour in the sky.  The best silhouette photographs are often taken when the sun is low, for example during a dramatic sunset.  However, equally as impressive silhouette images can be taken against a blue sky.  Alternatively silhouette photos can be taken against the bright shine of a fjord in Oslo, the expanse of the ocean, or a snowcapped mountain.  Finally silhouette images can be created against the backdrop of artificial lighting such as at Lima’s Circuito Mágico del Agua, the World's largest water fountain complex.  Click through the slideshow below for more examples of silhouette photography I have taken on my travels:

Silhouettes are a great way of adding mystery and drama to an image, drawing the viewer in and letting them use their imagination.  They can transform a simple scene into one full of emotion lifting an otherwise throwaway photo into a standout shot.  There is a wealth of useful information online regarding silhouette photography and the techniques involved.  Without getting too technical here are some tips for shooting powerful silhouettes:

1.  It's all about the light: As with all photography the importance of correct lighting can not be emphasised enough.  For silhouette photography your subject (the silhouette) should be in front of the light source (sun/sky/artificial light).  You then need your camera to set the exposure on the brightest part of the image as opposed to on the subject.  This will result in your subject being under exposed and becoming a silhouette.

2.  Keep it simple: Look for locations that have a large amount of open space and are uncluttered.  The less distracting elements in the frame the better, and make use of negative space.  

3.  Don't use flash: You want as little light in front of your subject as possible, so do not use flash whilst taking silhouettes.  If shooting on automatic mode your flash may fire automatically due to the low light.  Instead switch the camera to either automatic, shutter, or aperture priority modes.

4.  Choose a strong subject: Choose subjects with a strong and recognisable shape and form for silhouette photos.  When photographing people up close, try to catch them side on so you can capture the detail in the profile.  Somethings work better than others, experiment and have fun.

More examples of my silhouette photography can be found on my Facebook or on my Flickr account.  If you are interested in purchasing any of my silhouette images or would like further information please send me an email at: geraintrowlandphotography@gmail.com.